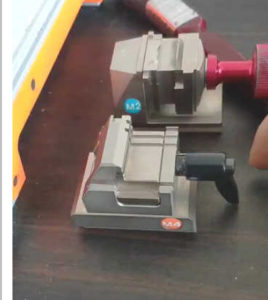
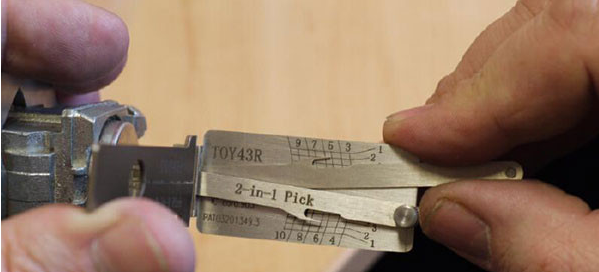
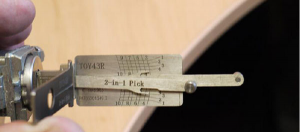
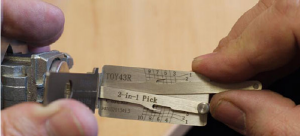
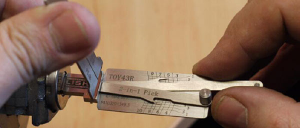
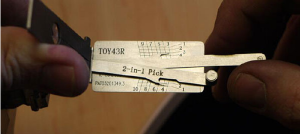
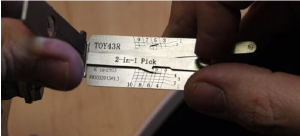
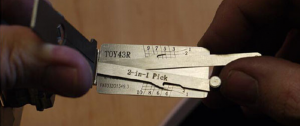
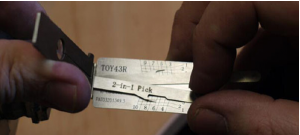
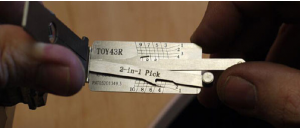
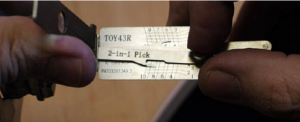
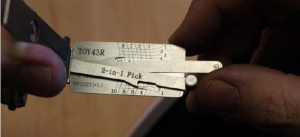
Genuine Lishi TOY43R 2in1 locksmith tool, how to use:
Despite only having 8 positions on this pick decoder , this tool is for the 10 Cut TOY43R lock and not the 8 cut toy43 lock with the 2 split wafer positions in it.

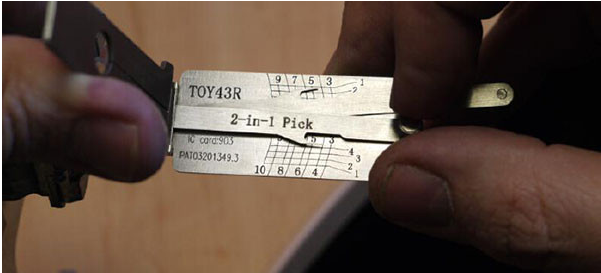
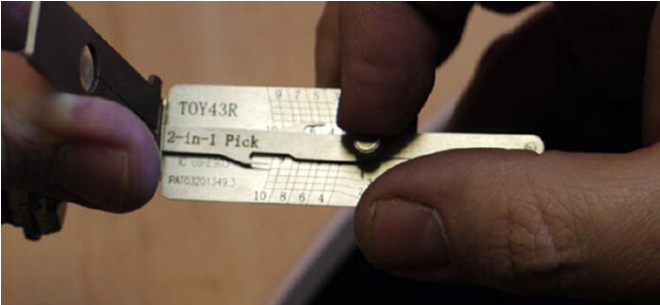
The reason this tool only has 8 of the 10 positions on it , is due to the door lock only housing 8 of the 10 cuts , only the ignition houses all 10 wafers . Once the door lock is picked and decoded , the 8 decoded and known cuts are entered into instacode , and the cutting tree will give you the remaining 2 cuts required for the ignition. Position 1 and 2 are found in the ignition lock only , so the tool grid is numbered 3 to 10.
The Lishi TOY43 2in1 pick is a very quick pick and decode for this very widely used Toyota lock , and will simplify producing the key blade for this lock and greatly simplify the entire gain entry process on this lock.
My own experience with this tool is to gain entry in under a minute generally and pick and decode in under 5 mins every time, so far without fail.
There is no proven picking sequence as yet with this particular tool , be careful not to overlift , as the No 4 cuts need no lift at all as these are already set to open as soon as tension is applied , so the more No 4 cuts the lock has in it , the simpler it will be to pick open.
Only a light to medium tension is required , and if a wafer has any movement at all , do not lift it at all !.
The lock has no preference to picking direction , and is easily picked to either direction , in addition the lock doesn’t need to be picked first , you can direct decode this with the 2in1 by applying turning tension and reading each position. However a more accurate decode is always achieved if picked first and held in the picked position, especially on worn locks.
The Picking Process
When picking this lock , the most common mistake is too much tension and overlifting , too much tension almost always leads to overlifting a wafer .
I cant stress enough the need to use only a light to medium tension and have full control over the lifting arm at all times.
Prior to picking i always advise flushing the lock out well with WD40 / GT85 or similar , this will help maximise feel during the picking process .
As I have already mentioned above , the No 4 wafers are already set and need no lift what so ever is needed to set these , so gently tickling each position to feel for any slight movement is essential , so when probing for a binding wafer it is essential that you don’t lift any wafer more than a ¼ mm , just a tiny tickle will confirm if binding or moving , if moving then leave well alone, as overlifting a No 4 cut is a common reason for failure to pick this lock.
As the lock has no confirmed preferred picking sequence , it is simple and traditional picking process of tickling each position no more than a ¼ mm to find a binding wafer , if it moves at all leave it alone, if it binds lift it just one grid increment at a time until movement is felt when tickling, so pick a binding wafer 1 x grid increment , then tickle it ¼ mm to see if moving or still binding, if still binding then pick another grid increment until movement is felt.
As long as you only lift a binding wafer , then once each binding wafer has movement the lock will open , demonstrated in the picture guide below.
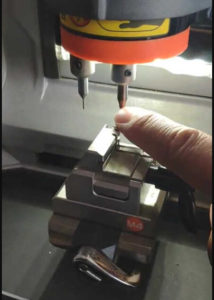
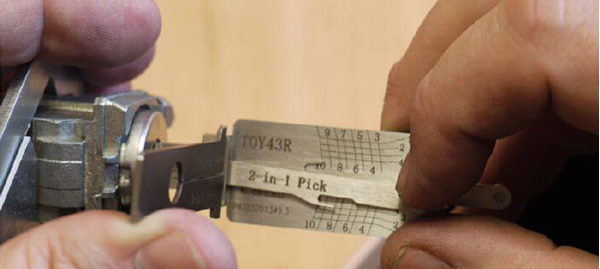
Picking The TOY43 lock
Begin by fully inserting the Lishi TOY43 tool into the lock and apply a light to medium tension
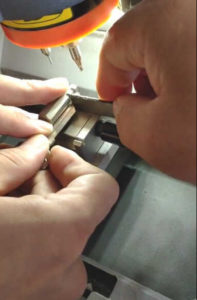
Find the 1st Binding wafer and then each binding wafer in turn
In this Lock position 3 is the 1st to bind & pick

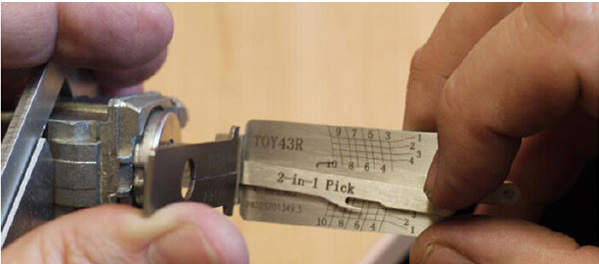
Position 8 is the next to bind and pick

Position 6 is the next to bind and pick

Position 5 is the next to bind and pick
Position 5 binds and picks again and the lock opens.
This particular lock was picked in under a minute so was a fairly simple differ to pick open due to the amount of No 4 cuts in the lock. As positions 4 , 7 , 9 and 10 didnt need picking , this confirms to us that these are No 4 cuts , the below decode process should confirm this.
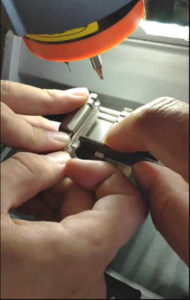
Decoding the TOY43 lock using the Lishi 2in1 locksmith tool
This lock can be direct decoded , without the need for it being picked first , the process is to apply firm tension and decode each position using the same process as decoding when picked , however on worn locks the odd misleading reading can happen, so we advise picking first for best and most accurate results.
As this is a twin lifter tool , we decode in the same direction as we picked in , pushing the lifting arm across the numbered line and reading the cut height from where it stops using the numbered lines on the right hand side grid.
The process is as simple as hold the lock in the picked position and read each position 3 to 10 as below .
Position 3 is a No 3 cut
Position 4 is confirmed as a No 4 cut
Position 5 is a No 2 cut
Position 6 is a No 2 cut
Position 7 is confirmed as a No 4 cut
Position 8 is a No 3 cut
Position 9 is confirmed as a No 4 cut
Position 10 is also confirmed as a No 4 cut

This gives us the majority of the key cuts needed , and gives us the 10 cut key from bow to tip of ??34224344 , so we enter this into instacode , and it gives us the cutting tree , which in this case was 1 of several possible keys that would use a maximum of 2 blanks to find correct key.
However , despite the fact that this tool is not designed for the ignition , i insert the tool fully into the ignition and feel for the 1st 2 wafers , it wont line up to a grid position accurately , but when a light tension is applied to the lock and you have found the 1st 2 wafers the cut height grid is still accurate and the front 2 positions can be directly decoded , so the entire key can be read .
In doing this the entire key was 2134224344 .
So despite the tool not being constructed to read the ignition , with a little forsight it is possible to read the missing wafers in position 1 and 2 by a little lateral thinking.
Lishi TOY43 2in 1 in details…
http://www.carobd.de/wholesale/toy43-2-in-1-auto-pick-and-decoder.html