Archive | April 2016

How to solve scania 2.24 prompt need to update?

I have a customer who bought the scania 2.24 from our website.

vci2-truck-diagnostic-tool-for-scania-main-unit-blog-1

Yesterday,he told me the device prompt that the software need to update.

So,here is the solution way to solve this problems:

solve-way

And you can download the software here.

If you have other good way to solve this problems,you can share your experience here also.


How does New Genius Work Process?

New Genius is the world’s first Touch & Map device which allows reading/programming the ECU in modern vehicles over OBD2. New Genius Touch & MAP is update version of Kess v2, more new vehicles supported.
new-genius-chip-tuning-tool-1
The language of New Genius 
Engnlish,Italian,German,French,Portuguese,Hungarian
new-genius-language-pic-1-1
How does New Genius Work Process?
You can follow below five step to finish the process.
1. Read ECU data from Vehicle
Start your vehicle, plug the new genius to your car via OBD2 port, to read ECU data
2. export the ECU data to laptop
Before you start to export the ecu data to your laptop or PC, you need install a K-touch software, which is used to export ecu data from new genius to your pc, and import new edit ecu data from pc to your new genius machine
Connect the new genius device to your laptop via USB cable, export the ecu data read by new genius to laptop
3. Edit and reprogram the ecu data
 If you can edit and reprogram ECU, you can do this by yourself; if not, you need send the ECU data to professional engineer to edit and reprogram
4. import the ecu data to new genius
Connect the new genius to laptop via usb cable, import the new edit ecu data to your new genius machine
5. Write ECU data to vehicle
Start your vehicle, plug the new genius to your car via obd2 port, write the new ecu data to your vehcile
Finish!

Free Download BMW Creator C110 V4.3 Software English German

Free download Creator C110 V4.3 BMW coder reader software here and follow the update steps below for update and diagnosis on more BMW cars.

creator-c110-bmw-code-reader-new-1

* Update steps:

Setup Update tools
1) Download update tool

Update tools V1.1

The machine of Serial Number the last data is “1” use this tool to update.

Update tools V3.0

1)The machine of Serial Number the last data is “2” use this tool to update.

2) Double click the [Setup file] to setup the tool.

3) Operate follow the instructions , and finish to setup.

creator-c110-4.3-UPDATE
4) Setup the software in your computer.

5) After finish setup , there is a icon of scanner in desktop.
Download Creator C110 software

C110_V4.2_DE  German Language

Run Update tools

1) Double cleck the update tool icon and Run the update tool and Operate in accordance with photographs

2) Used the USB cable connected to scanner and PC, if connect success, the software on pc will display “Creator USB CONNECT”

3) Click [Update] button.

4) Check red rang ; you can change the path , and find the update file which is received

5) Select update file and click [open] button.

6) Into the upgrade interface, wait for the end of upgrade
WARNNING:

Do not power off during update!

Do not Plug or Unplug USB tools during update!

Start Update

1) Waiting for a few minutes. The software will update the BMW code reader.

2) If update success, the software will display [Update success!]; if update not success, it will display [Update fail! Try again].

3) Press [finish] , the scanner is already updated ,and you can unplug the scanner from PC.

* Creator C110 Supported car model:

Supports BMW 1 Series, 3 Series, 5 Series, 6 Series, 7 series, 8 series, X series, Z series and Mini

* BMW Creator C110 Function:

Read trouble codes, clear trouble codes, displays live data stream, Clear adaptation and vehicle version information.

How to connect BMW ICOM A2 to WinKFP

Here are two methods usually adopted by BMW owners with BMW ICOM A2 WinKFP.

error-211-solution-blog-1

First method

to lock the ICOM to Connection Mode: STATIC_IP and then use iTool Radar by Nubix to locate it on the LAN.

Second method

but that you will need the password of ICOM, but as no one brings out the password, you can forget this possibility.

only possibility is more like you’ve already described the ICOM itools with radar and lock.
in the Ediabas.ini you have to change something
Interface: REMOTE
and host the ip the ICOM have.
ICOM you can put on STATIC_IP with a file called
USER.settings(open it with editor)

ConnectionMode = STATIC_IP
Ip = 192.168.68.40
Netmask = 255.255.255.0
Gateway = 192.168.68.1

and a file which is called user.settings.log must remain empty.
The ICOM describes this file automatically.

these two files on a USB stick(USB2.0) into the BMW ICOM usb port
light of ICOM will turn on.
ICOM must properly afterwards user.settings.log have described themselves.

MB Star DAS SDS (STAR Diagnostic System) Tips and Tricks

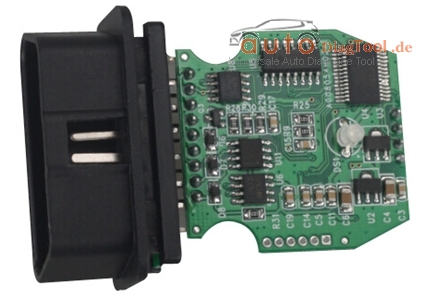
Whats being used is MB STAR SDS ( STAR Diagnostic System ) C4

All i can say is this thing is AWESOME. imho a must buy for any modern mb owner.
so far I’ve changed the alarm chirp to netherlands, activated flashing brake
lights under heavy braking, and lowered the temp the fan comes on 10 degrees.

GO BUY ONE MB STAR SDS C4

mb-sd-c4-star-diagnosis-blog-1

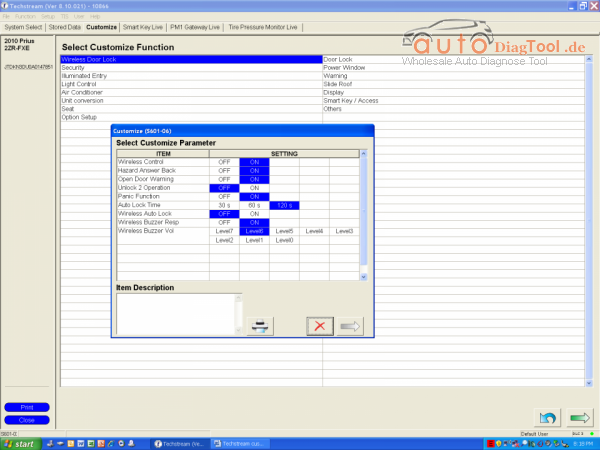
Following parts are what I did with SDS ( STAR Diagnostic System ):

Flash rear brake lights under panic braking:

Control units> Body> rear SAM> Control Unit Adaptations> Flashing Brake> Active

Chirp on lock/unlock

Control Units for multiple items>Body> Control Unit Adaptations> Security/Alarm> National ATA> Select Netherlands

Fan-on temp lower

Control Units> Drive> Engine> Control Unit Adaptations> Correction Programming> Suction Fan> Temp increase to max of 10 degrees C.

Lowering airmatic (ABC is more tricky from what I hear)

Control Units for Multiple items>Chassis>Suspension> Initial Start Up>Manual settings> use +/- to get the car to the height you want (keeping the voltage numbers in the specified range).

Hit F2 to get to the romess screen. Enter romess angles either from the tool or within the specified values on the previous page. If all ok, this should result in the car set at the right level.

Still working on tank level.

Changing the vmax requires developer mode. I have a tune so I don’t need to do this.

Heres one that MAY have a positive performance impact, or may not.

Control Units > Drive > Motor Electronics > F3 ( to clear the nag warning ) > Control unit adaptations > Correction Programming > Ignition

You get 4 choice of minimum octane rating ( probably get more if you can get Variant Coding to change from USA to Rest Of World or Euro )

Baseline ( 87?)

89

91

93

I suspect setting a higher octane rating will allow a bit more initial ignition advance.

Details on SDS ( STAR Diagnostic System ) cables and software:

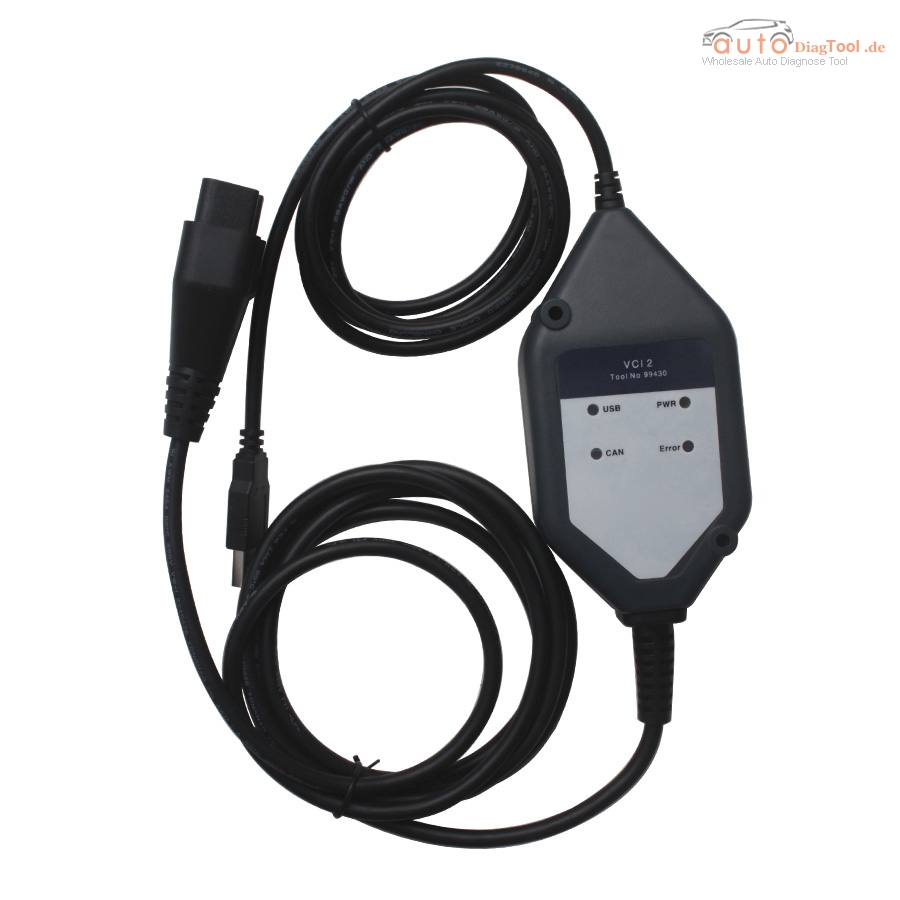
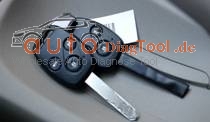
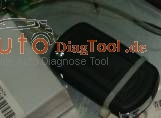
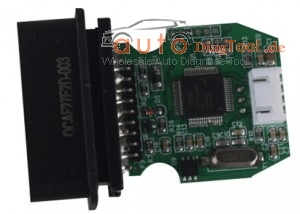
Consists of a set of 5 cables, the 2 most used are the standard OBD II or the 38 pin “Mushroom head”. These plug into car and lead to a multiplexor box. There are 3-4 types of these with the 2 most prevalent being the C3 (RS232 connection to laptop serial port ) or the C4 ( Ethernet or wireless connection to laptop). Just now seeing what I suppose could be called a C5, a multiplexor with the diagnostic software embedded in it rather than a separate laptop. That would feed about any device you care to name. Details are sketchy at this time.

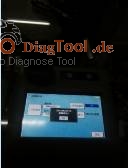
The software is MB proprietary and comes in 2 flavors, DAS ( forget the acronym meaning ) or Xentry Diagnostics ( can be thought of as DAS v 2.0). The choice between either of those is year and model dependent. Generally 2010’ish or newer models will use Xentry Diagnostics while DAS is about 1998’ish to 2010’ish. Again, exact years will vary by class.

The actual “programming” is altering factory set values or conditions specific to that chassis, market designation, installed options or country of delivery. The values that can be changed are generally offered on pull down menus from within DAS/Xentry. And even this has become much harder to do in the last few years as MB has gone to a central authorization system for altering operating parameters that requires a connection/password and use of a factory authorized SDS.

This is from Carobd.de website MB Star Diagnosis technical support:MB Star DAS SDS (STAR Diagnostic System) Tips and Tricks

Test Result: 468 Key Pro III program key for some cars

468 KEY PRO III ID46 Copy Key Programmer arrived from China carobd.de, and after one-day test on some brand cars, I share my test result here, wish you also share your results here.

Test on Honda Civic
Copy Electronic ID46 chip of original car:

Successfully collect and decoding, it can write and start

When 468 Key Pro III is applied to modify folding key for Civic, the distance for electronic chip identification is not long enough, then just add a copying chip.

image-blog-1

image-blog-2

image-blog-3

image-blog-4

Test on Range Rover
Copy Electronic 7941 chip of original car: successfully collect and decoding, it can write and start

You can manually matching remote key without remove immobilizer dump, which is very easy to use.

image-blog-5

image-blog-6

Test on Nissan Sylphy

Copy Electronic 7936 chip of original car: successfully collect and decoding, it can write and start.

The common scanner tools are unable to communicate and can’t program while 468 Key Programmer can do it very easily.

image-blog-7

image-blog-8

image-blog-9

Test on Great Wall M4 (failed)
Copy 7936 chip of original car, the result is: successfully collect and decoding, it can write data but can’t start.

Test on Buick Regal

Copy NXP7941 chip of original car, the result is: successfully collect and decoding, it can write data but can’t start.

The common scanner tools are unable to communicate and can’t program while 468 id46 copy key programemr can do it very easily.

image-blog-10

image-blog-11

Test on Land Rover Discovery3
Copy NXP7941 chip of original car, the result is: successfully collect after 3 times trial and also successfully decoding after 3 times trial; it can write data but can’t start.

image-blog-12

image-blog-13

image-blog-14

Review on selecting Techstream Customize Functions: Gen III

I purchased Techstream and a min vci cable from a Chinese seller for $19 to do some customize settings on a 2010 Prius.

I used:

Laptop with Windows XP 32 bit

Xhorse mini vci cable with Teachstream 8.10.021 from carobd.de

Note:

1- new software- toyota-techstream-10.30.029.zip or toyota-techstream-10.10.018.zip – should be ok

2- many Techstream cables in China, but some bad with white PCB

TIS cable of Quality A comes with green PCB

mini-vci-pcb-board-blog-1

mini-vci-pcb-board-24

Model:

2010 Prius
First attention please!!

The USB to OBD2 VCI cable driver will only run on a 32 bit computer. Even with an old 32 bit Win XP computer, I had to load/reload the cable driver 3 times. Once done, it is great.

Your owner’s manual covers the customizable features built into the car.

To get to the customizable features, connect the laptop to the car OBD2 port just under the steering column. Start MINI VCI Techstream and depress the brake pedal and press the cars power button. Techstream should connect and ask you the options on the car (radar cruise control and sunroof). It will also pop up with the VIN number and ask if you want to save it.

After that it’s easy. Just select the third tab from the left, Customize

Techstream-Customize-blog-2

Next select one of the Customize Functions and a small box will pop up with parameters

Techstream-Customize-blog-3
If you click on the parameter, an explanation will show in the Item Description box below. After you are done selecting parameters, click on the arrow in the bottom left of the small box and it will ask you if you want to save. Select “Yes” and move onto the next Function. You will be amazed at the options you have. You can even turn off the seat belt beeper on the driver or the passenger side or both.

I turned on 4-door unlocking and turned the backup beeper to only 1 beep. You can turn on/off the remote button functions. Actually, my dealer inadvertently turned off ALL of my remote functions and was not able to turn them back on. This was my main reason for digging into MINI VCI Techstream TIS interface. I was also able to program a new remote Key Fob using the Smart Key Menu on the fourth tab.

Hope you all have fun with this!

My experience with elm327 WIFI

Once I played with an OBD2 connector, ELM327, which can see various datas from the computer of the car via smart phones, iphone, ipad and ipod.

It seems like can also reset and display of the error codes, but I do not know well yet.

There are two ways of connection, via WiFi connection and Bluetooth connection the iPhone. (Like Bluetooth version, Android is somewhat cumbersome.) I have ordered the WiFi myself, so iPhone users. (US$12.99 now)

image001-blog-1

Insert face down the label of the ELM327 device to the vehicle as picture

image002-blog-2
Now, it is confirmed by WiFi setting screen of the iPhone then. It is named CLKDevices here. this device name is different from people to people. However, as the IP address and subnet mask is the same as everyone.

192.18.0.11

255.255.255.0

192.168.0.10

192.168.0.10

image003-blog-3

I was able to WiFi settings in the app without any problems. It was OK just to select the Kiwi WiFi in HardWare of Settings. It was a mile display by default, changes to the display Km was also possible.

Fuel level indicator in the CLA does not seem to work properly from it. In the state of just rammed the iPhone accessory case on the center console, only chiller while driving

image004-blog-4

Therefore, above is about my experience with 1.5V elm327 WIFI, and it is also a Bluetooth version and other similar items, for iphones, ipad, smart phones and so on.

Digiprog 3 v4.94 update software“List index out of bounds”

This is about how to solve Digiprog 3 v4.94 Odometer Master update software“List index out of bounds”.

image001-blog-1

image002-blog-2

Device used:

Digiprog 3 programmer

Digiprog3 v4.94 update software error message:

Digiloader1.exe: Disk index out of bounds

Possible reasons:

1- WinXP is not compatible with the digiprog3 4.94 update software

2- Digiloader1 file was killed by virus

3- The update file is not complete

Useful tips:

1- Try to use Windows XP operating system belows:

http://www.chinaautodiag.com/html/ghost-windows-xp-professional-sp3-free-download-and-installation-6476.html

image003-blog-3

2- Not ports showing so check in device manager.

3- Rename
Digiprog-loader(1).b
To
Digiprog-loader.b

May all customer have a nice weekend!

Dear Customer:

Have a nice weekend!

Thank you for support Carobd.de all the time,and here we may you have a nice weekend and a happy shopping experience here.

And if you have need any technical support,you can connect me feel free.

Best Regards

Jass