Archives

KeyDiy KD-X6 Built-in MQB48 Key Reading-Standalone Operation

A significatn upgrade of the KEYDIY KD-X6 key programming tablet is the intergration or MQB48 and MLB functions. Our customers have tested the built-in features and provides us with positive feedback, and we are pleased to share with you.

Model example: 2019 Audi Q3
Transponder: MQB/ID48 Chip

Disassembel original MQB48 key.

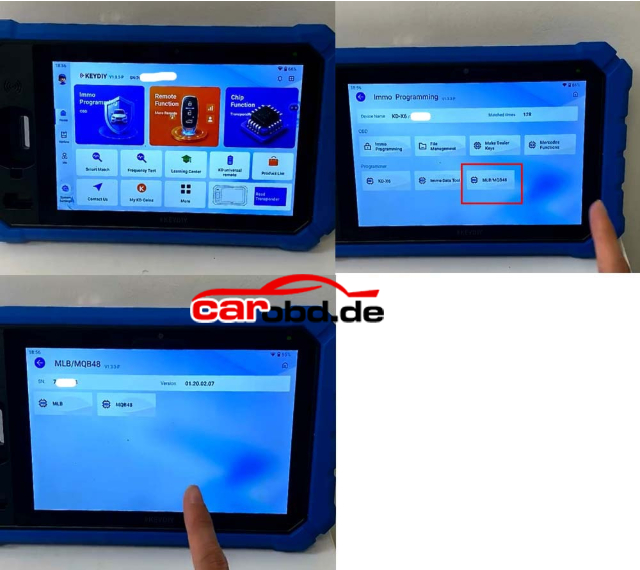
Turn on KD-X6 tablet.

Go to IMMO Programming-MLB/MQB48 function-MQB48

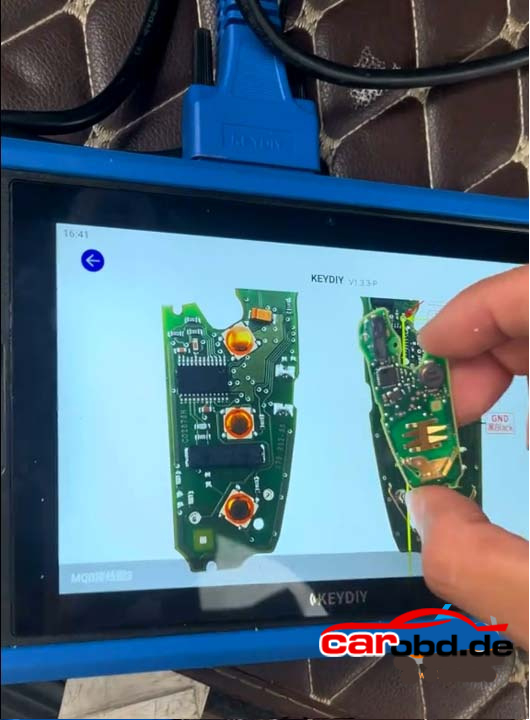
Check key wiring diagrams and find the correct one that matches your original key circuit board

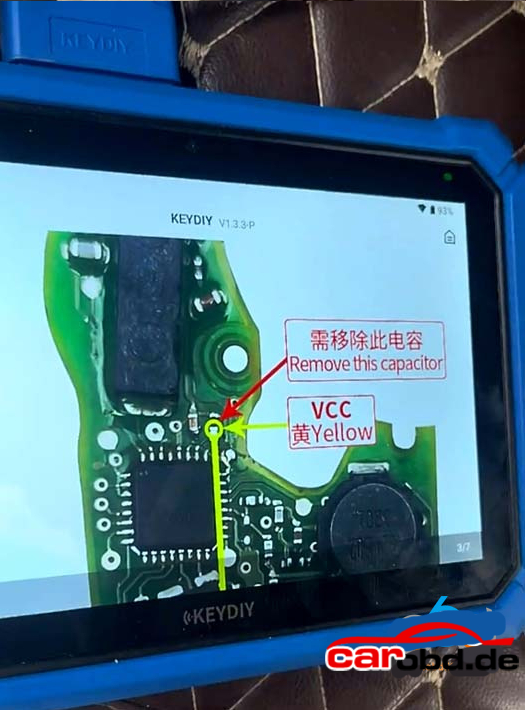
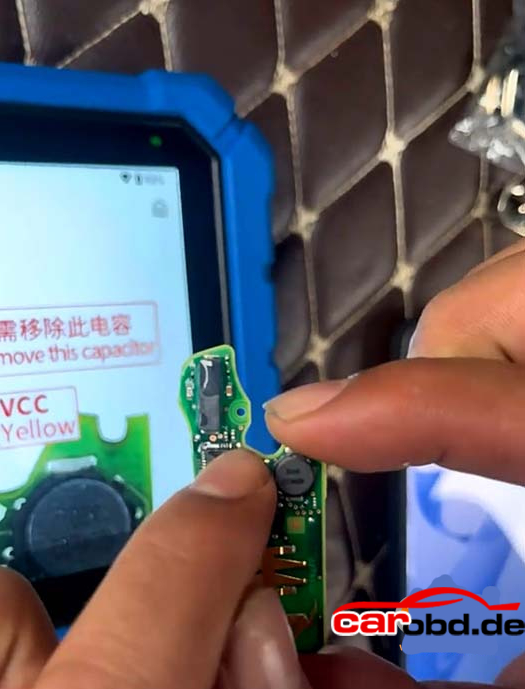
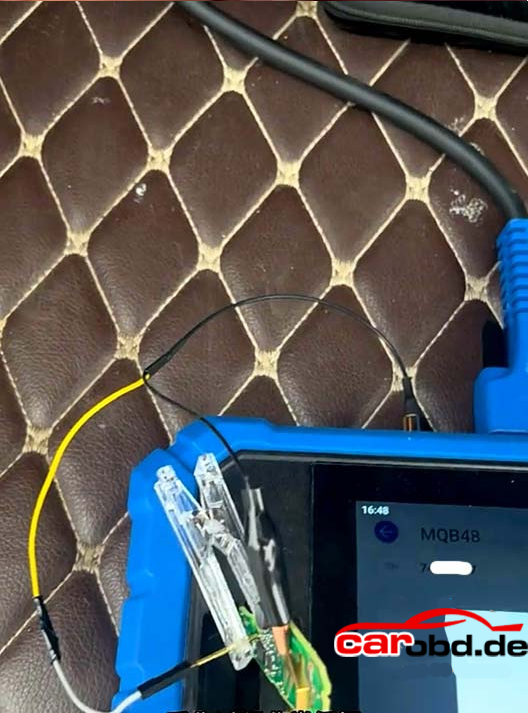
Follow diagram to solder wires to the key circuit board. Need to remove a capacitor carefully.

Then read MQB48 key data

Calculate key data in 5 minutes; not very fast but very stable

Restor the capacitor on the key circuit board after the data reading is finished

The generate dealer key and learn key following the KD-X6 prompts. The key learning procesure is the same as KD-X4

How to Install THINKCAR TKEY101 ?

Thinkcar TKEY101 Installation Steps

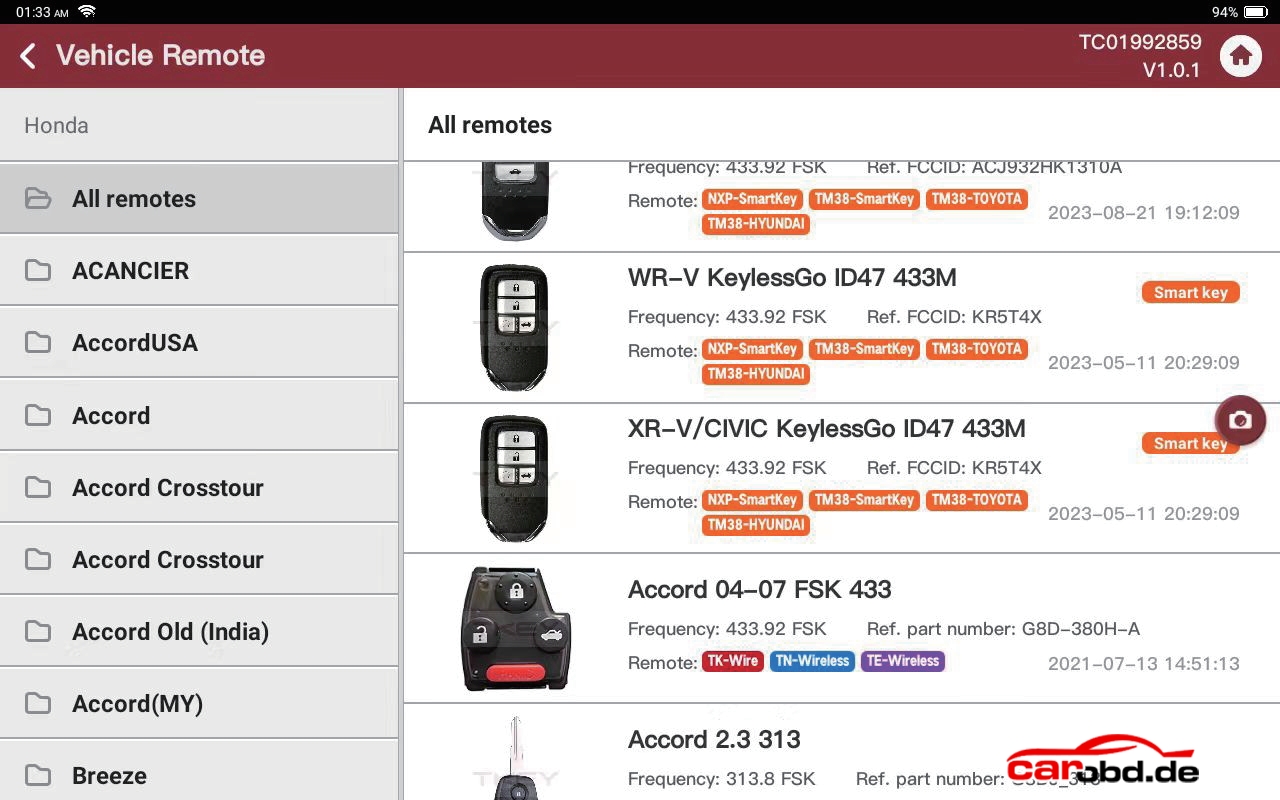
  • Main Function 1: Remote Generation

Generating remote  requires the use of the corresponding remote type, and each remote option indicates which type of remote should be use.
Note: Batteries are not included with all remotes that come with TKey01 , customers need to purchase CR2032 type.
For the disassembly and assembly of the remote shell, please refer to the [TKey101] video at
http://www.thinkcar.com/video
Remote Type:
● TK-wire type remote
● TE-wireless type remote
● TN-wireless type remote
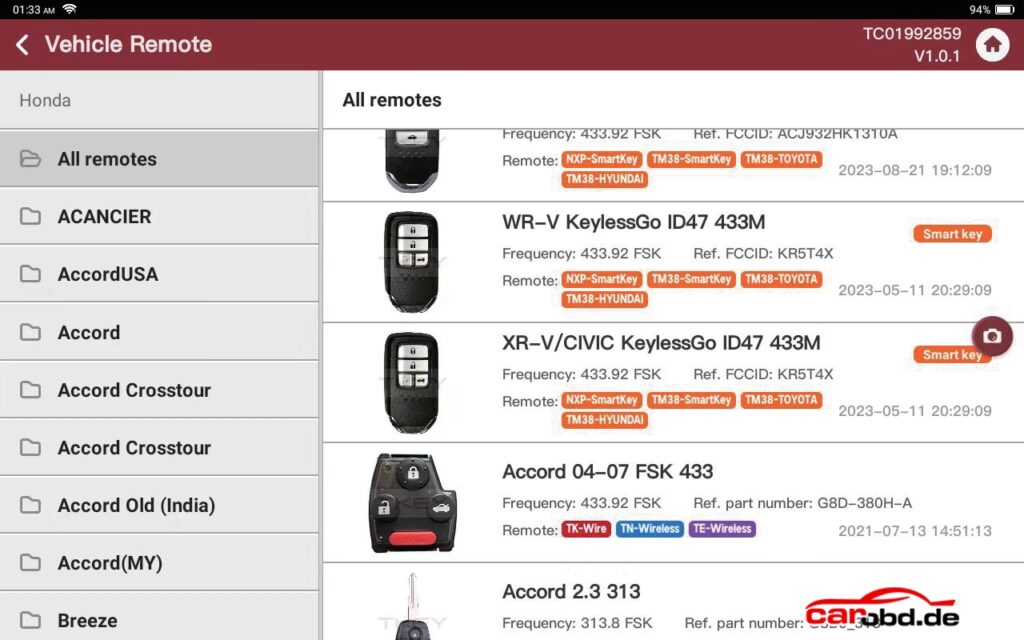
● Smart key type remote: NXP-Smartkey, TM38-Smartkey, TM38-TOYOTA, TM38-HYUNDAI

How to indentify the remote type?
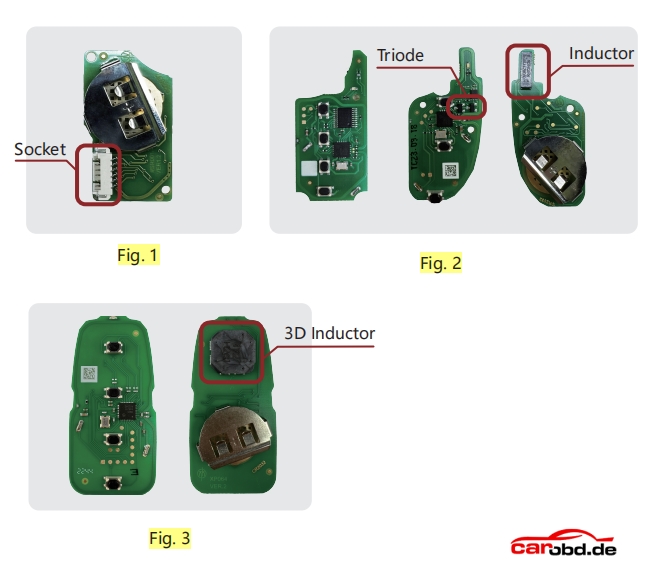
●TK-wire TK type remote: There is a socket on the circuit board. (Fig. 1) Need to remove the battery to generate remote

TE-wireless TE type remote: Circuit board with long inductors.Need to install battery to generate remote

TN-wireless TN type remote: Circuit board with long inductors.Need to install battery to generate remote

● Difference between TE-wireless TE type remote and TN-wireless TN type remote :
The TE type remote has 2 triode and the TN type remote no has(Fig. 2)  and support for generating different chip types
● Smart key type remote: Most of the key appearance is hidden key balde or without key  blade, The circuit board has 3D inductor or 3 independent inductors, need to install the battery generation.(Fig. 3)

Note: Customer can check the remote type by using “Remote function-Detect remote”
Attention:Only the TK type remote does not require batteries to be installed during the remote generation process, other remote type require 3-volt batteries to be installed during the remote generation process, and do not move the device or remote during the remote generation process, as this may result in the failure of the remote generation.

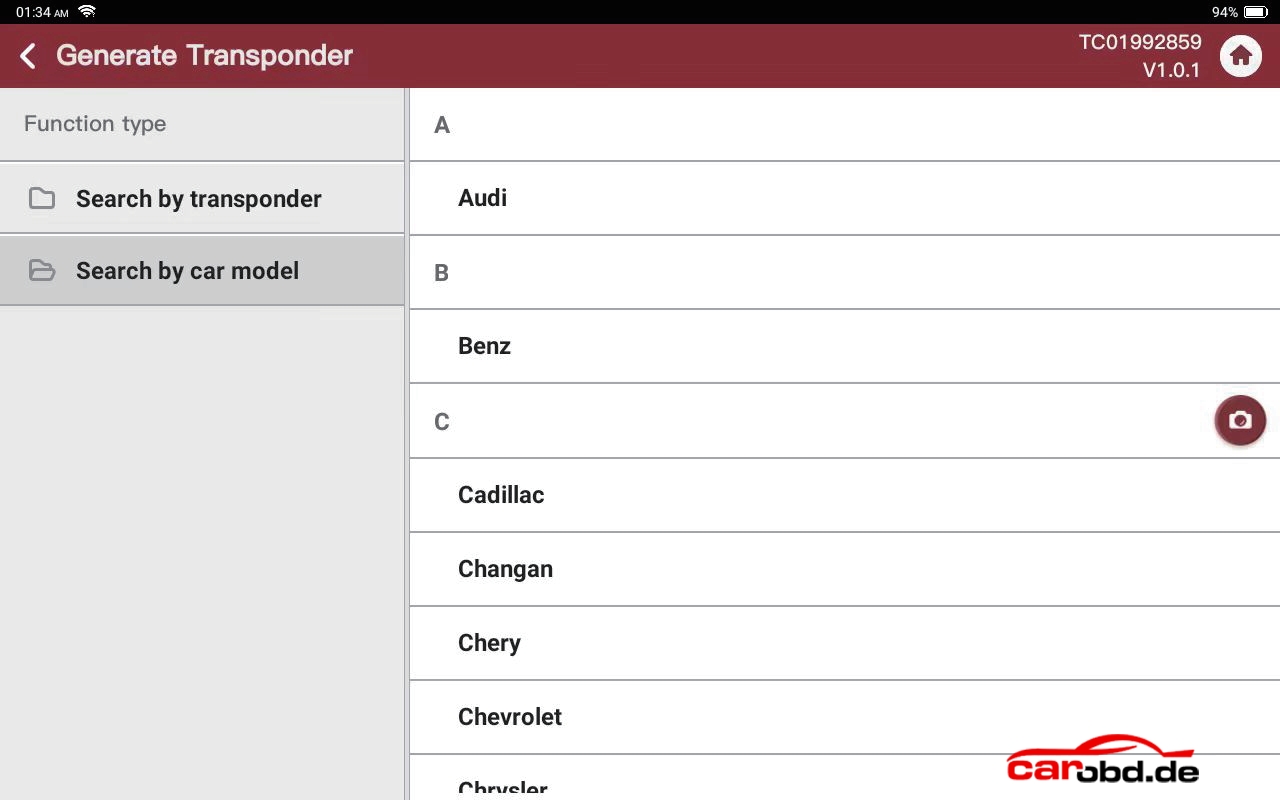
  • Main Function 2:  Chip identify and Chip generation
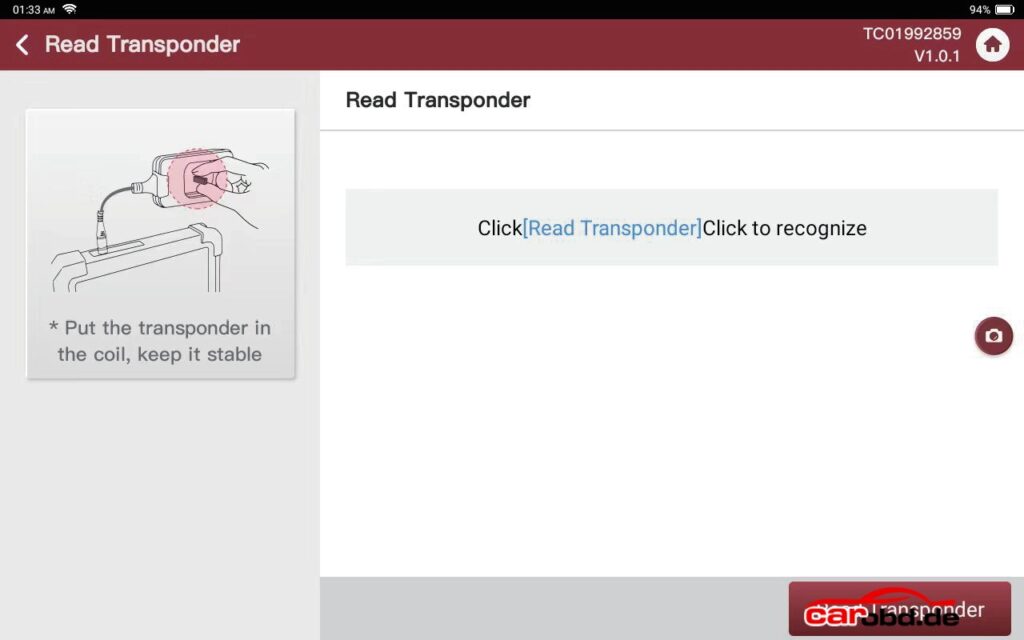

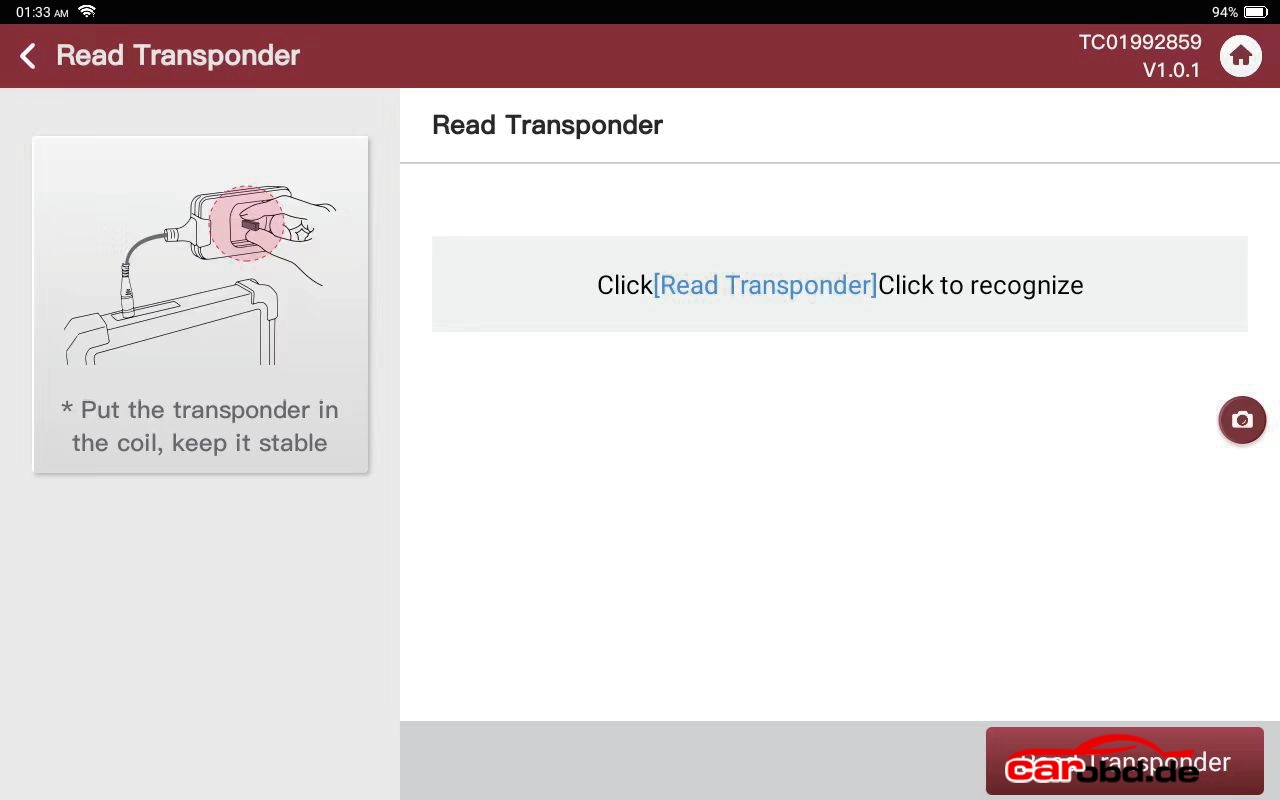
Chip identify: Put the original chip or remote chip into the device coil , which can identify the current chip type and information.

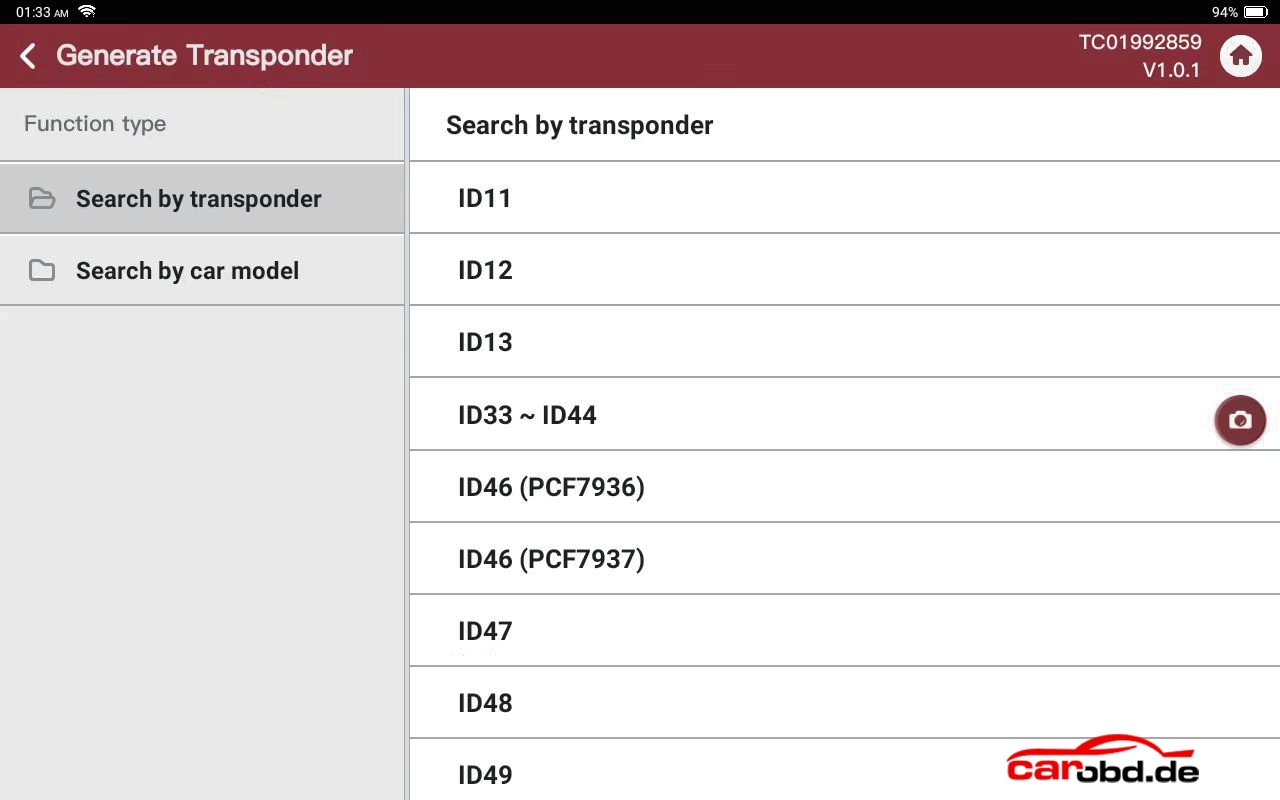
Chip Generation: Put super chip or TN Type remote in the coil  to generate the corresponding chip .

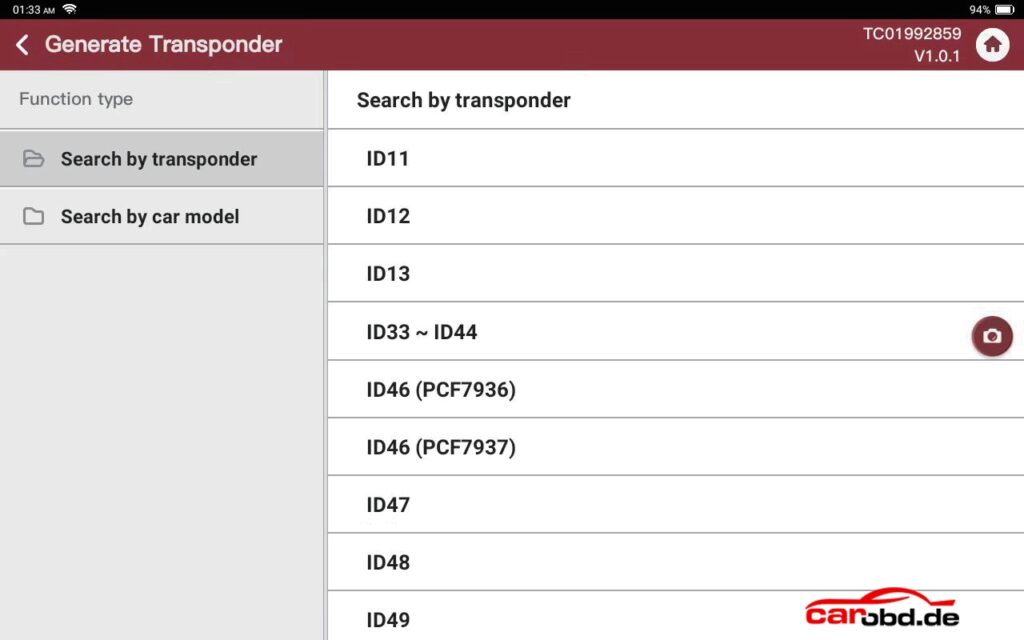
Note:Because different years or models, the chip type is not the same, you need to consult the relevant chip information or identify the original key to confirm the specific chip type.
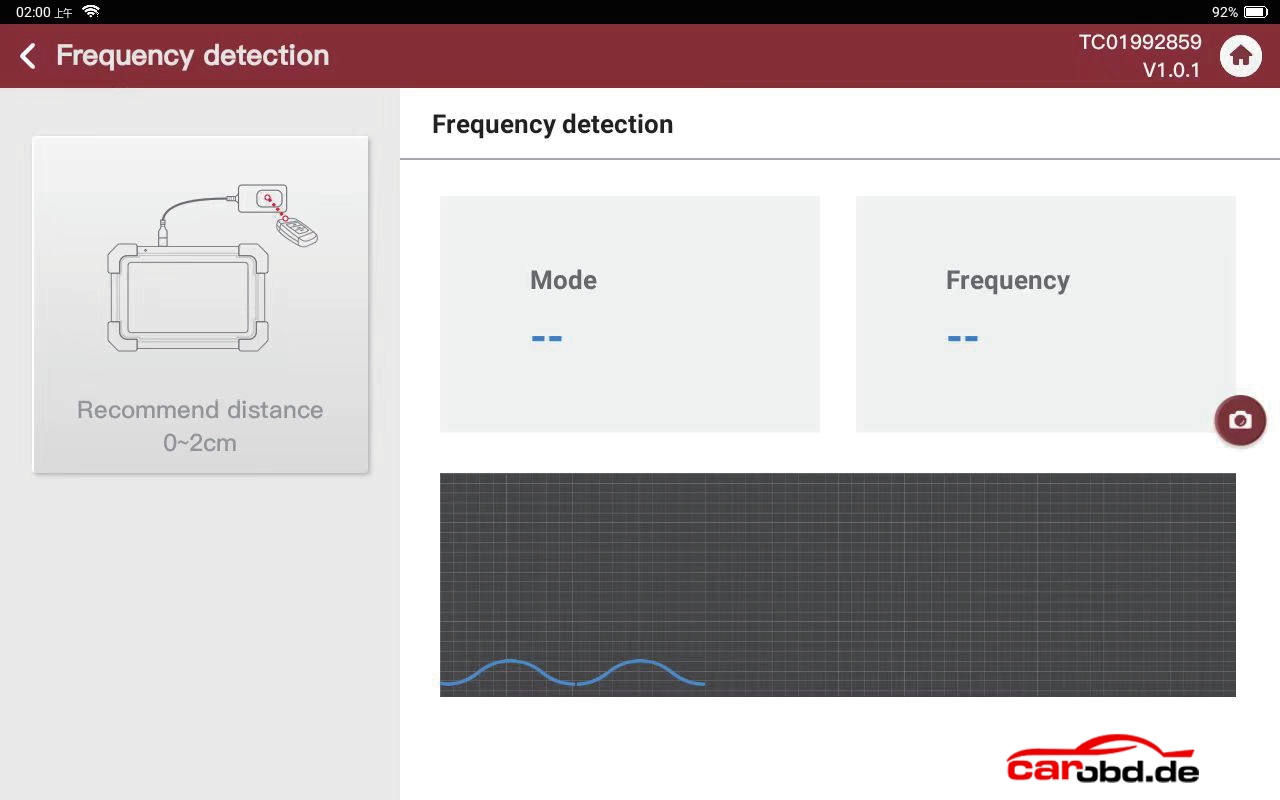
  • Main Function 3: Frequency Detection


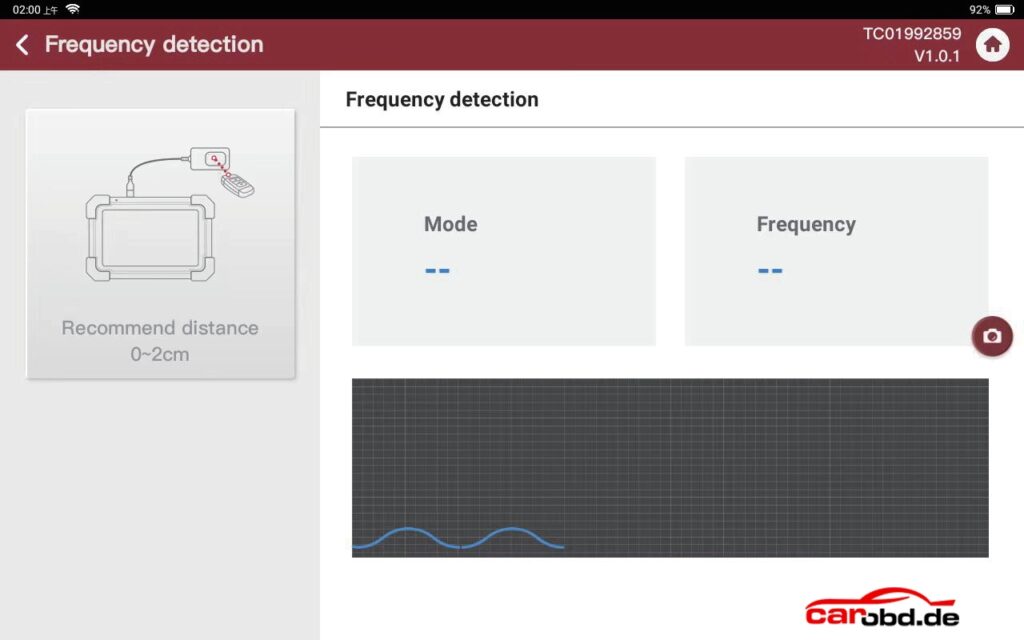
Frequency Detection: Align the remote frequency detection area and press the remote button to recognize the remote frequency

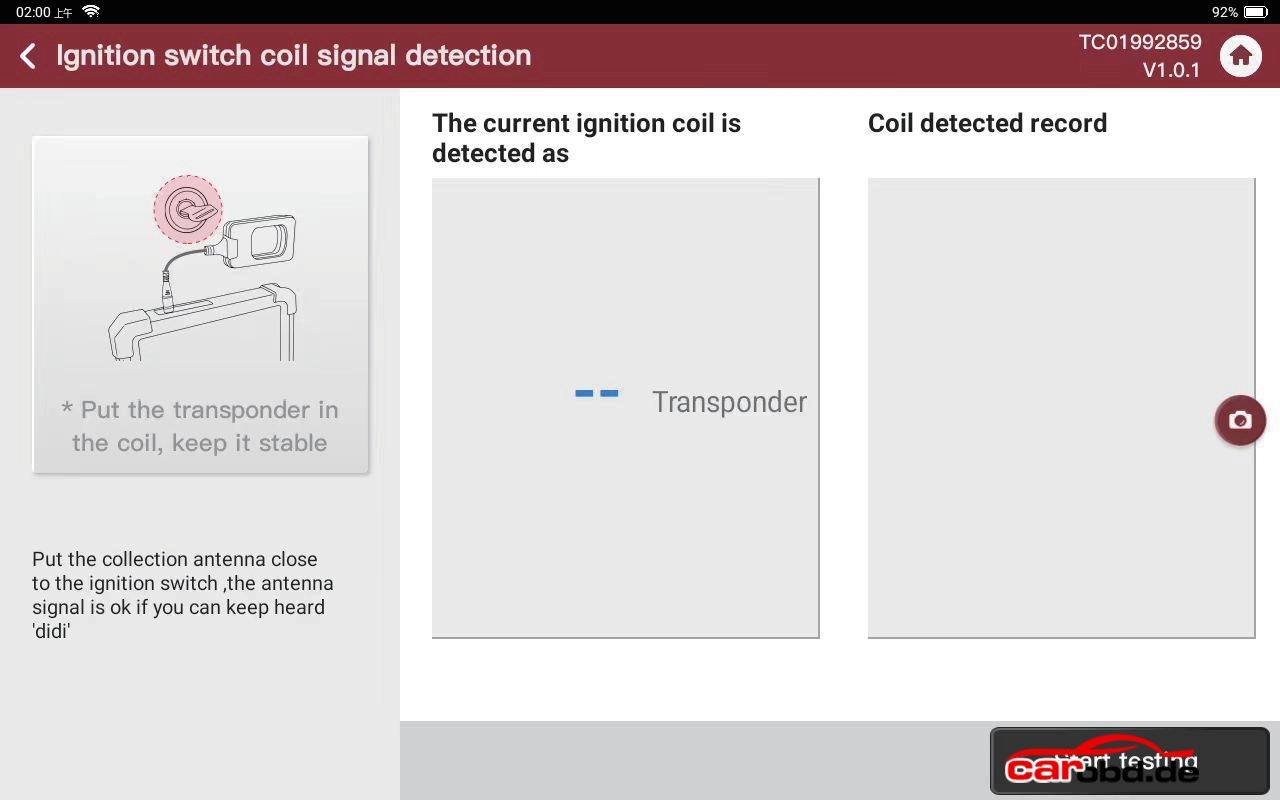
  • Main function 4: Ignition coil detection
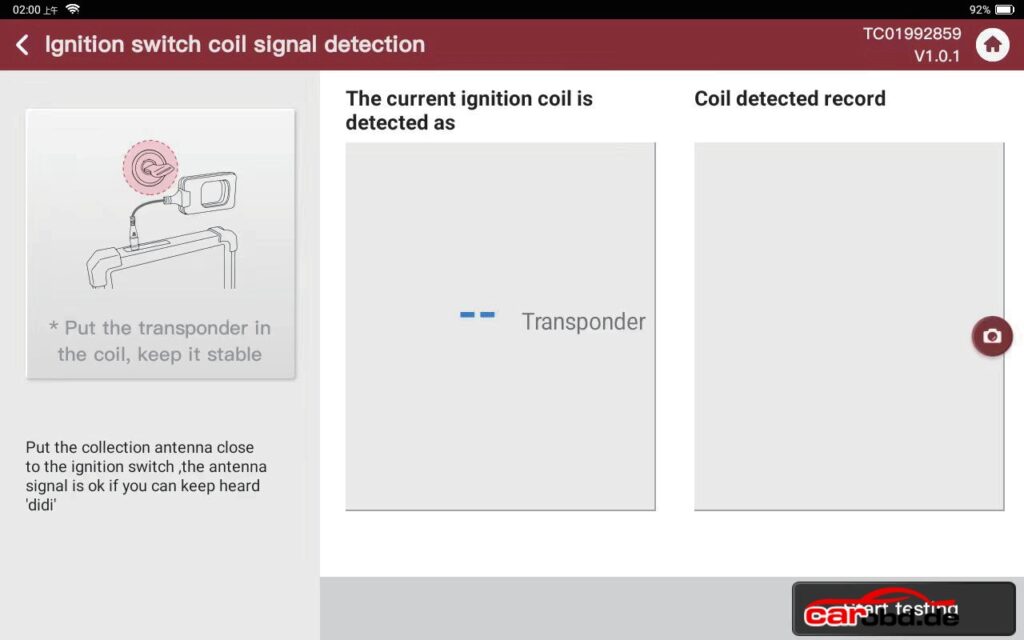

Put the device coil close to the ignition (close to the emergency sensing area if it is push start car model), turn on ignition or push start button , when you hear the dripping sound, it means that the coil signal is detected, you can detect 46 chip, 47 chip and part of the 4D chip type, if it is the other chip type, it will only show the 4D, it’s mainly used to confirm that the coil is working properly.

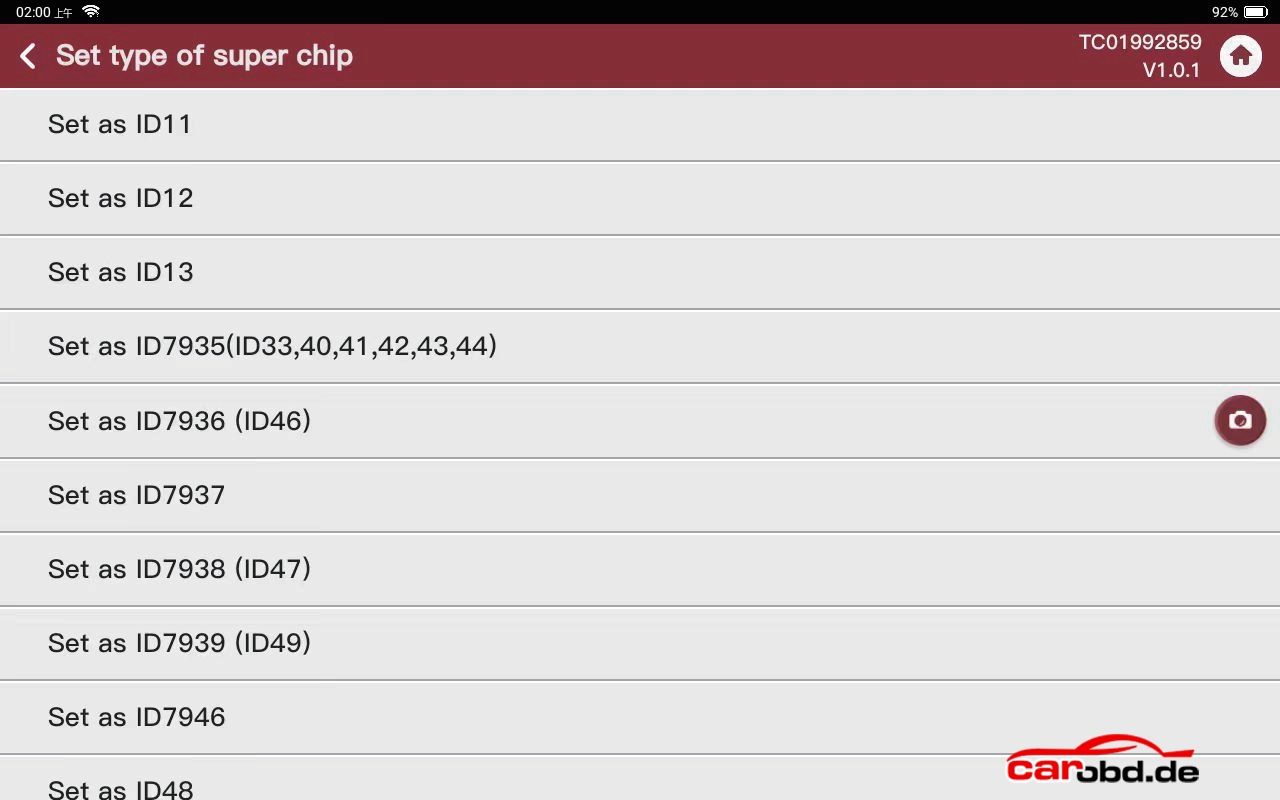
  • Other functions

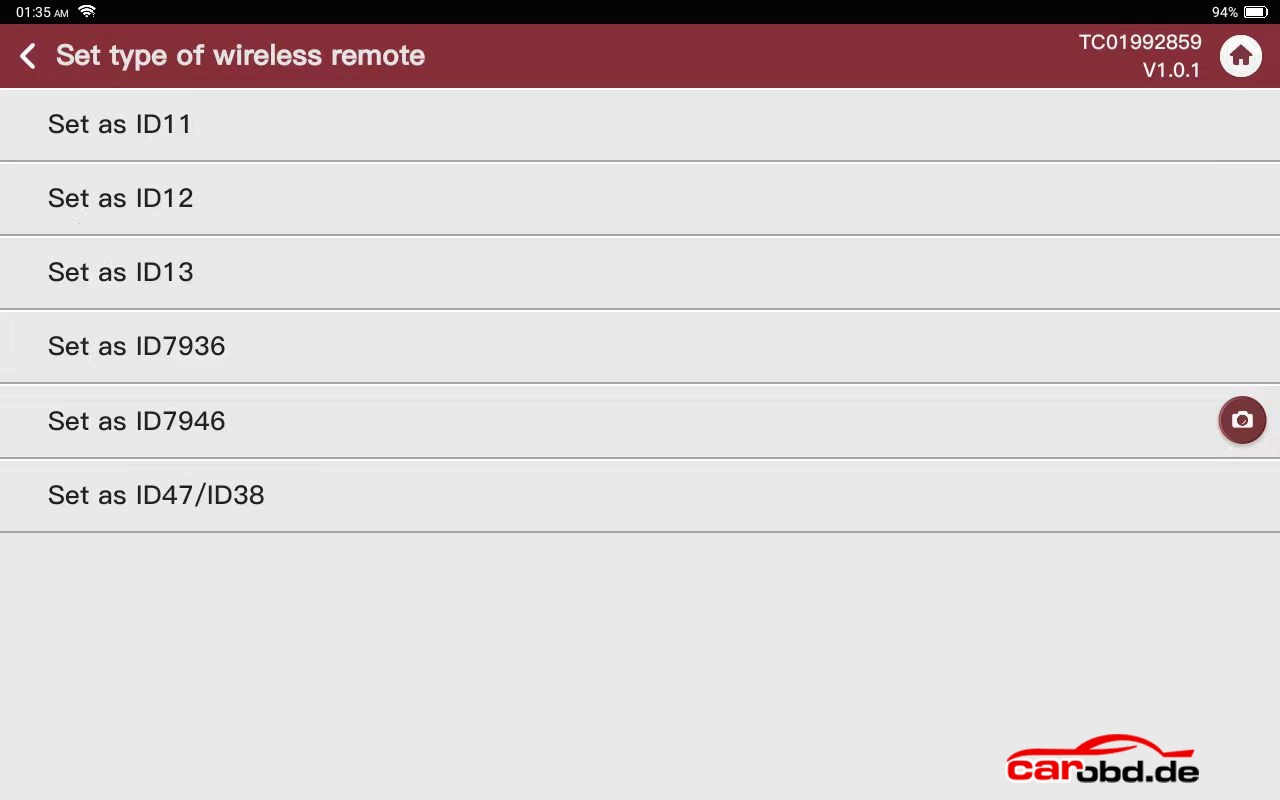
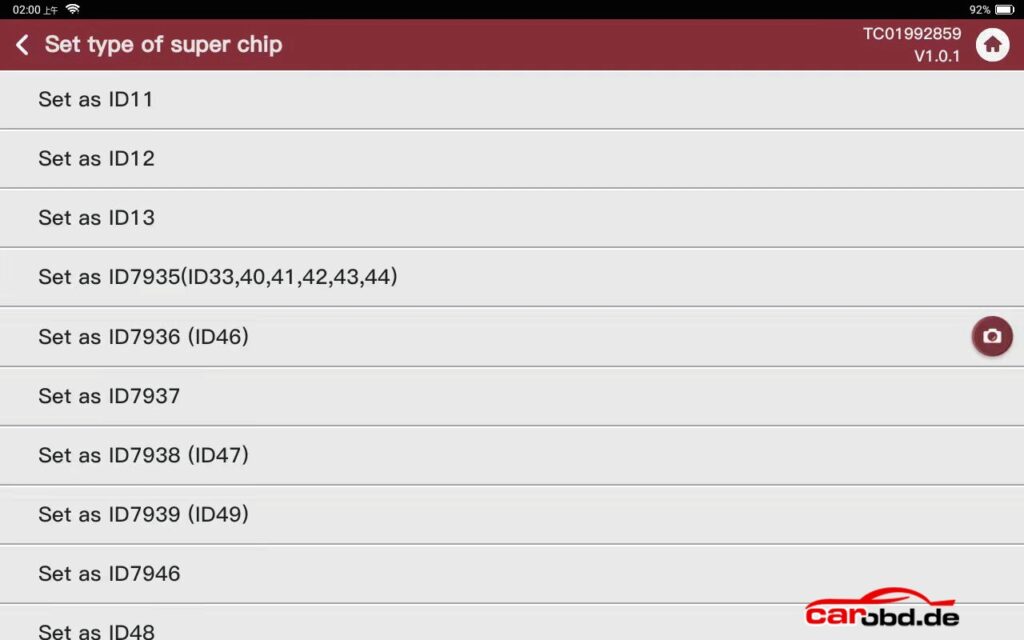
Super chip type setting: Put the super chip into the device coil , select the option to set the super chip to the corresponding chip type, as well as reset the super chip to a blank 46 chip.
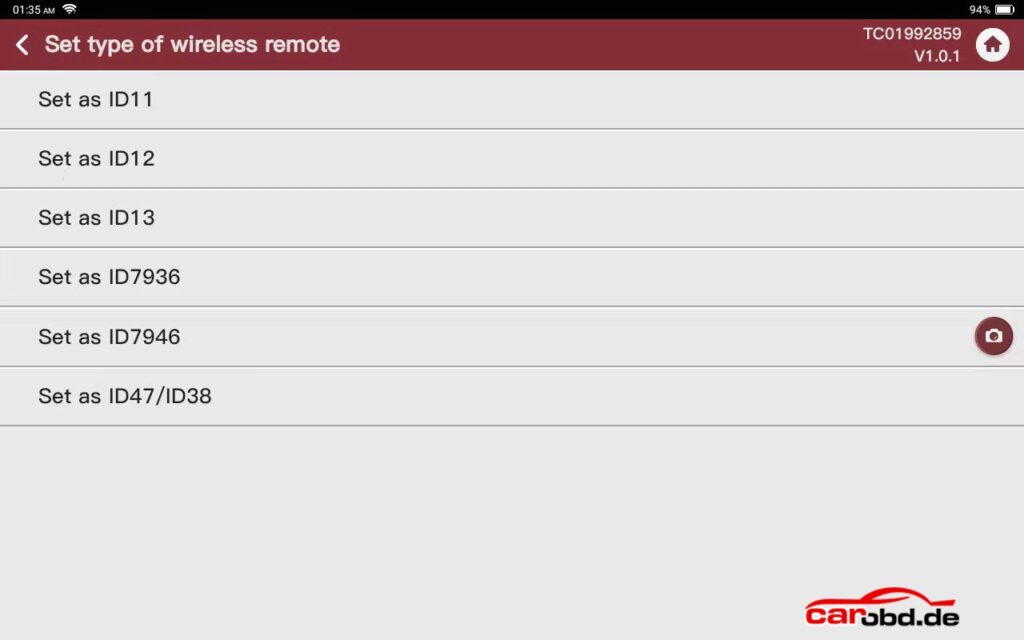
TN type remote setting: Put the TN type remote into the device coil , select the option to set the TN type remote to the corresponding chip type
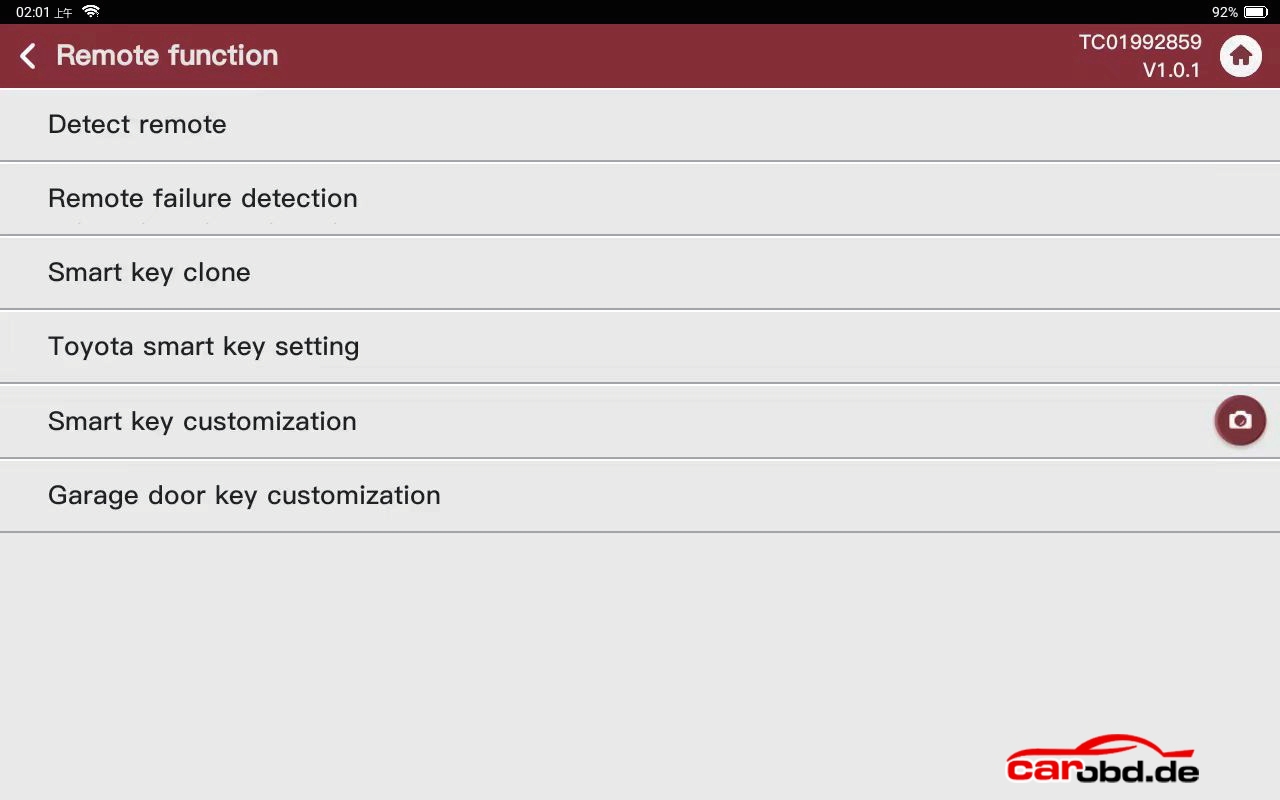
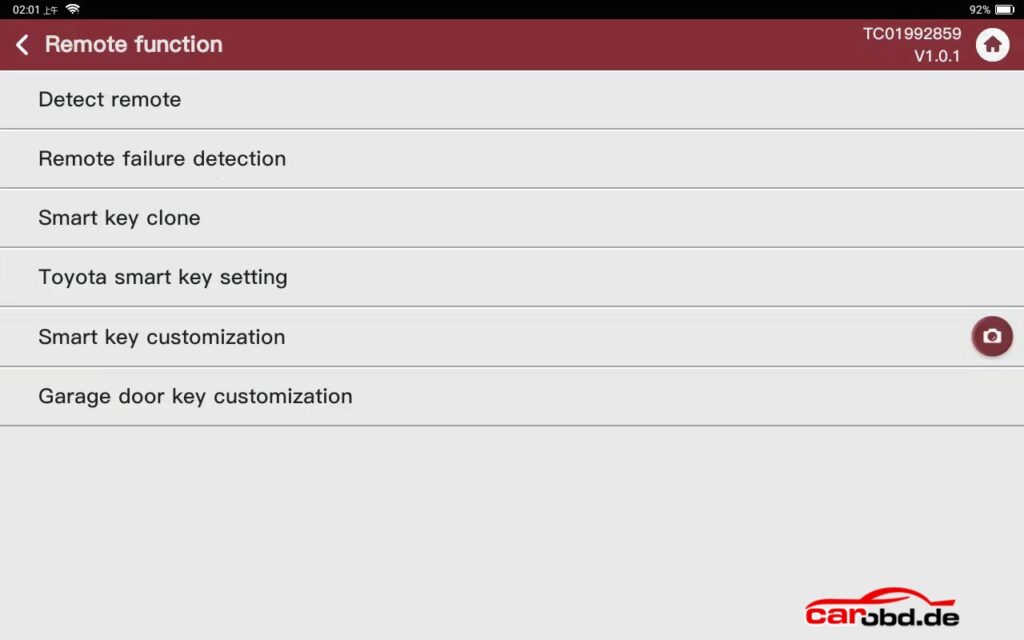
Remote function

Detect remote, partial information about the remote can be detected (cannot be used to confirm the generated program)
● Remote failure detection: Sudden failure of the remote in normal use requires the use of  this function under the guidance of a technician
● Smart key clone: Put the programmed smart key into the coil to read the data, then put a new smart key that needs to be generated with the same remote options into the coil to write the data, the new smart key will have all the functions of the programmed smart key  and the programmed smart key will no longer work, (This feature is used to exchange a programmed smart key for a new smart key without reprogramming, can’t be used to add a key or clone a key, and does not support MQB and VW48 smart key exchanges.
● Toyota TM38 smart key Settings: Used to change Toyota TM38 smart key frequency, key button and signal strength, no need to program key again after writing (only support to change the TM38 smart key , do not support the option of BA, 4A, do not support tochange the original key)
● Smart key customization: This function is used to change the key position of smart key and smart key remote sensitivity by placing the smart key into the coil to read and change the values and write them back when all changes are complete, no reprogramming is required after the write back.
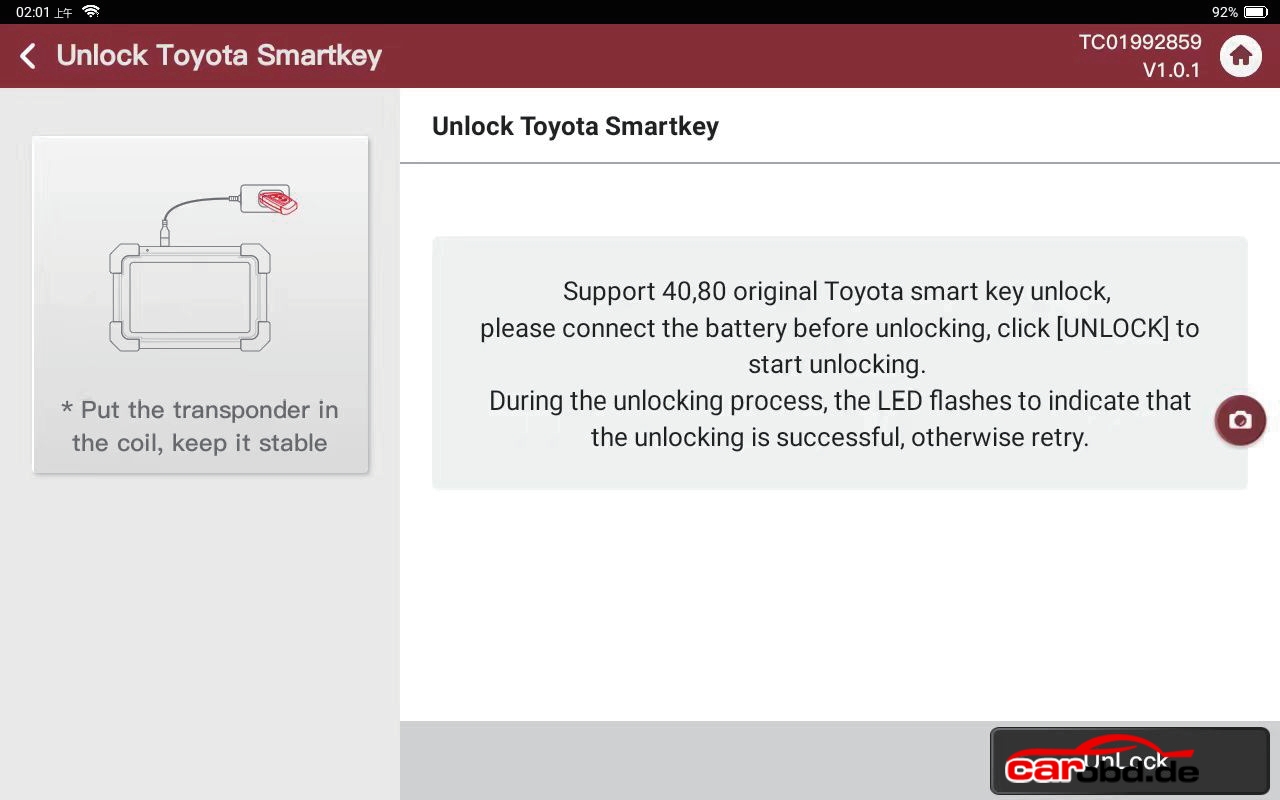
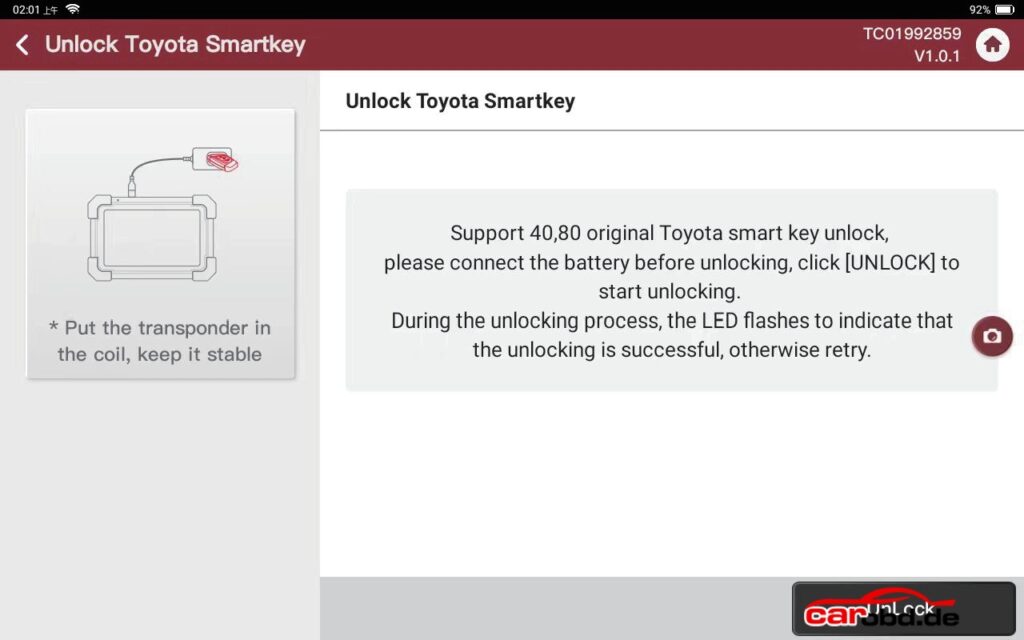
Toyota smart key unlocking: Support 40, 80 bit original Toyota smart key unlocking, need to install the battery before unlocking, during the unlocking process, the LED light of the key blinks, and prompts the unlocking success that is complete, otherwise retry.
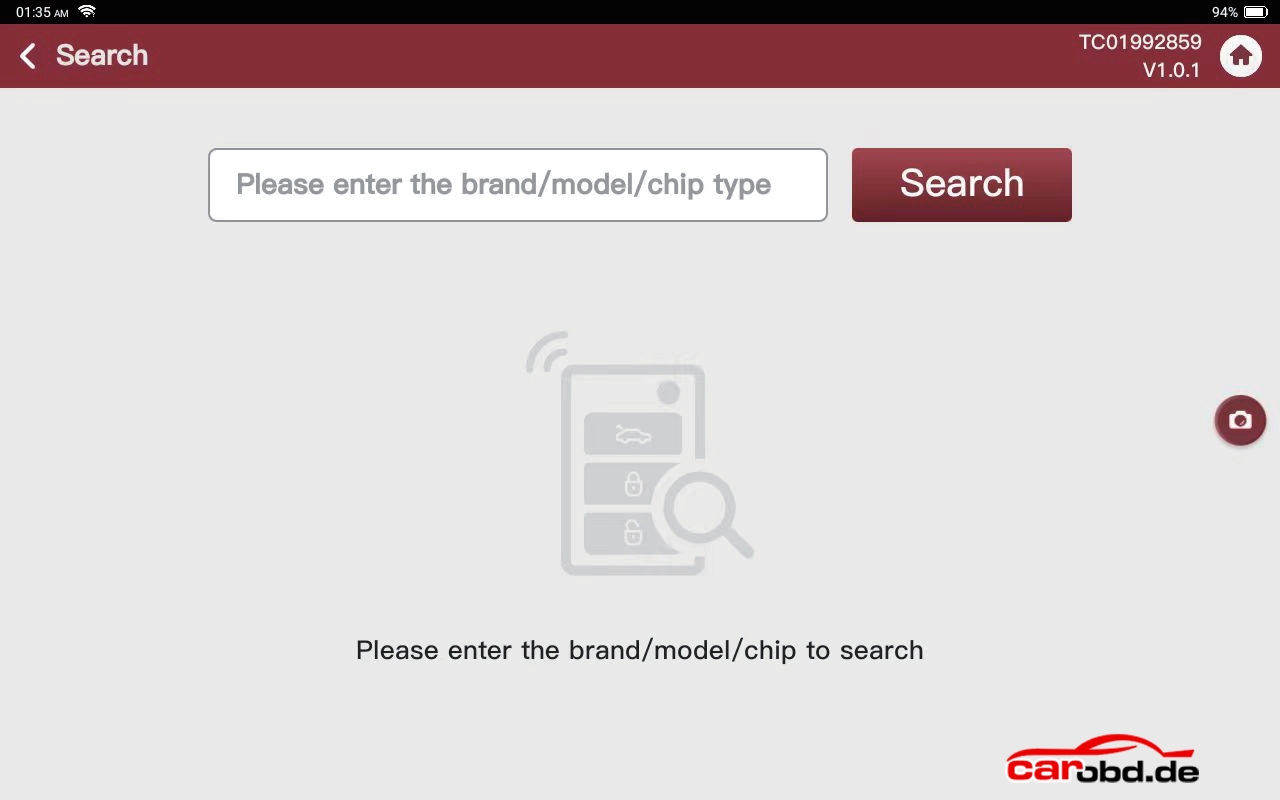
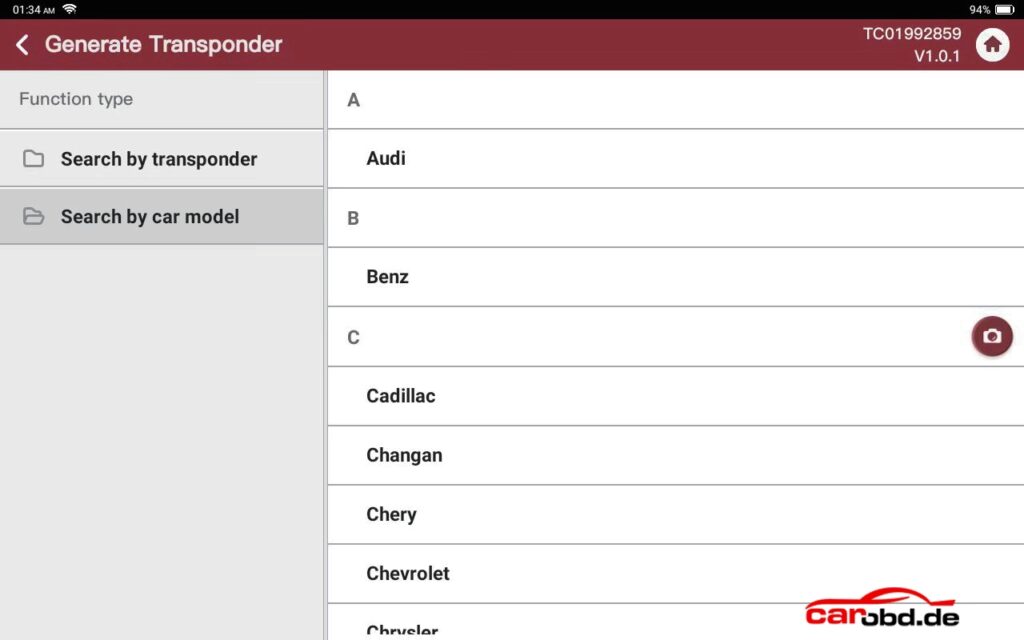
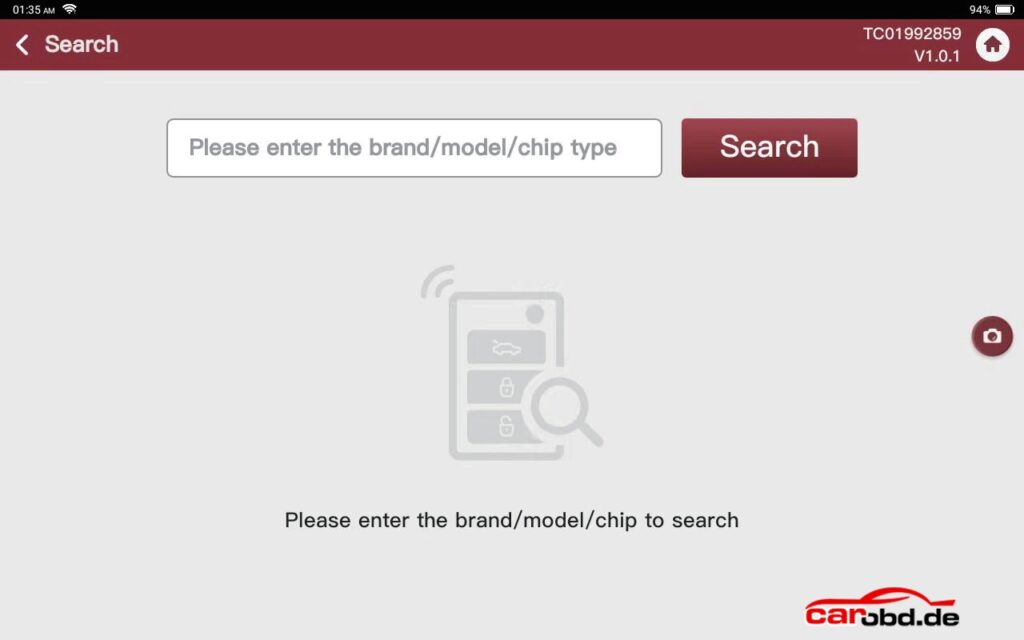
Search: Search for make, model, and chip type
Entering the corresponding brand model or chip type will give you the corresponding remote  and chip result options.
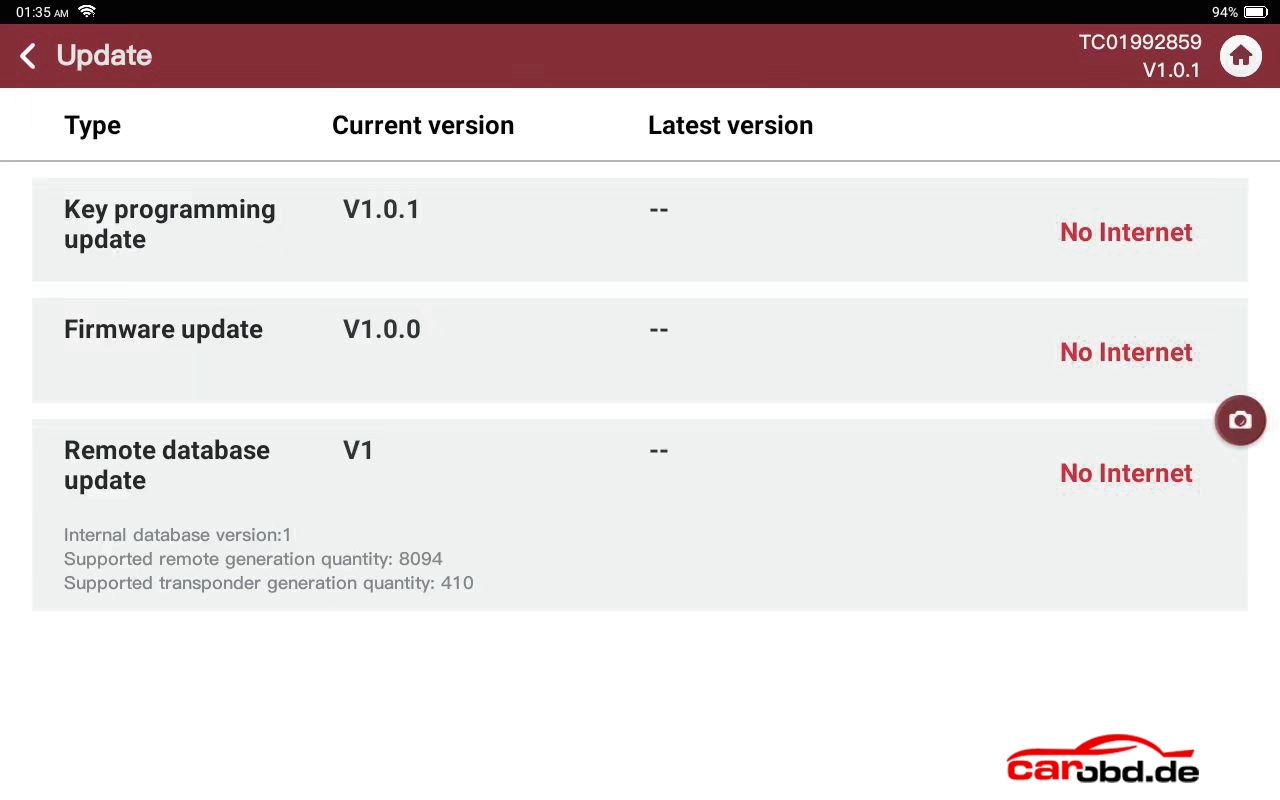
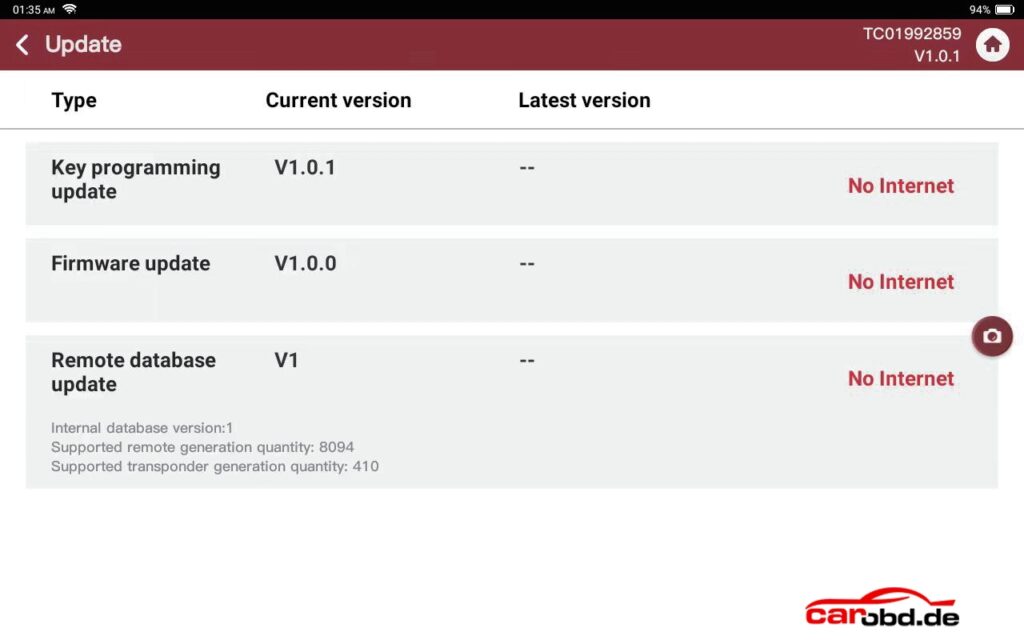
Update Center: Online key programming updated, firmware update and remote database update
How to Repair BMW FRM3 Module with CK-Prog Automatically ?

We will introduce how to use CK-Prog programmer to repair BMW FRM3 footwell module data automatically

Example: 2011 Mini

Symptoms:
1. Headlights stay on constantly
2. Turn signals not working
3. Power windows not functioning

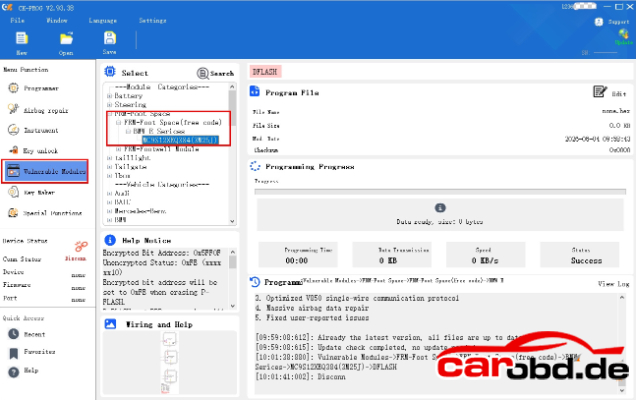
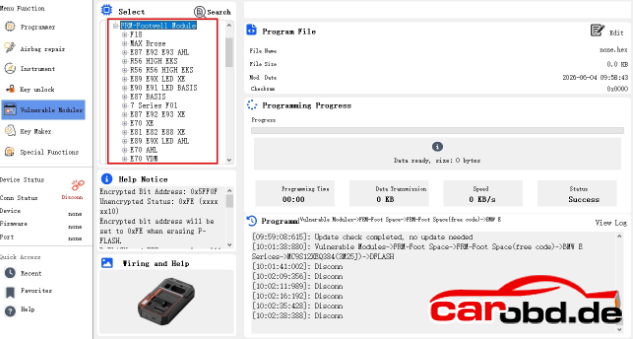
In CK-Prog software, select Vulnerable Modules-BMW-FRM-FRM Footwell (free code)-MC9S12XEQ384 (3M25J)

Free coding (no coding requires)here means the FRM has not been processed by any devices.

If the FRM module is brand new or has not read by any tools, select free coding option.

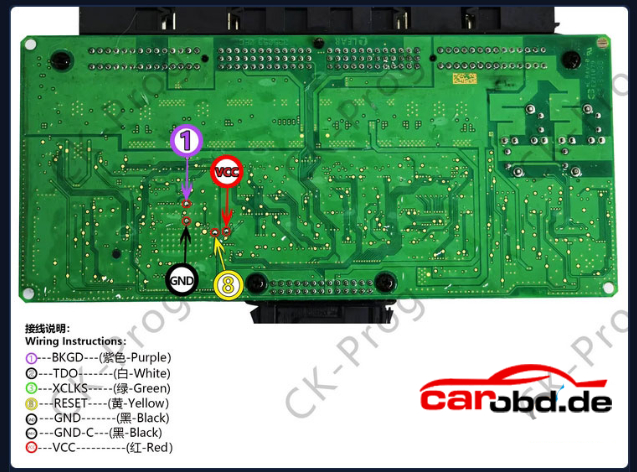
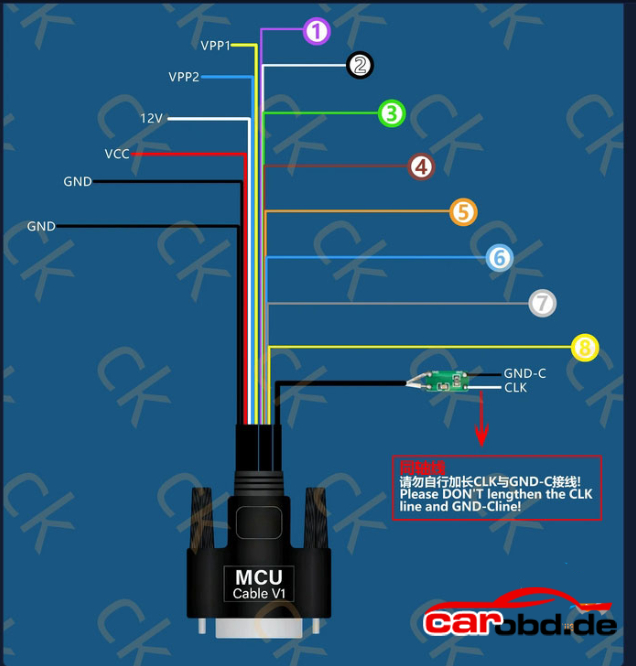
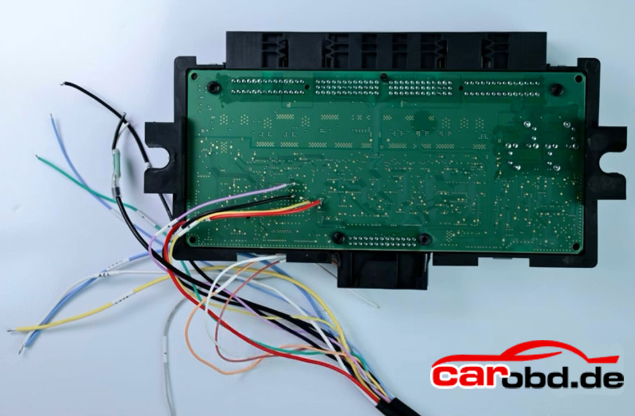
Check the wiring diagram

Wiring is very simple- only 4 wires need to be connected.

1-BKGD-Purple

GND-black

VCC-Red

8-RESET-Yellow

Encrypted Bit Address: 0x5FF0F
Unencrypted Status: 0xFE(xxxx xx10)
Encrypted bit address will be set to 0xFE when erasing P-FLASH.
D-FLASH and EEPROM space size will be judged automatically.

Steps
1. Use( Unlock) to decrypt the chip, the original encypted bit data will be displayed in the window.
2. You can read D-FLASH, EEPROM, P-FLASH, POF data, and rewrite new data multiple times.
3. Use(Lock),enter the original encrypted bit data read in Step1.
Mask: 2M25J ID:C482
Mask: 3M25J ID: C482
Mask: 0M12S ID: C483
Mask: 1M12S ID: C483

CK-PROG will repair the module automatically.

The software has a built-in algorithm for automatic repair. After installation in the vehicle, no coding is needed-it is ready to use.

If the FRM has already been processed by other devices:

Select the appropriate option below based on the FRM type to be repaired. Choose the correct type for the corresponding repair.

For more technical support ,please contact

Jenny

Whatsapp: +86 19947637411
Email: Sales@Carobd.de

How to Download, Install and Update CK-Prog Programmer Software

Tutorial : How to downoad, install and update CK-Prog universal programmer software.

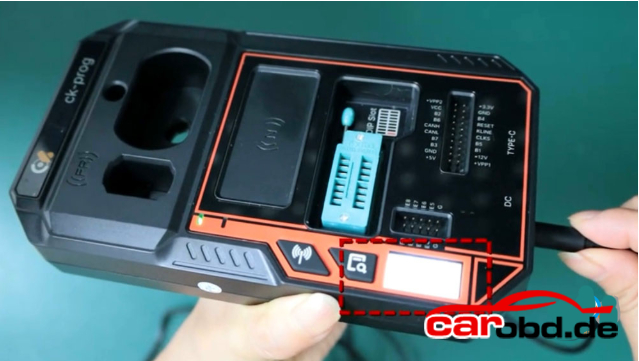
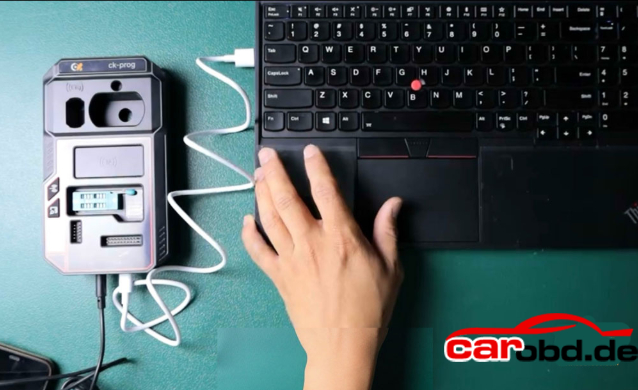
Connect the power cable and check if the small screen turns on.

If the screen lights up, it means there’s no issue with power cable

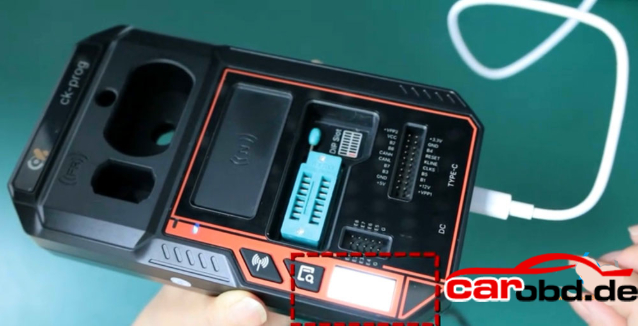
Next, check if there’s any problem with the Type-C USB connection.
The screen will also light up when you plug in the Type-C USB cable.

Connect CK-Prog programmer with the computer as follows:

CK-Prog software download link:

Download CK-Prog software (Language: English/Chinese)

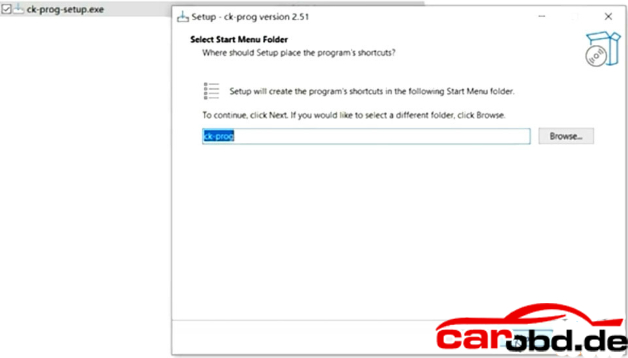
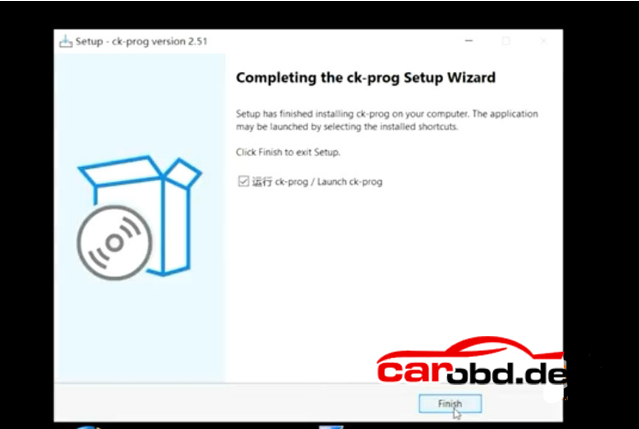
Download and install CK-Prog setup.exe software.

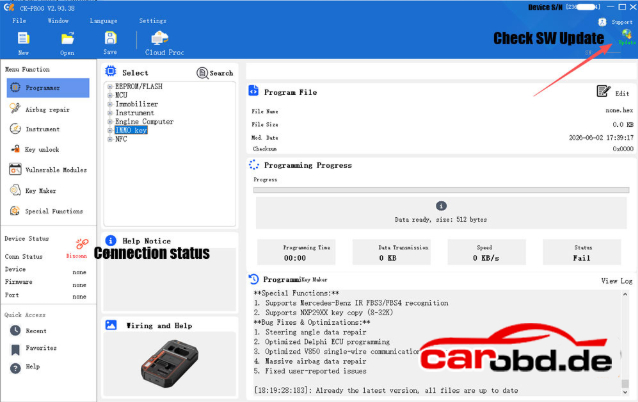
Run CK-Prog software.

Check device serial number on the top right corner

Check new software update. The CK Prog comes with 1 year free update
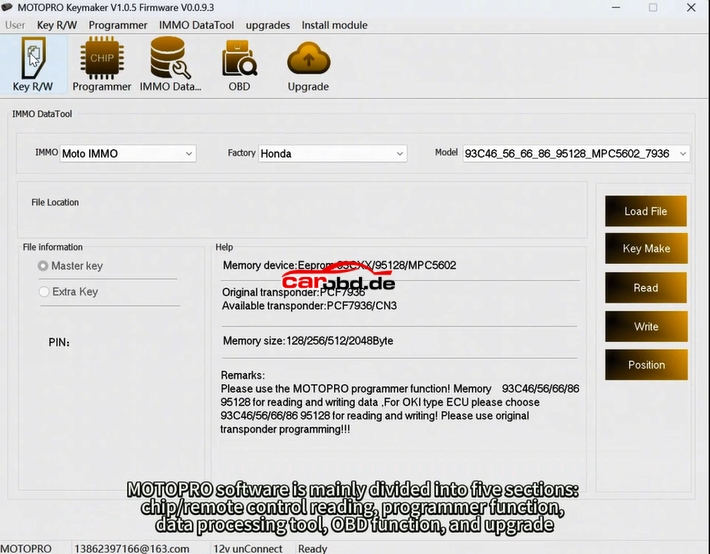
Now the CK Prog device is ready to use.

Check the CK-Prog ECU/MCU/Dash/Airbag/IMMO Coverage here:

https/xnt.ac.cn/ckproghelps/index.html

How to Add BMW G Series BDC2 key with Vapon VP100

VAPON VP100 BMW Key programmer is an affordable solution for BMW BDC2 key programming. VP100 support adding spare keys for 2015-2021 BMW G series with BDC2 Chassis

  • Support 2015-2021 BMW G Chassis model key adding
  • Covering BDC2 immo system 
  • No token limited
  • No annual fee required, permanent free license
  • Compatible with BMW OEM remote

Vehicle Supported

Model         Chassis Code      Year
X3              F97                    2019/04-2021/07
X3              G01                   2017/12-2021/07
X4              G02                   2018/04-2021/07
X4              F98                    2019/04-2021/07
5 Series      G30                    2016/11-2020/06
5 Series      G31                    2017/03-2020/06
5 Series      G38                    2017/05-2020/08
6 Series      G32                    2017/07-2020/06
7 Series      G11/G12             2015/07-2019/02
X3/iX3        G08                    2018/05-2021/08
M5            F90                      2017/11-2020/06

Here is the procedure to add BMW BDC2 key using VAPON VP100

Main Steps:
1.Backup data
2.Preprocess data.
3.Generate dealer key
4.Learn key.

Step 1: Back Up coding

Please connct VAPON VP100 key programmer with BDC2 module as following.

Before programming key, we need to back up the data

Select “Backup Encoding”function

Reading Coding data
Backup data completed

Step 2: Preprocess data
Before pre-processing data, disconnect cables from VP100 device.
Disconnect cables from BDC2 module
Connect BDC2 adapter with BDC2 module
Then connect BDC2 adapter with VP100 programmer

Start the preprocessing procedure
1.Boot profeamming mode.

2.Download BOOTLOAD(bench)
3.Read Flash data(bench)
4.Restore SWFL
5.Restore coding data

Preprocess data completed

Step 4: Make Dealer Key

Disconnect BDC2 adapter from VP100 and BDC2 module
Connect cables with BDC2 module and Vapon VP100 again.

Select Generate dealer key function
Insert original key into VP100 RFID slot

Select an unused key position, here key #8

Obtain key information

Insert a new key into RFID slot

Wrie key information

Generate key completed

Step 5: Learn key
Put new key into the ignition and turn on the ignition
Press the ignition button for at least 15 seconds

This is the key learning process
Select Learn key function.
Now you can see key #8 has a new key programmed.

Key learning is completed.

Install BDC2 module back to the vehicle

Test both keys.

Done

How to change server connection area for CG100?

How to change server connection area for CG100?

Hello dear all CG100 users, these days , many customer met problem when open CG100 software : Device Service End Date is not expired , but software still ask you to pay to update … (as the picture following )
cg100x serve connection

If you met this problem, please do not worry , follow these steps and then it will be ok.

Open software –> settings –>Server connection –> Choose the server one by one
For example: First choose Mainland China , and then must restart software. If China server not work, then choose Asia Pacific,Americas,Europe,Middle East server one by one.
(Please note : Every time you switch servers, you need to restart the software)

cg100 serve connection

OBDSTAR X300 DP Plus Calculate YAMAHA MOTORCYCLE PROXIMITY 6-DIGIT PINCODE by Using Motorcycle IMMO Configuration 1

OBDSTAR X300 DP Plus Calculate YAMAHA MOTORCYCLE PROXIMITY 6-DIGIT PINCODE by Using Motorcycle IMMO Configuration 1

SP326 SF297 Calculate YAMAHA MOTORCYCLE PROXIMITY 6-DIGIT PINCODE

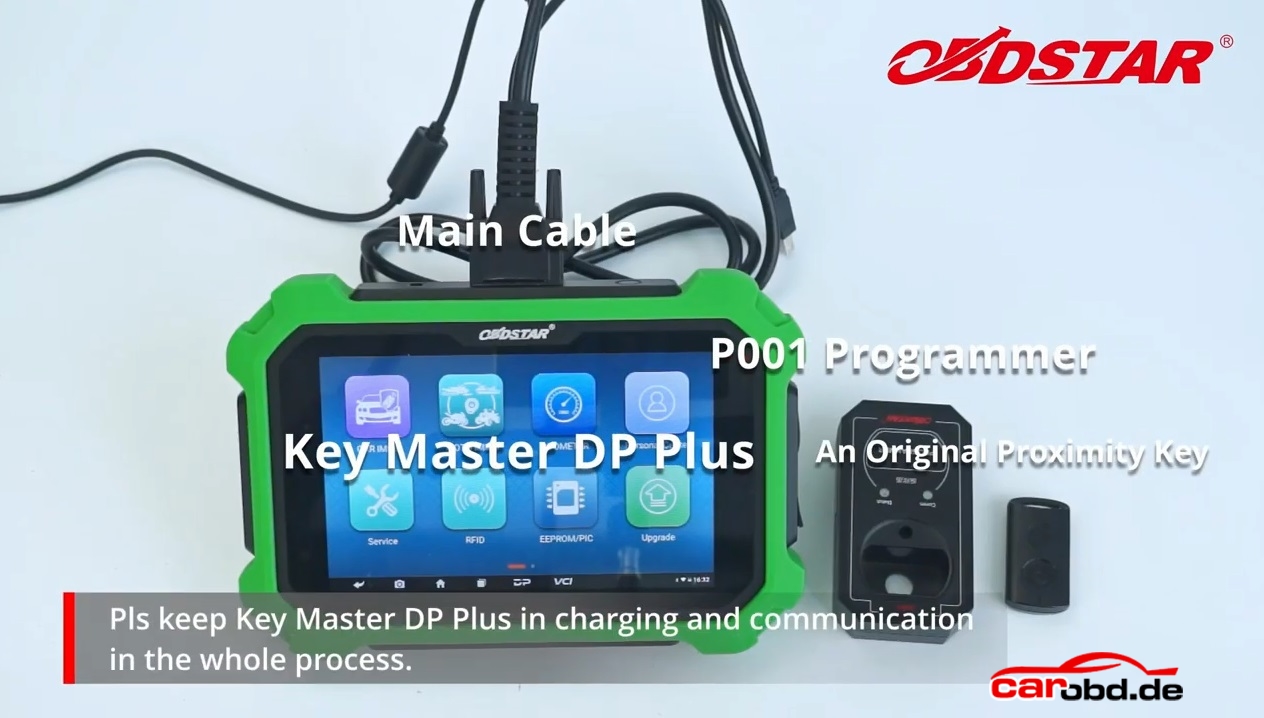
Step1: please connect X300 DP Plus via main cable and also prepare P001 programmer and proximity key.

Besides, please keep Key Master DP Plus in charging and comunication in the whole process.

obdstar x300 dp plus calculate yamaha pin code_1

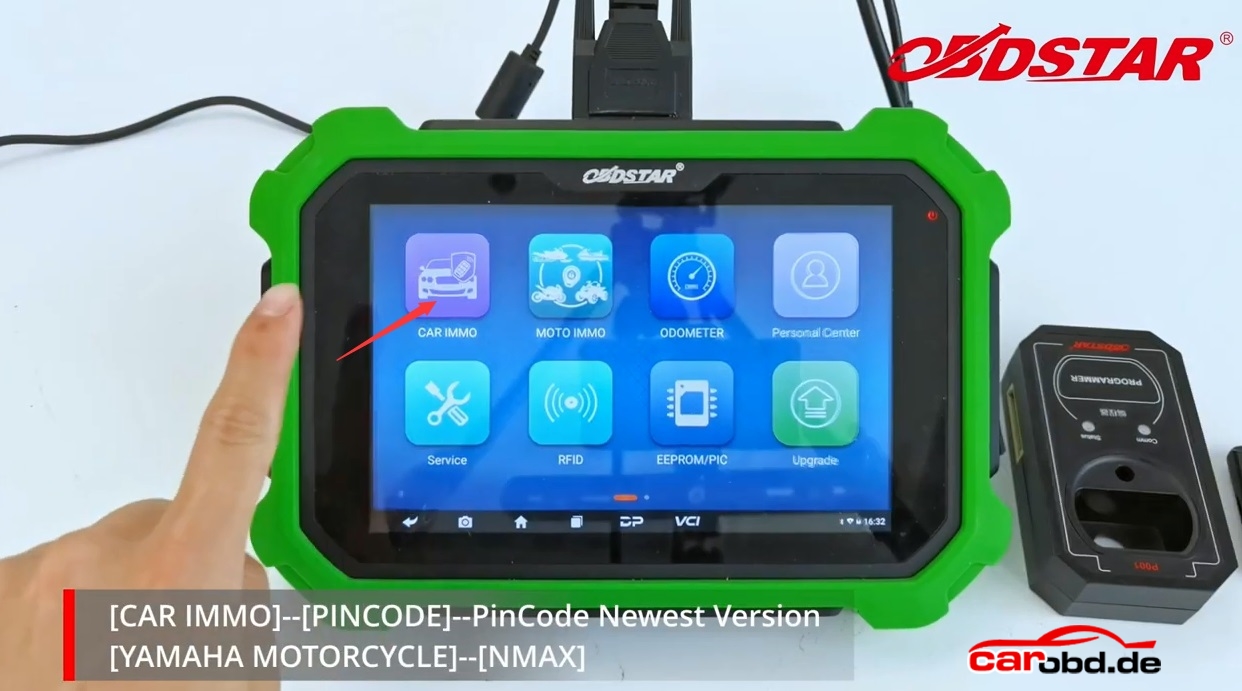
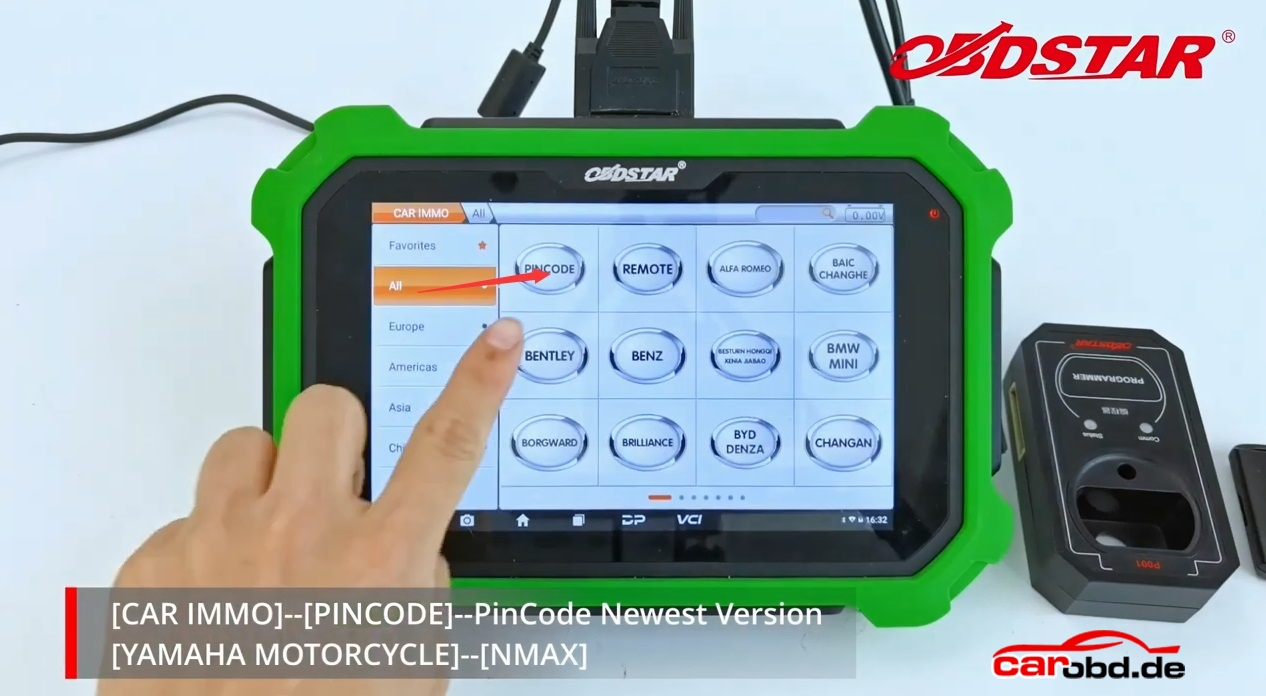
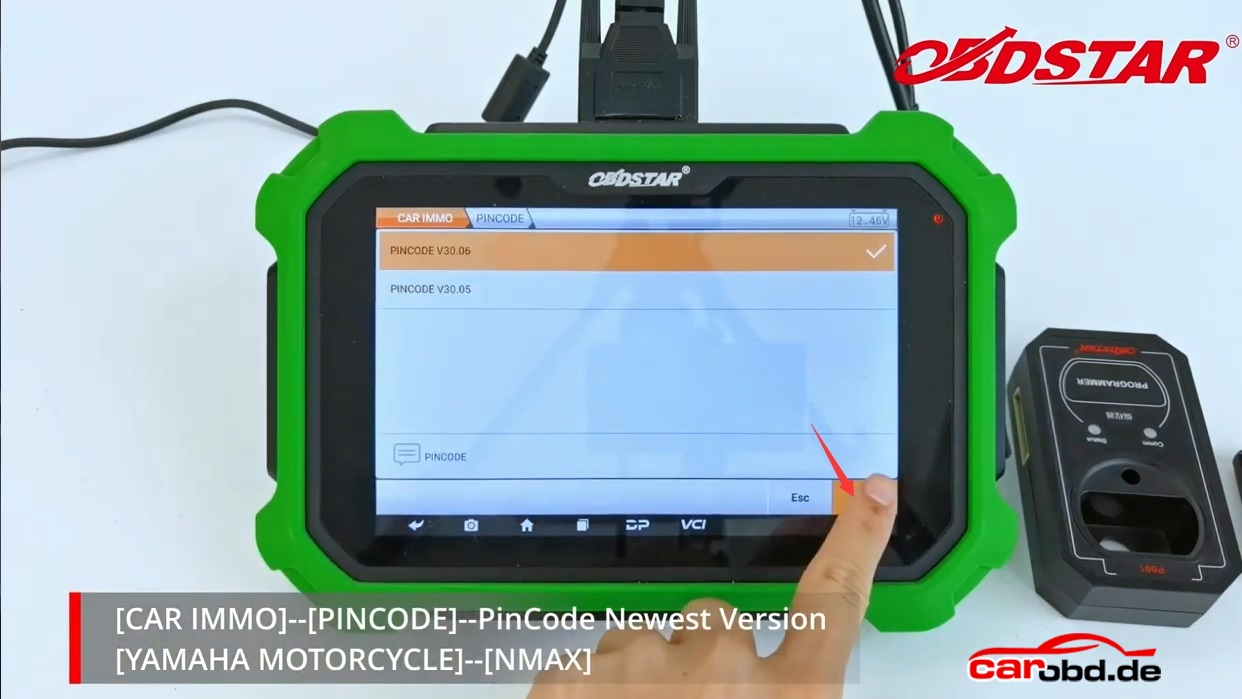
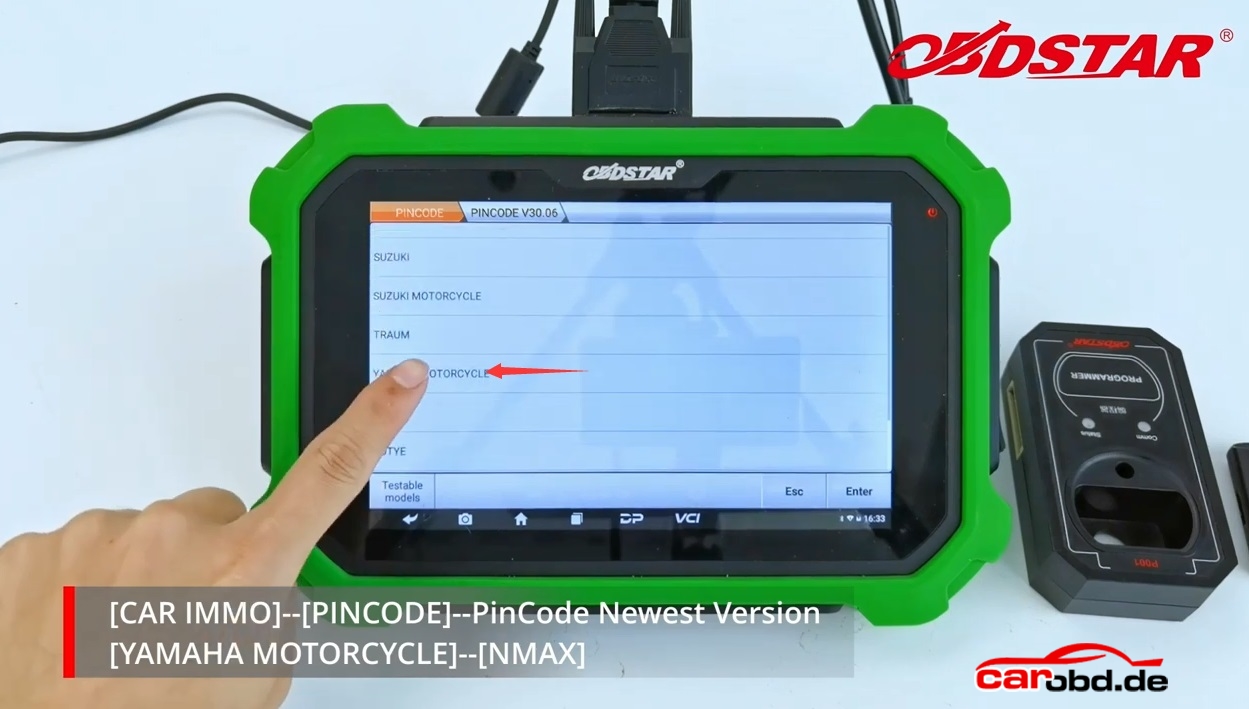
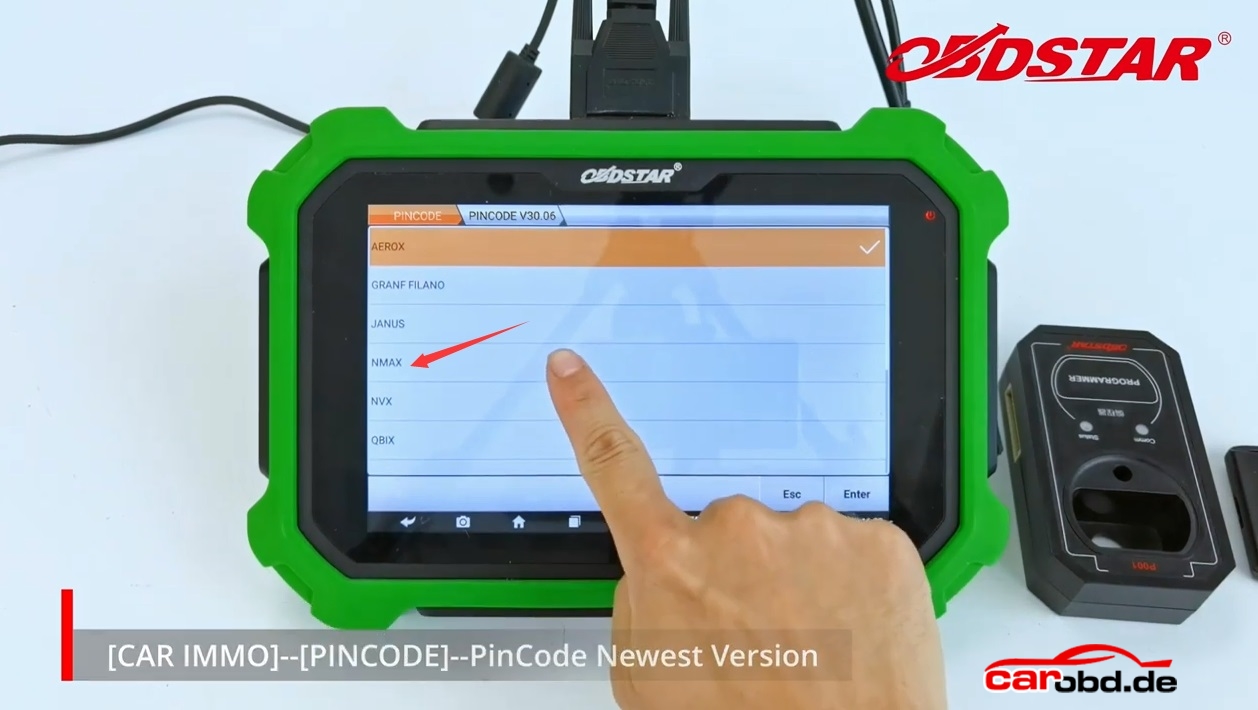
Step2:Select”Car IMMO”-“Pin Code”Newest Version-“Yamaha Motorcycle”-“NMAX”

obdstar x300 dp plus calculate yamaha pin code_4

obdstar x300 dp plus calculate yamaha pin code_5

obdstar x300 dp plus calculate yamaha pin code_6   obdstar x300 dp plus calculate yamaha pin code_7 obdstar x300 dp plus calculate yamaha pin code_8

Step3: There are 3 kind of method to tell how to get the pin code

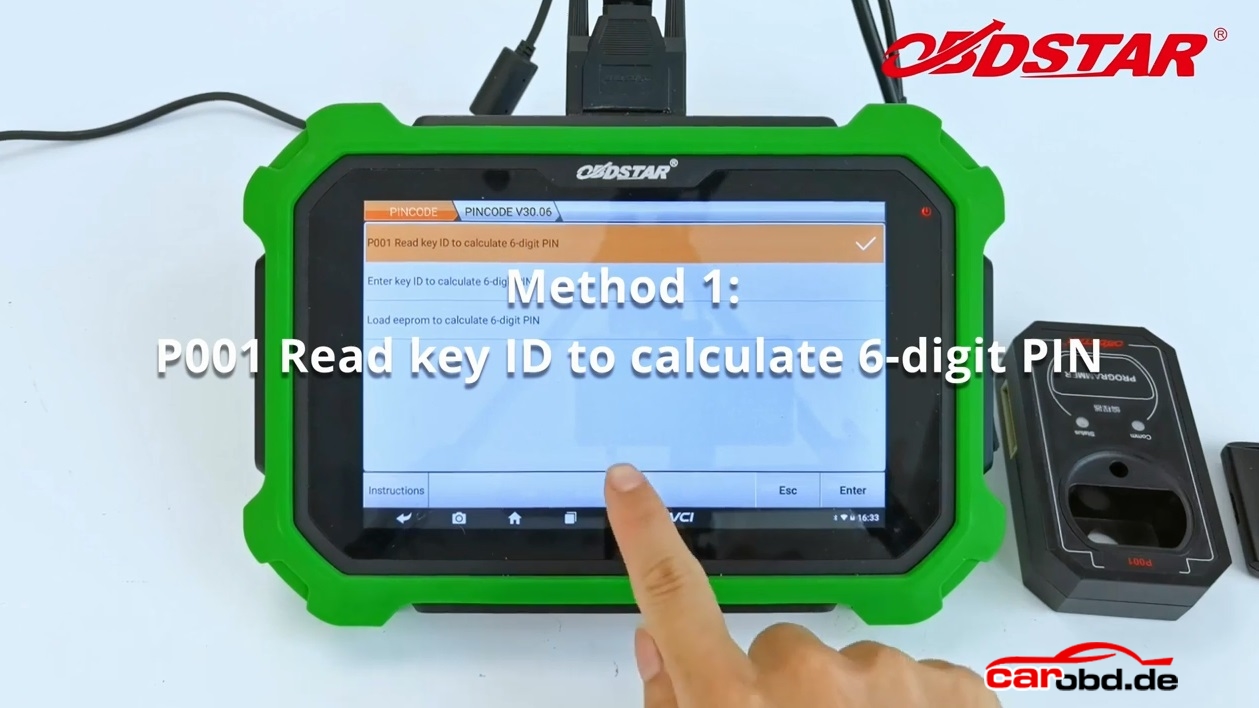
Here is the Method 1: P001 read key ID to calculate 6-digit PIN

obdstar x300 dp plus calculate yamaha pin code_9

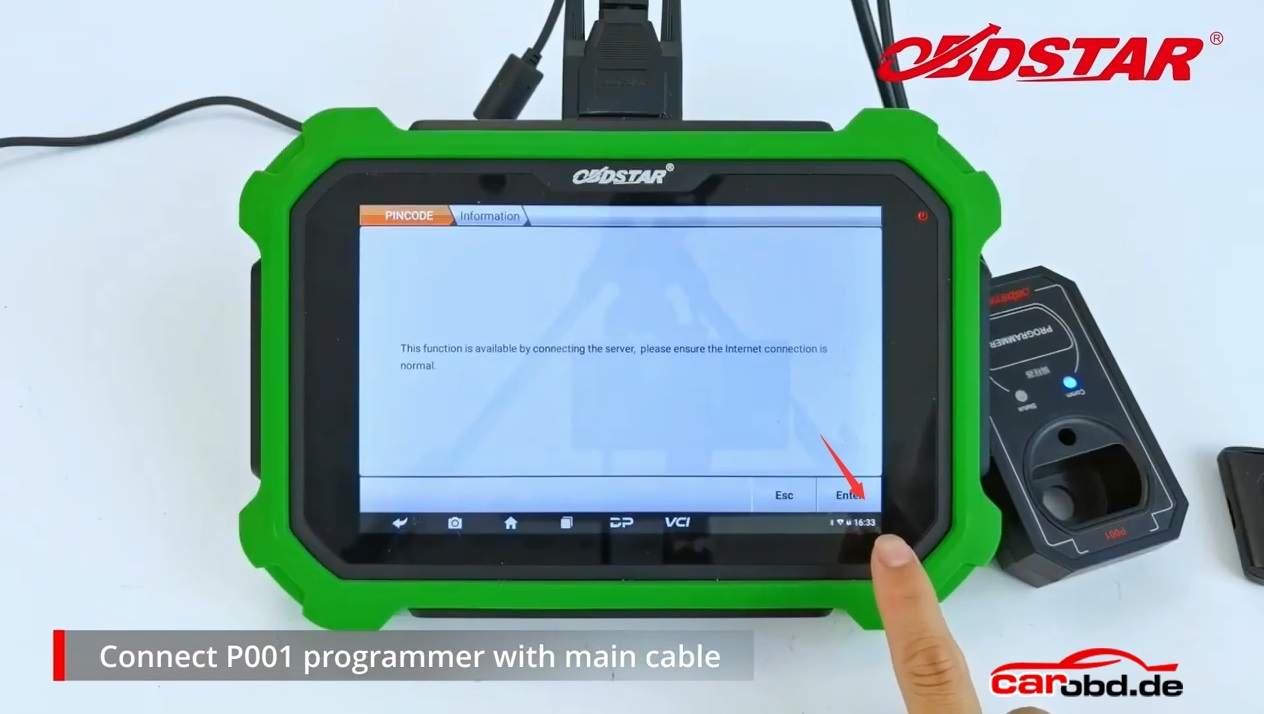
Connect P001 programmer with main cable

obdstar x300 dp plus calculate yamaha pin code_10

Enter the programm

obdstar x300 dp plus calculate yamaha pin code_11

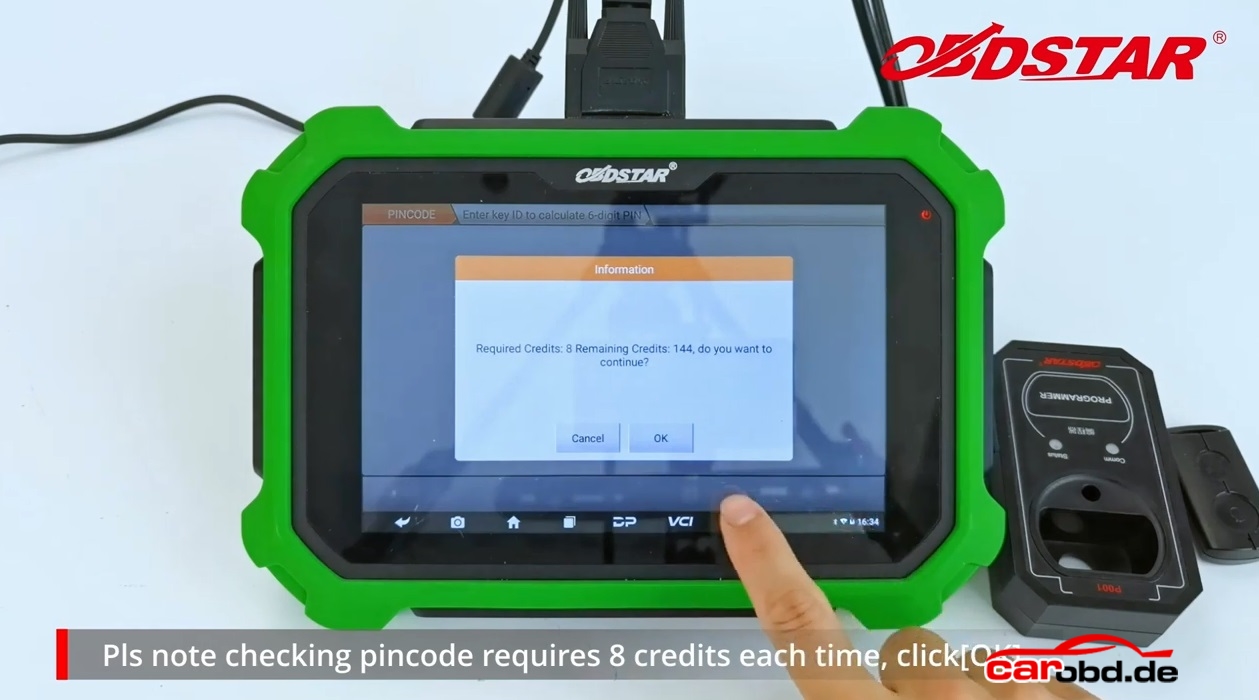
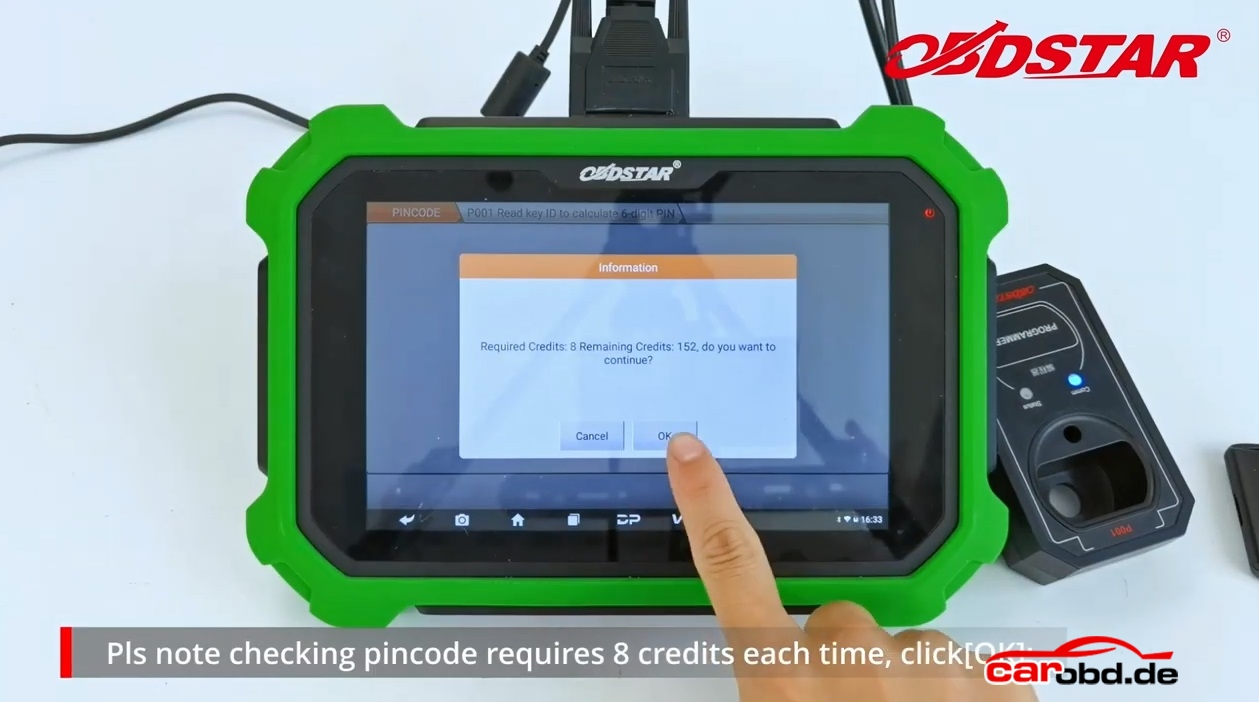
Please note checking pincode requires 8 credits each time,click”OK”

obdstar x300 dp plus calculate yamaha pin code_18

Put original proximity key into P001 programmer,click”Enter”

obdstar x300 dp plus calculate yamaha pin code_13

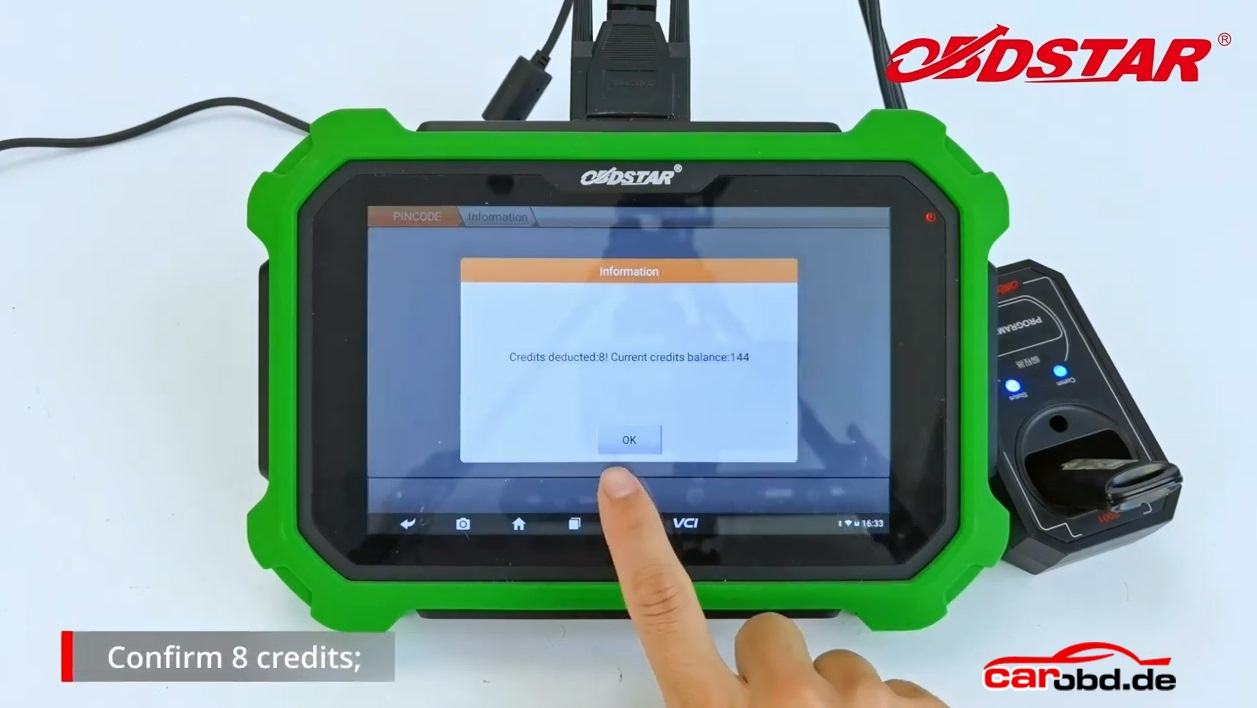
Confirm 8 credits

obdstar x300 dp plus calculate yamaha pin code_14

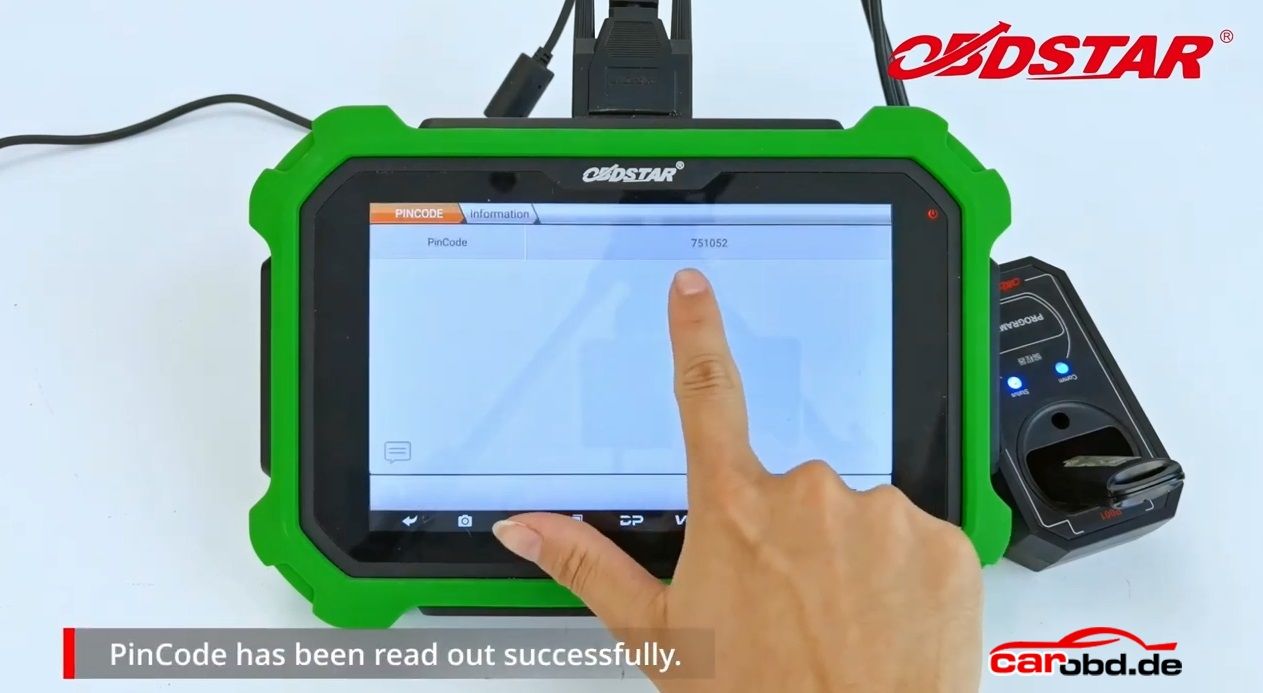
PinCode had been read out successfully

obdstar x300 dp plus calculate yamaha pin code_15

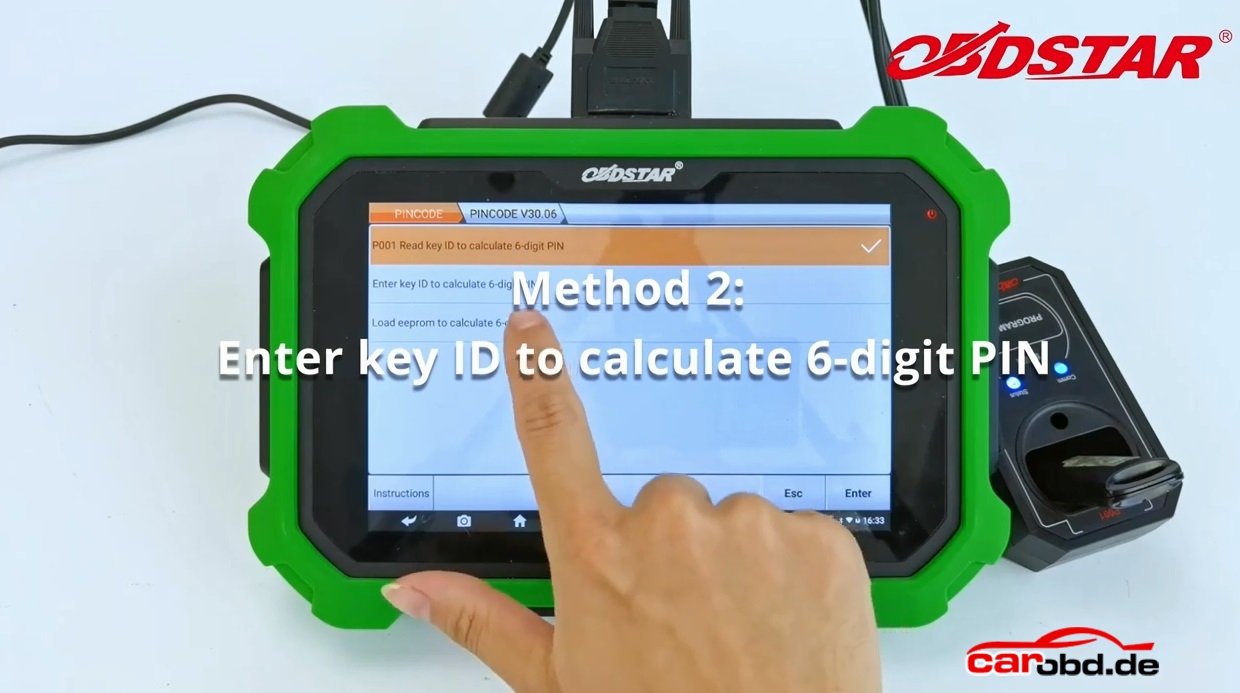
Method2: Enter key ID to calculate 6-digit PIN

obdstar x300 dp plus calculate yamaha pin code_16

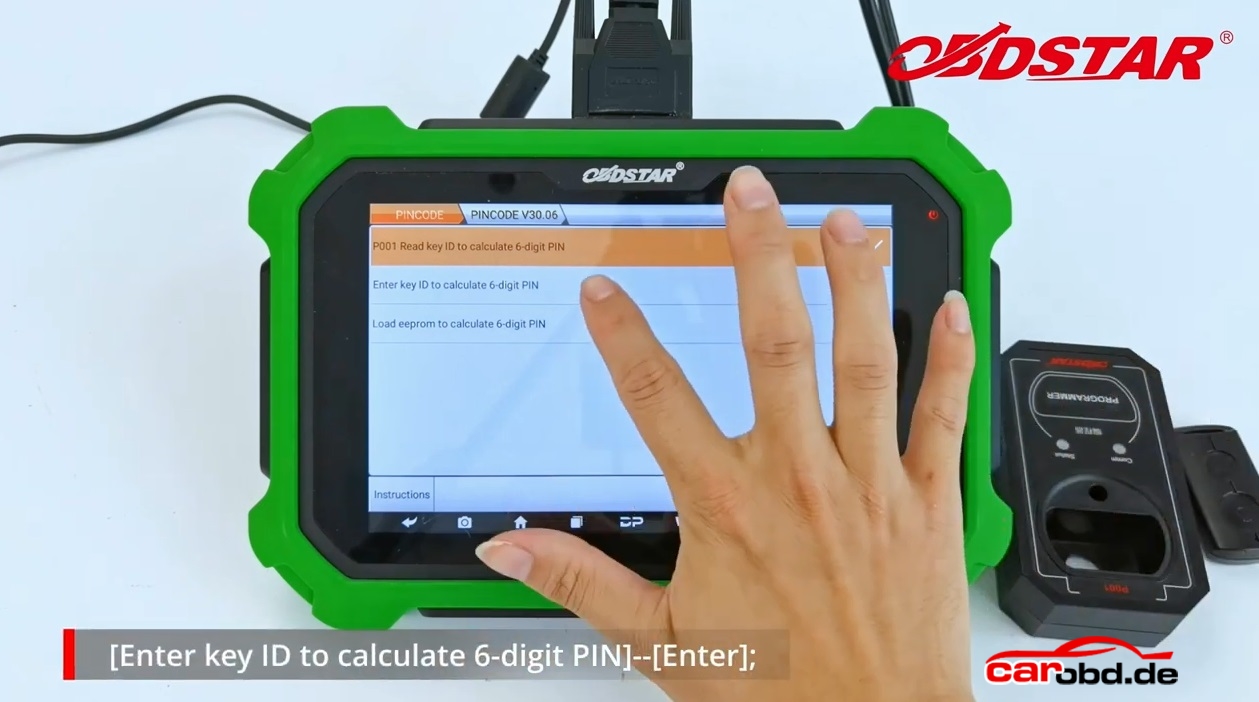
Enter key ID to calculate 6-digit PIN-“Enter”

obdstar x300 dp plus calculate yamaha pin code_17

Pls note checking pincode requires 8 credits each time,Click”Ok”

obdstar x300 dp plus calculate yamaha pin code_12

Please enter the 8-digit key ID,click”Enter”(key ID inside the proximity key)

obdstar x300 dp plus calculate yamaha pin code_19

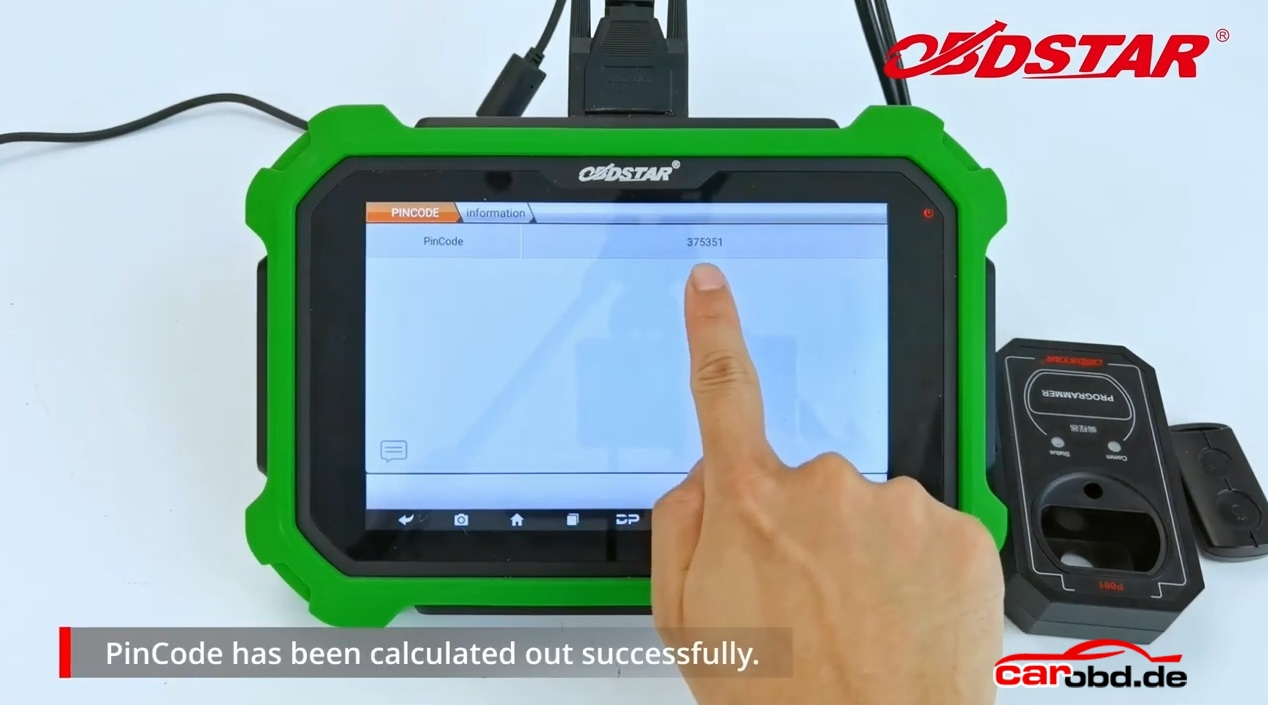
PinCode has been calculated out successfully

obdstar x300 dp plus calculate yamaha pin code_20

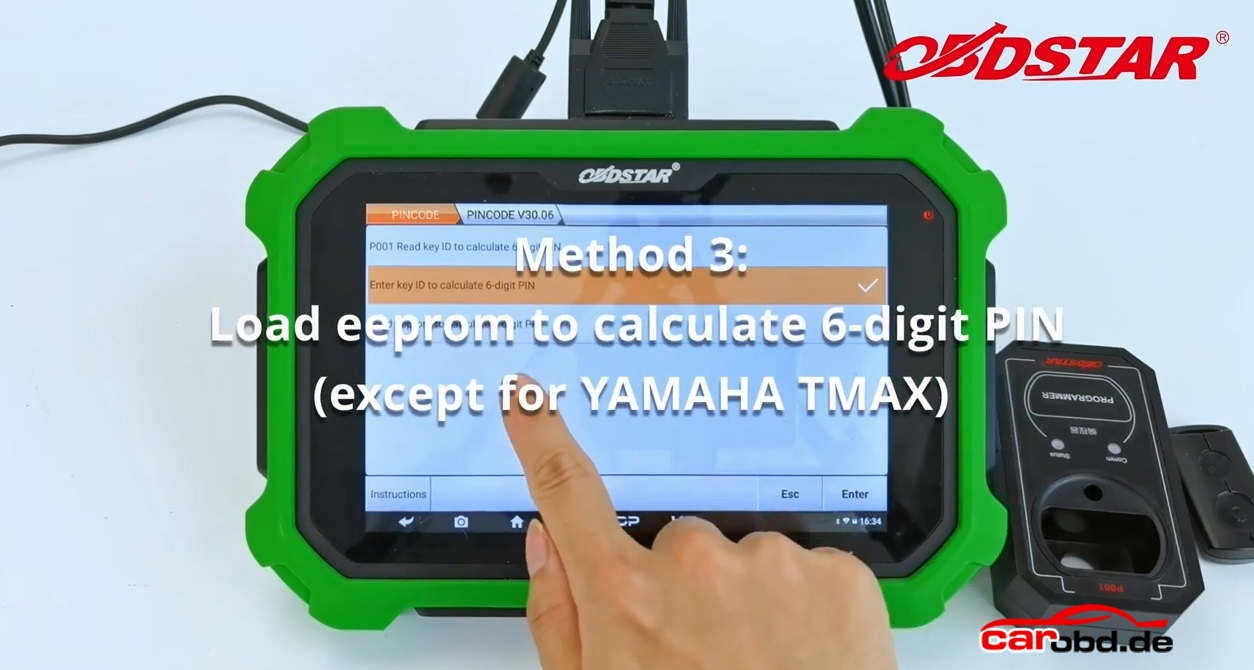
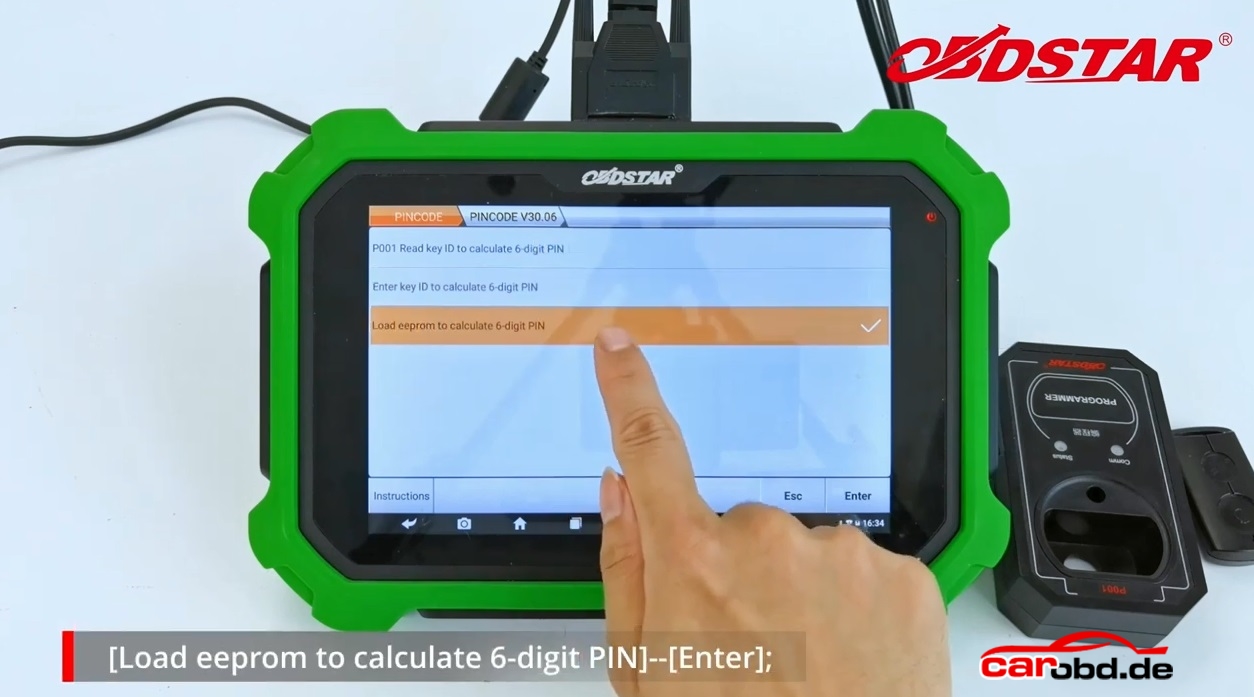
Method3: Load eeprom to calculate 6-digit PIN(except for YAMAHA TMAX)

obdstar x300 dp plus calculate yamaha pin code_21

Load EEPROM to calculate 6-digit PIN-“Enter”

obdstar x300 dp plus calculate yamaha pin code_22

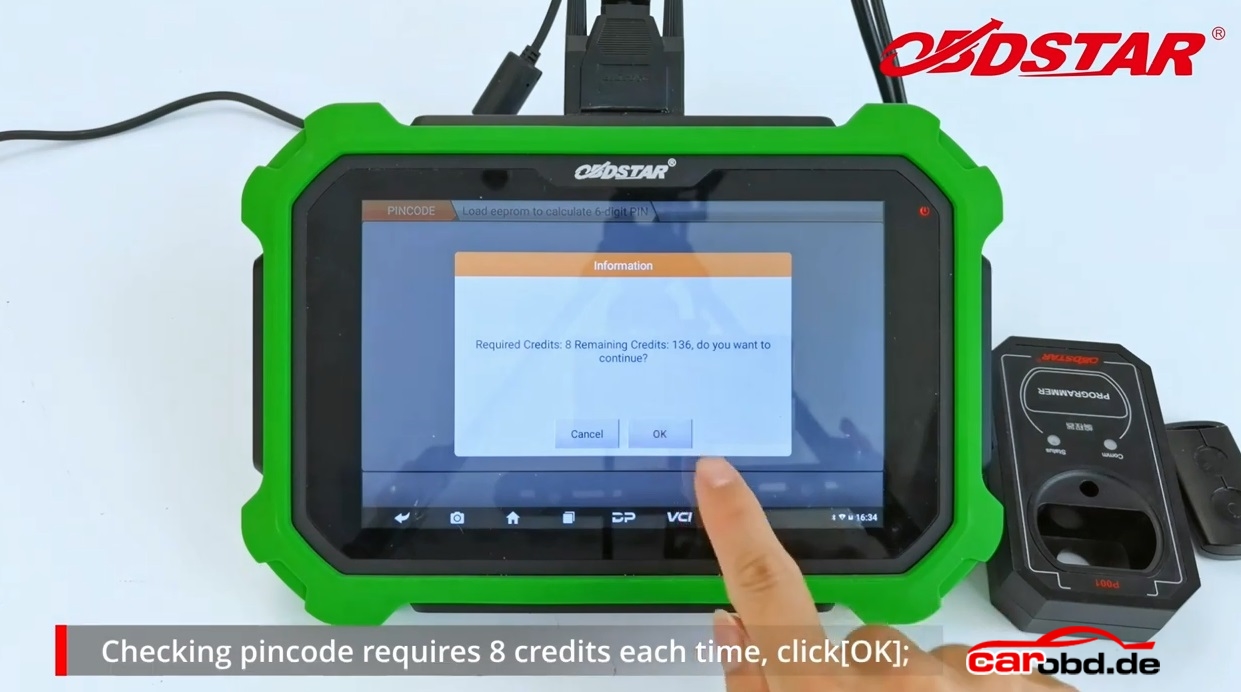
Checking pincode requires 8 credits each time, click”OK”


obdstar x300 dp plus calculate yamaha pin code_23

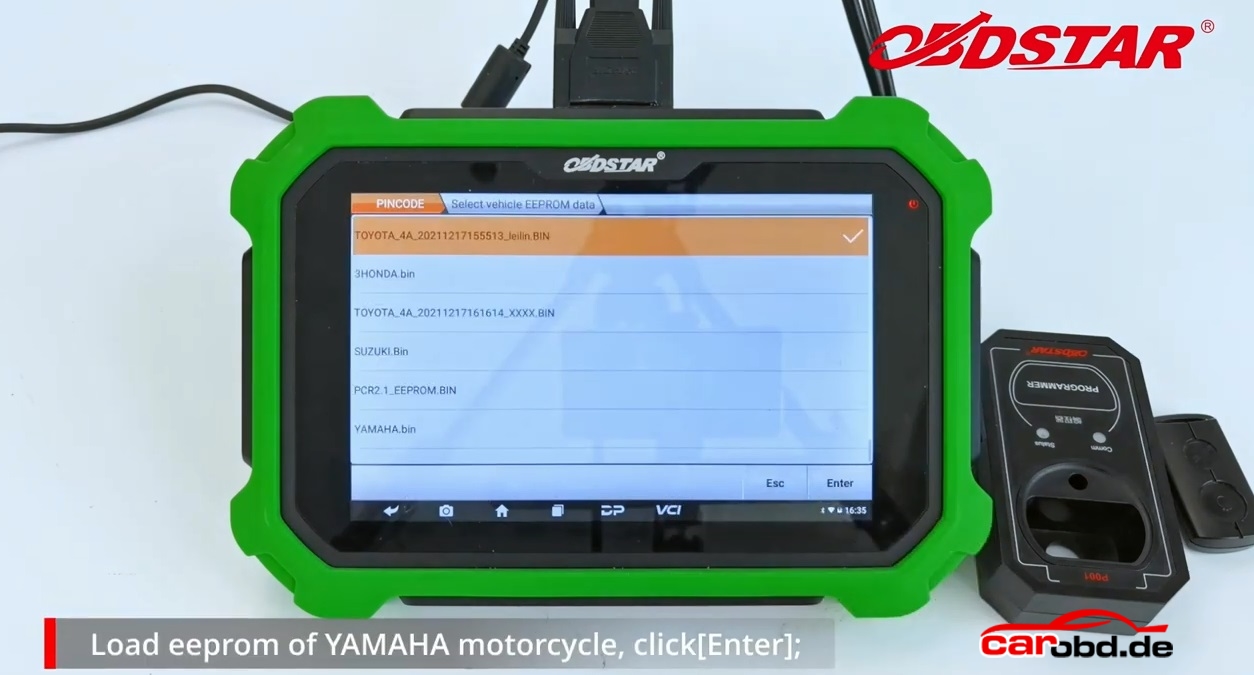
Load EEPROM of YAMAHA motorcycle,click”Enter”

obdstar x300 dp plus calculate yamaha pin code_24

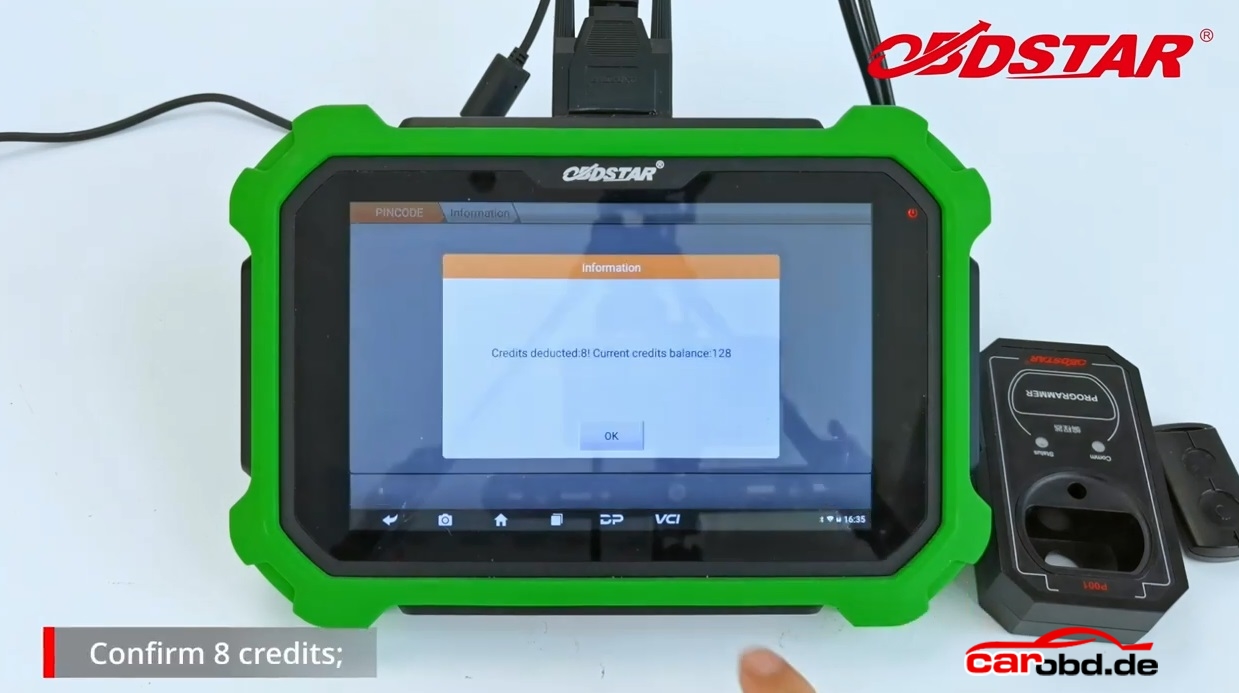
Confirm 8 credits

obdstar x300 dp plus calculate yamaha pin code_25

PinCode has been calculated out successfully

obdstar x300 dp plus calculate yamaha pin code_26

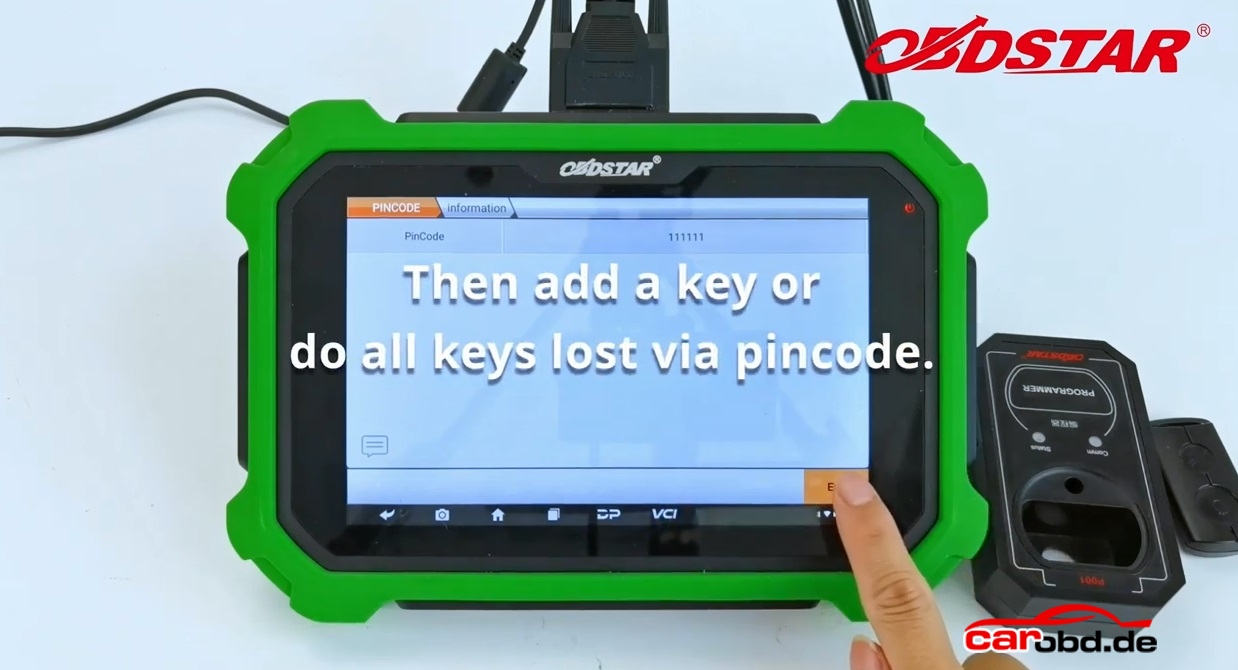
Then add a key or do all keys lost via pin code

obdstar x300 dp plus calculate yamaha pin code_2

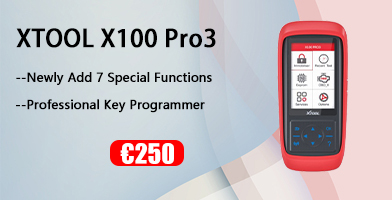
XTOOL X100 Pro3 professional key programmer OBD2 car code reader diagnosis scanner more Special functions then pro2

XTOOL X100 Pro3 professional key programmer OBD2 car code reader diagnosis scanner more Special functions then pro2

XTOOL X100 Pro3 Highlights:

1. Upgrade Version of Xtool X100 Pro2.
2. Free Update With LifeTime on www.xtooltech.com
3. Free Supported Languages: English, German, Spanish, Portuguese, French, Italian, Polish, Russian
4. OBD2 Diagnosis System: Read Codes, Erase Code, Live Data, Freeze Frame, I/M Readiness, Vehicle Info.
5. X100 PRO3 adds 7 special functions like ABS, TPS, EPB, Steering Angle Sensor Adjustment, Oil reset, eps and Throttle Relearn

X100 PRO2 vs X100 pro3

X100 PRO2: IMMO, EEPROM Adapter, Odometer adjustment
X100 pro3:  IMMO, EEPROM Adapter, Odometer adjustment, ABS, TPS, EPB, Steering Angle Sensor Adjustment, Oil reset, eps and Throttle Relearn

QQ图片20210805172046