Are you ready to unlock the full potential of your Mercedes-Benz? Whether you drive an A-Class, E-Class, or a van, our MBito diagnostic tool can transform your vehicle by activating hidden features that Mercedes keeps locked away. In this comprehensive guide, we’ll explore the Top 5 features we can unlock that will revolutionize your Mercedes-Benz driving experience.
What is MBito and Why Your Mercedes Needs Our Solution
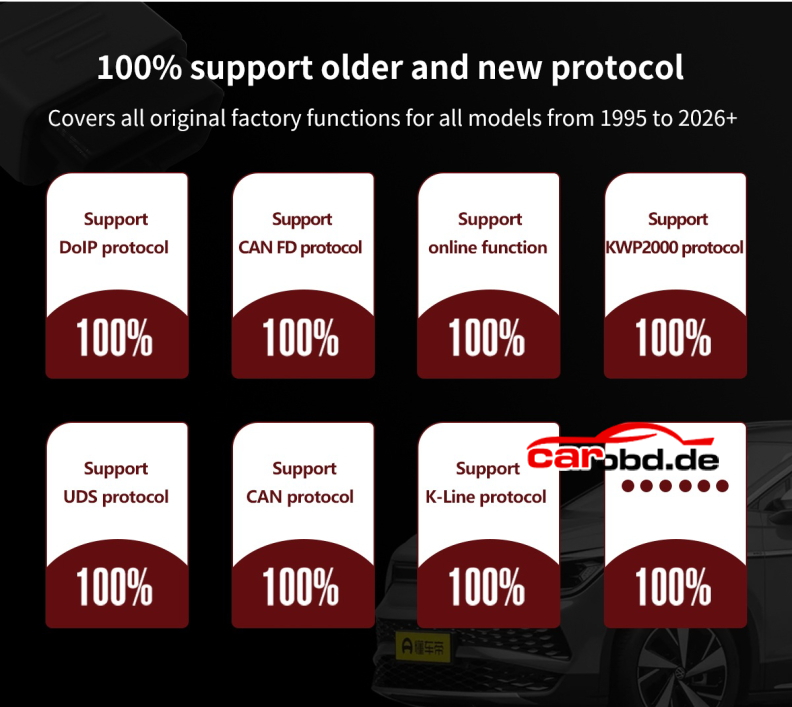
MBito is our professional-grade Mercedes coding tool that connects to your vehicle’s including but not limited to COMAND and MBUX infotainment systems, to unlock hidden functions and customize settings. Compatible with virtually all modern Mercedes-Benz models from 2008 onwards, our Mercedes diagnostic software gives you access to features typically reserved for higher trim levels or completely hidden from factory settings.
5. Start/Stop Adjustments: Take Control of Your Engine Management

Last Mode Memory or Complete System Deactivation
One of the most requested Mercedes customizations we provide involves the start/stop system. Many Mercedes owners find the automatic engine start/stop function intrusive. With MBito, we can configure your vehicle to:
- Remember last mode: Your Mercedes will remember whether you had start/stop enabled or disabled from your previous drive
- Permanently disable: Turn off the start/stop system completely across most compatible models.
This Mercedes hidden feature activation is particularly valuable for owners who frequently drive in stop-and-go traffic or prefer traditional engine behavior.
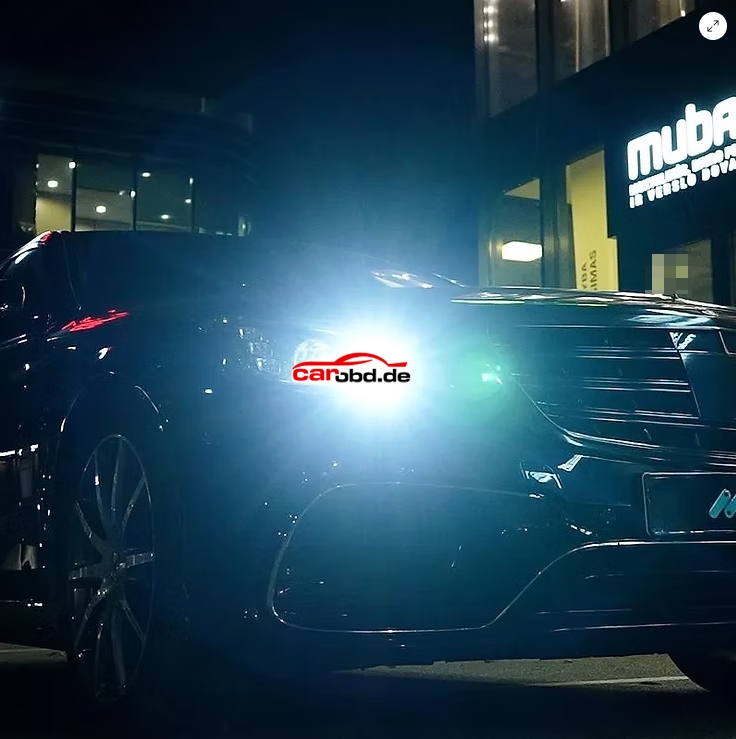
4. Rear DRLs Activation: Enhanced Visibility and Style
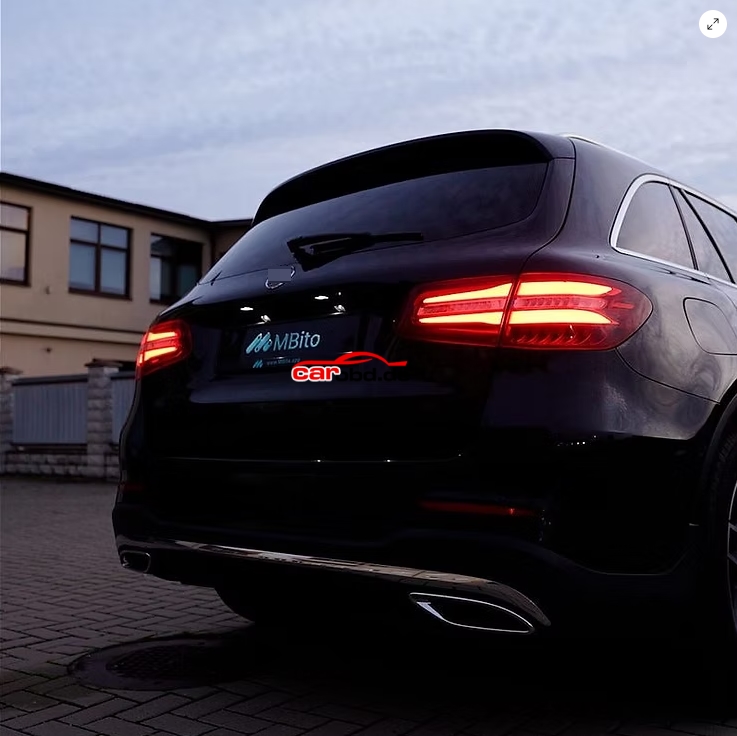
Illuminate Your Mercedes from Behind
Transform your Mercedes tail lights with our rear DRL activation service. This feature enables your rear daytime running lights, giving your Mercedes a more premium appearance while improving visibility during daytime driving.
Compatible Mercedes models we can activate rear DRLs on include:
- A-Class and B-Class
- C-Class
- E-Class
- S-Class
- GLA, GLB, GLC, GLE, GLS SUV lineup
- G-Class W463
This Mercedes lighting customization we provide not only enhances your vehicle’s aesthetic appeal but also improves safety by making your Mercedes more visible to other drivers.
3. Stroboscope/Knightrider Lights: Activate Dynamic Lighting Effects
Turn Your Mercedes into KITT
Perhaps the most exciting hidden feature we can unlock is the activation of the Stroboscope and Knightrider effect lighting. This dramatic Mercedes headlight feature creates a sweeping light pattern across your headlight’s LEDs, similar to the iconic KITT car from Knight Rider.
Our Mercedes coding transforms your exterior lights into a dynamic light show, perfect for impressing passengers or creating a unique nighttime driving atmosphere.
2. Apple CarPlay/Android Auto Activation: Seamless Smartphone Integration
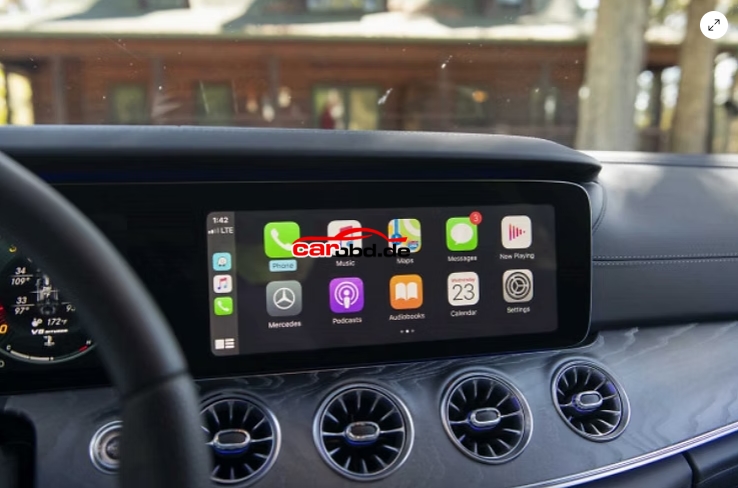
Unlock Connectivity on Older Mercedes Models
Many Mercedes-Benz vehicles manufactured between 2016–2019 came with smartphone integration hardware but without Apple CarPlay or Android Auto activated. We can unlock this functionality on compatible models, including:
- A-Class W176
- B-Class W247
- C-Class W205
- E-Class W212/W213
- S-Class W222 (facelift)
- GLA, GLC, GLE SUV models
Important Note: We activate wired CarPlay only — wireless functionality is not available through coding. Before purchasing, contact our customer support team to verify compatibility with your specific Mercedes VIN number and COMAND/MBUX software version.
This Mercedes smartphone integration we provide dramatically improves your infotainment experience, allowing seamless access to navigation, music, and apps through your Mercedes display.
1. AMG Menu Activation: Unleash Performance Features
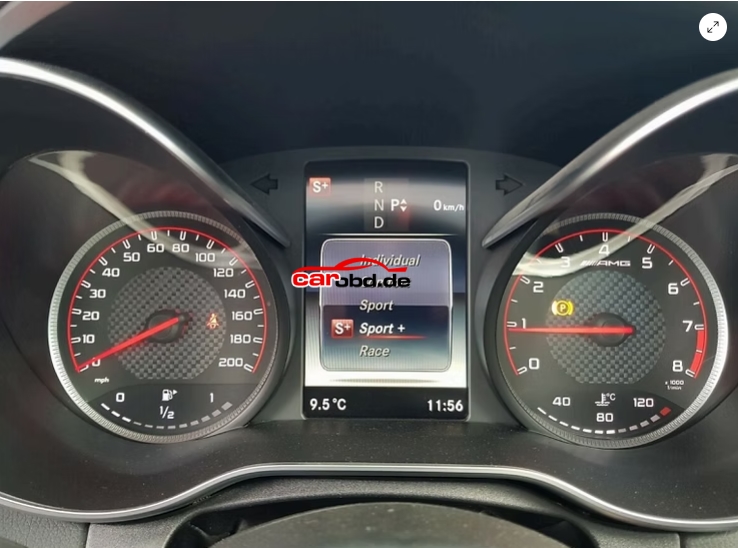
Transform Any Mercedes into an AMG Experience
The crown jewel of features we can unlock is AMG menu activation. This gives you access to Mercedes-AMG performance displays and settings, even if you don’t own an actual AMG model. Features we can activate include:
Performance Displays
- G-Force meter showing lateral and longitudinal acceleration
- Lap timer for track day enthusiasts
- Engine parameters, including, oil temperature, and transmission temperature
- AMG-style gauge cluster themes
This Mercedes performance upgrade we provide is available across the entire model range, from A-Class hot hatches to E-Class luxury sedans and G-Class SUVs. Our AMG menu activation transforms your Mercedes infotainment into a performance-focused command center.
Our Compatibility: Which Mercedes Models We Support
Our MBito solution works with an extensive range of Mercedes-Benz vehicles:
Passenger Cars
- A-Class (W176, W177)
- B-Class (W246, W247)
- C-Class (W204, W205)
- E-Class (W212, W213)
- S-Class (W222)
SUVs and Crossovers
- GLA-Class (X156, H247)
- GLB-Class (X247)
- GLC-Class (X253, X254)
- GLE-Class (W166, V167)
- GLS-Class (X166, X167)
- G-Class (W463)
Getting Started with Our MBito Service: Professional Mercedes Coding
To unlock these hidden Mercedes features with our service, you’ll need:
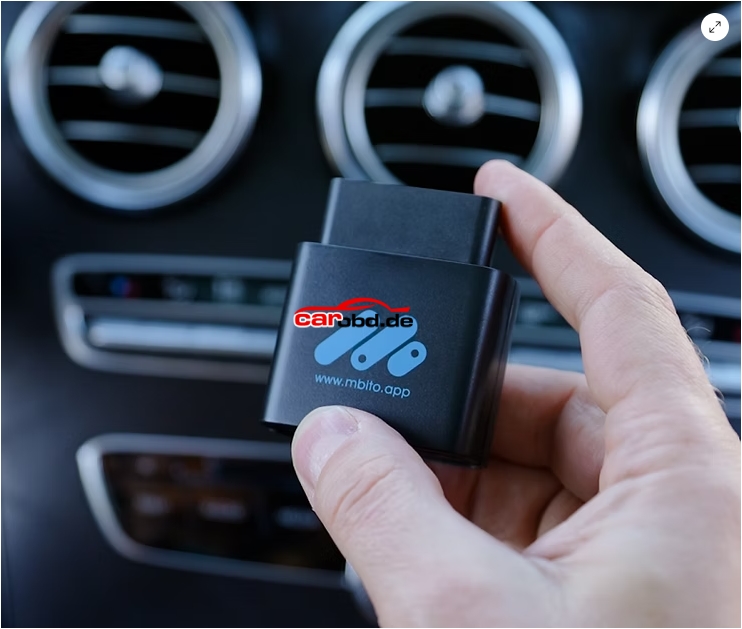
1. Our MBito diagnostic tool
2. OBD-II connection to your Mercedes
3. MBito mobile application
Important: Always verify compatibility with our customer support team before purchasing, especially for Apple CarPlay activation. Vehicle VINs and software versions can affect feature availability.
Conclusion: Transform Your Mercedes with Our MBito Solution
These top 5 features we can unlock represent just the beginning of what’s possible with our Mercedes coding services. From AMG menu activation to Apple CarPlay unlock, our MBito solution transforms your Mercedes-Benz into a truly personalized driving machine.
Whether you drive a compact A-Class, luxurious S-Class, rugged G-Class SUV, or commercial Vito van, these hidden Mercedes features we can activate will enhance your driving experience and add functionality that Mercedes keeps locked away.
Ready to unlock your Mercedes’ potential? Contact our team today to discover which features we can activate for your specific Mercedes model.
For more technical support ,please contact
Jenny
Whatsapp: +86 19947637411
Email: Sales@Carobd.de