

When you receive the software, the next is to install it:
Step 1 – Download the V4.94 update software from your email, open it and and find two zipped files inside.
Copy and paste the two files to desktop and unzip them. You will then get two document file folders in the same name.
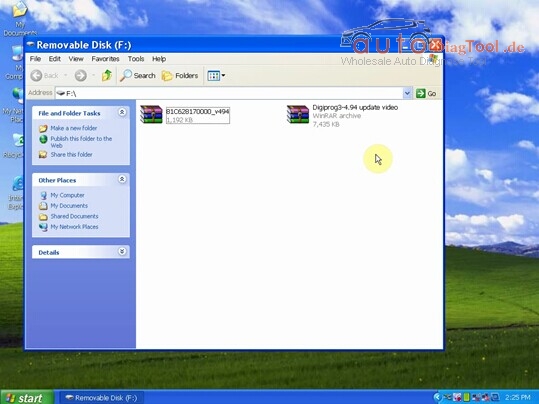
Step 2 – Open “Digiprog3 V4.94 Update Video” folder, find a zipped file “COM 2.08.30 x86WHQL Certified” and unzip it.

Step 3 – Plug Digiprog3 hardware to the USB port of your computer and a “Found New Hardware Wizard” window will pop up.
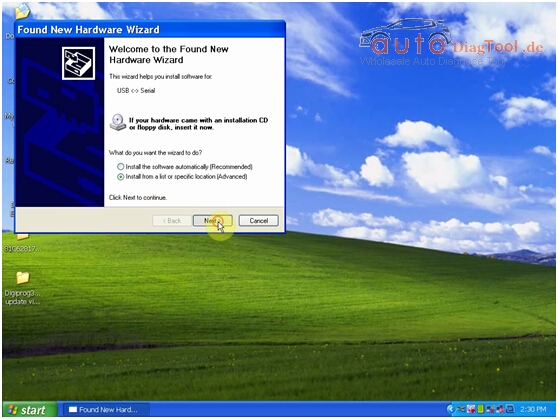
Step 4 – Next select “Install from a list or specific location (Advanced)”.
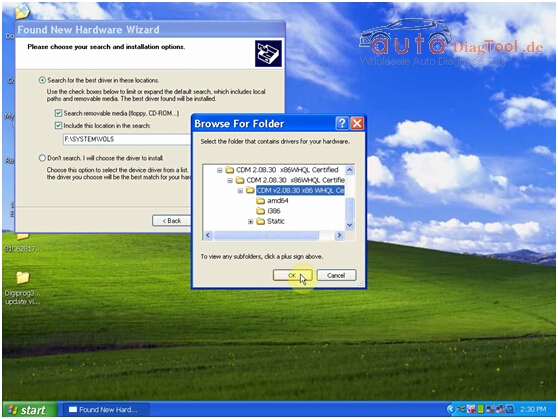
Step 5 – Select “Include this location in the search”, click “Browse”, select “COM 2.08.30 x86WHQL Certified” and click “Ok”.
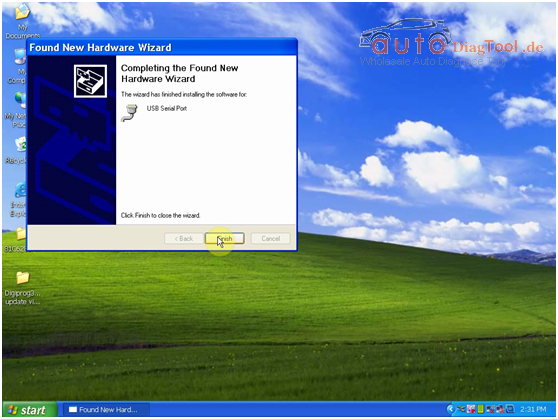
Step 6 – The “Found New Hardware Wizard” window will pop up again. Click “OK” – “Next” – “Finish”.
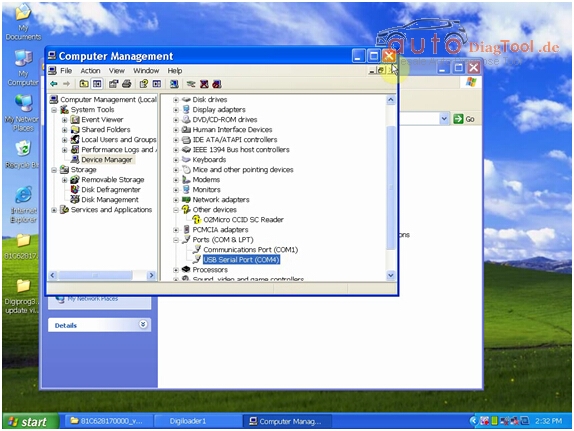
Step 7 – Now check if there is “USB Serial Port (COM4)” under “Computer Manager”. This is to make sure the driver is installed successfully.
If you do not find the option, repeat Step 3 to 7.
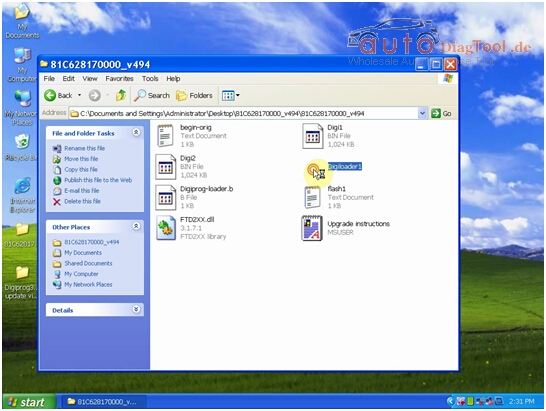
Step 8 – Open the other file on the desktop, you will get 8 things in the file. Double click on “Digiloader1” to open it.
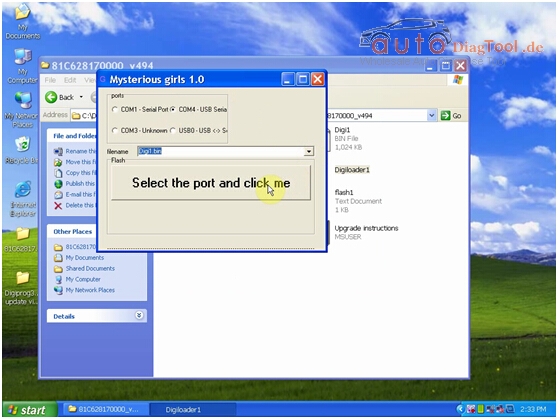
Step 9 – Select “COM4 – USB Serial”, “Digi1.bin” and click “Select the port and click me”.
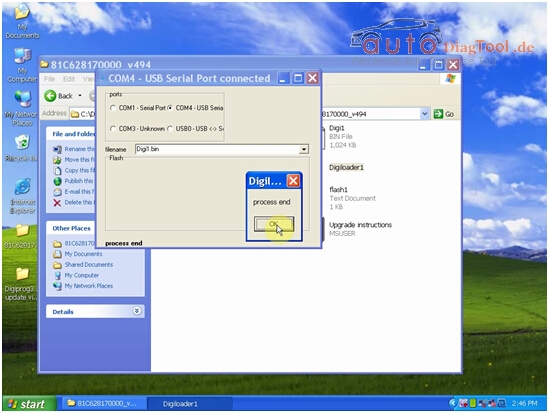
Step 10 – When you get a “Process end” prompt, it means the V4.94 Digiprog 3 software is installed successfully The upgrade process takes a few minutes.