How to install MINI DSG Reader?
www.carobd.de provide the details step to install mini DSG reader for you.
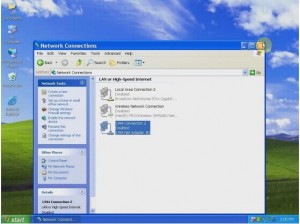
Step 1: Copy the software in the CD, paste them to your local disk. Step 2: Disable all Network Connection, including: the local area connection, wireless network connection and 1394 connection.
Step 2: Disable all Network Connection, including: the local area connection, wireless network connection and 1394 connection.
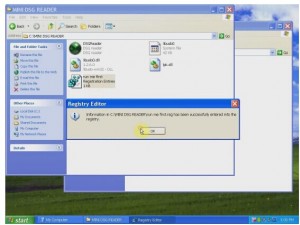
Step 3: Open the MINI DSG Reader folder, click “run me first registration entries”, and a windows dialogue popup reading: Registry Editor„, click OK.
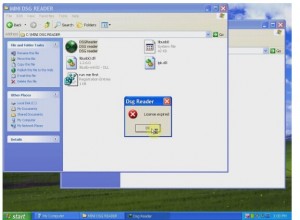
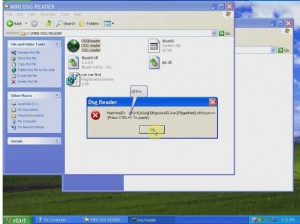
Step 4: Click icon “DSG Reader” and a windows dialogue popup displaying License expired, click OK, then another one popup showing machine ID, press “ctrl+v” to paste, and click OK.
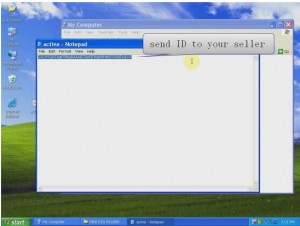
Step 5:Create one txt file in the desktop and into it paste the machine ID, then send it to your seller for activation.
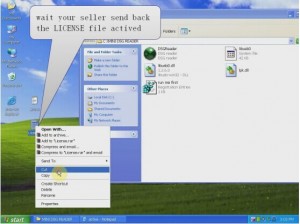
Step 6: your seller send back the license file activated, cut it and paste it in to the Mini DSG reader folder.
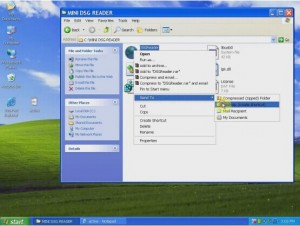
Step 7: right click the green icon “DSG Reader” to open it, then close the appeared screen, and again right click “DSG Reader”-send to-Desktop(create shortcut).
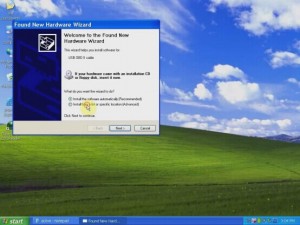
Step 8: connect the DSG reader to the computer and the car, then it will popup windows “ found new hardware”, step-to-step to install it.
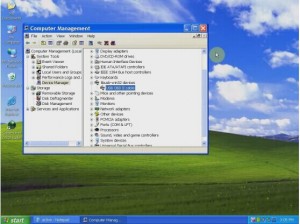
Step 9: click “my computer-device manager”, if you find “USB OBD II cable”, it means the computer and the DSG reader establish communication.
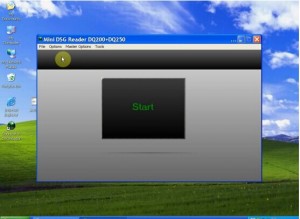
Step 10: Open the “Shotcut to DSGreader” in the desktop.
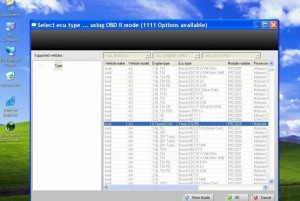
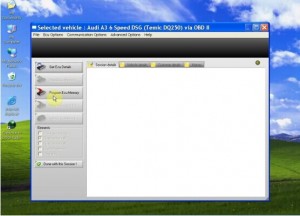
Now, you are ready to start to use DSG reader to read and write latest dual-clutch DSG gearbox data for AUDI and VW~!
