2017 Super SBB2 Key Programmer can perform both immobilizer function (key programming & pin code read) as well as mileage adjustment, Oil/service Reset, TPMS EPS,BMS etc. Super SBB2 is different from SBB V46.02, SBB V33.02 and CK100 in package, functions, vehicle coverage and year, language available, etc.
Here we go one by one!
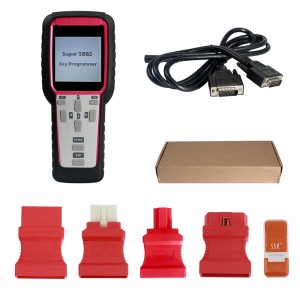
1.The different: package
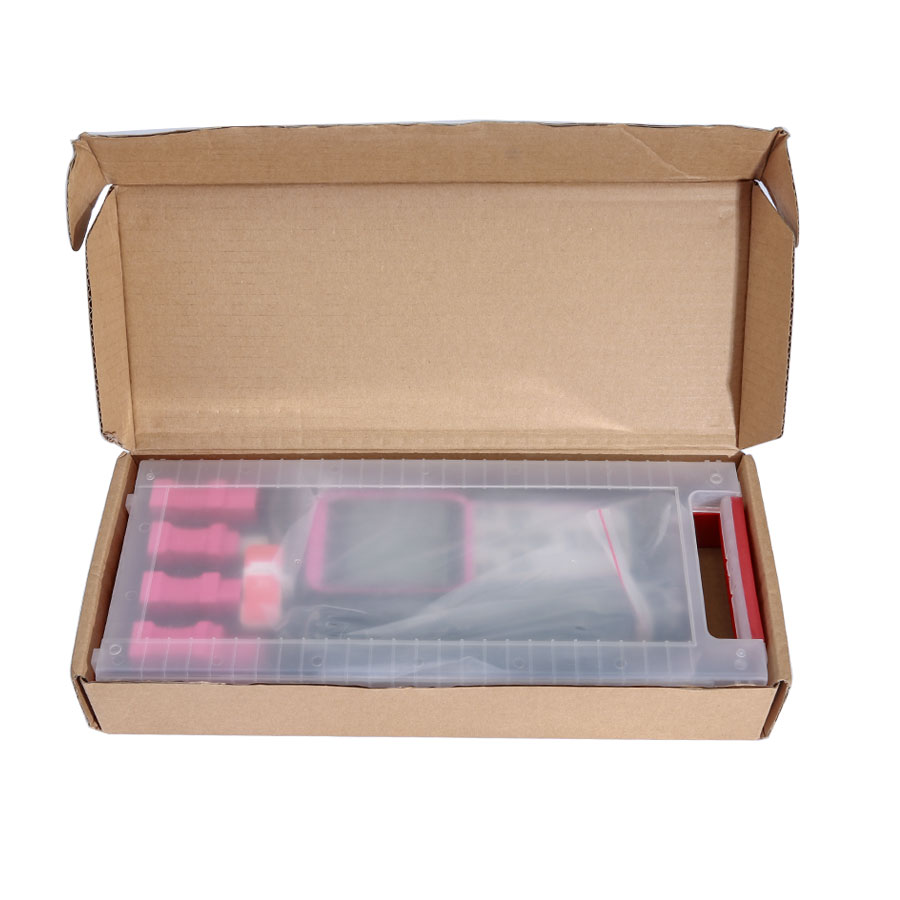
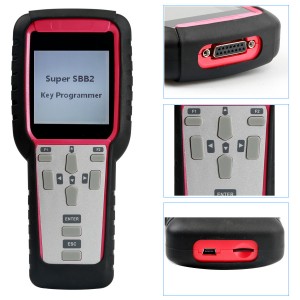
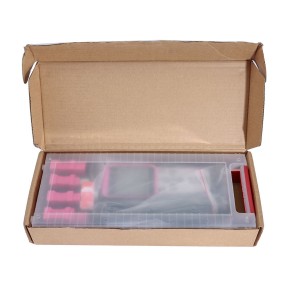
1) Attach SBB2 Key Programmer package and adapters pictures: good quality of main unit, OBDII-16 connector, HONDA-3 connector, HYUNDAI/KIA-10 connector, KIA-20 connector, main cable, TF card reader and TF card in the unit.
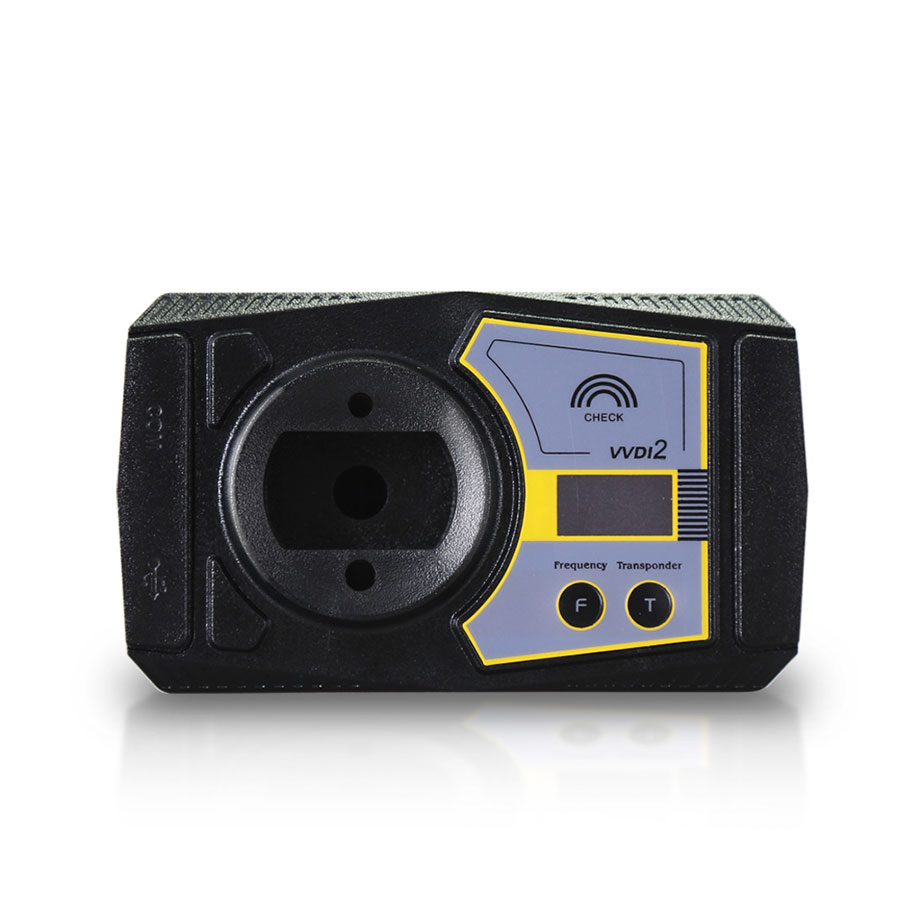
Enlarge SBB2 main unit and you can see the main cable port, keyboard and the USB port, all are designed firmly.
SBB2 unit and all adapters will be in such a box and ship to you.
2) V46.02 SBB Key Programmer package VS SBB V33.02 package:
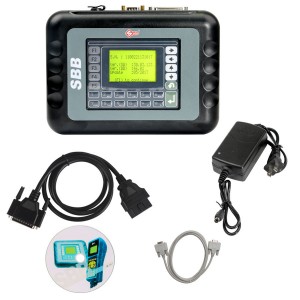
(Pic 1: V46.02 SBB Key Programmer package, good quality of SBB Main Unit, OBDII cable, AC adapter and one CD with user manual)
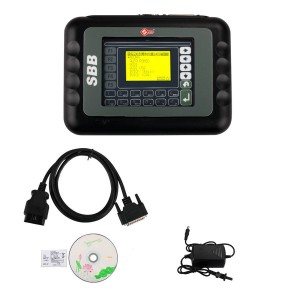
(Pic 2: V33.02 SBB Key Programmer package: SBB Main Unit, OBDII cable, AC adapter and one CD with user manual)
2.The different: Functions
2017 Super SBB2: immobilizer function + mileage adjustment, Oil/service Reset, TPMS EPS,BMS etc.
SBB2 immobilizer function list:
1.New keys programming;
2. Reads keys from immobilizer’s memory;
3. New immobilizer programming;
4. New ECU programming;
5. New mechanical key number programming;
6. Vehicle Identification Number programming;
7. Reset ECU&reset immobilizer;
8. Easy to operate by the guided menu programming;
9. New remote controller programming;
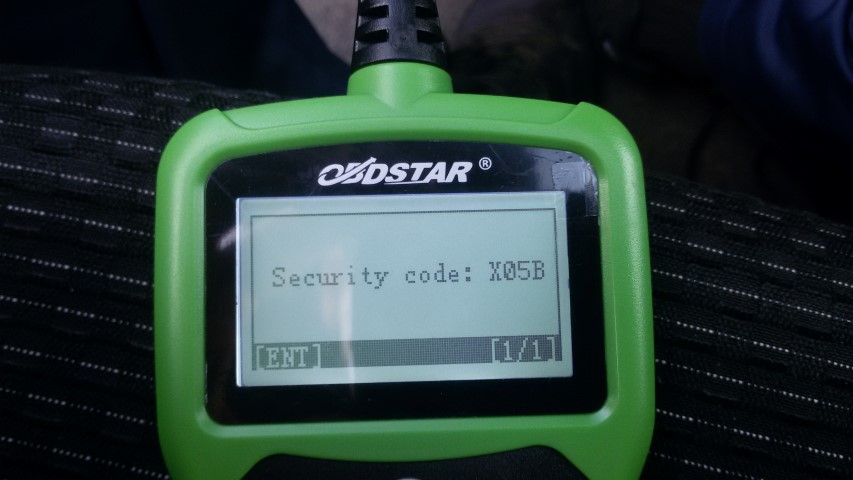
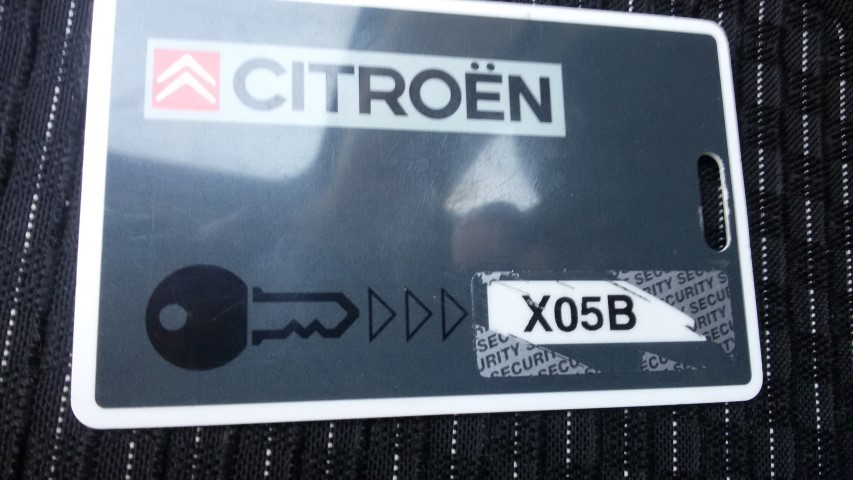
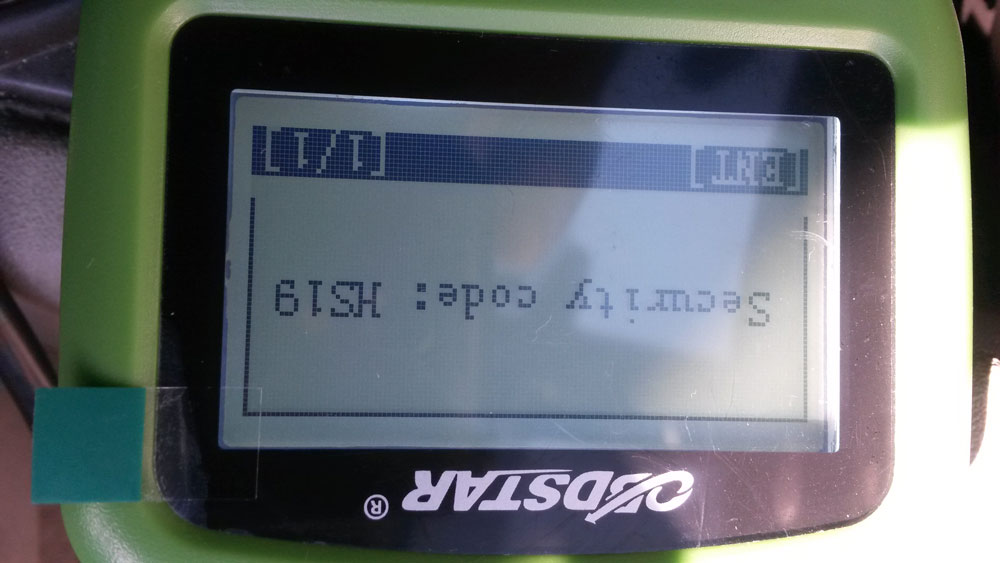
10. Immo PINCODE reader;
11. Odometer adjustment(Via obd);
12. With full and strong database for the most important vehicle makes;
SBB V46.02 function list:
1.Programming new keys.
2. Reading keys from immobilizers memory
3. Deactivating keys no longer in the car owners possession
4. Operation by means of a menu guided programming
5. Programming new remote controls
6. Software with full database containing all the most important vehicle makes
CK100 function = SBB V46.02
SBB V33.02 function list:
1.reading keys from immobilizer’s memory
2.deactivating keys no longer in the car owner’s possession
3.operation by means of a menu guided programming
4.programming new remote controls
5.software with full database containing all the most important vehicle makes
3.The different: vehicle coverage and year
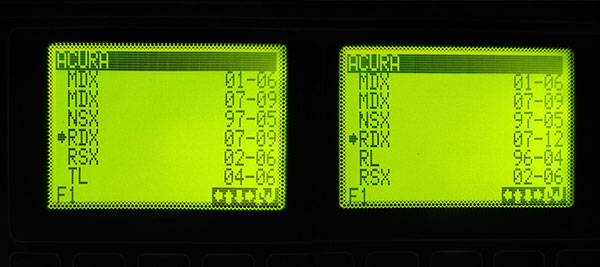
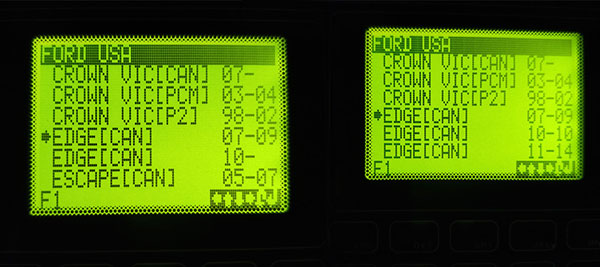
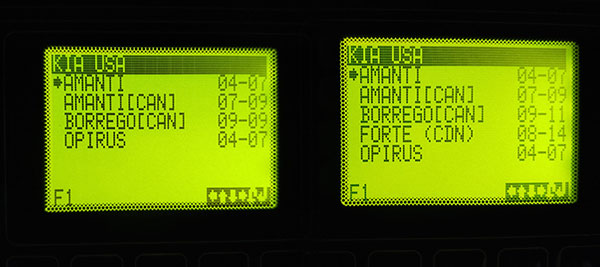
1) 2017 Super SBB2: up to 2017.3 year.
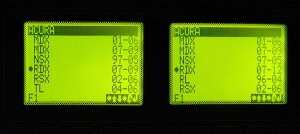
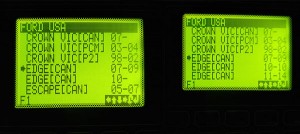
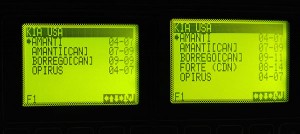
Immobilizer: ACURA, AUDI, BAIC, BESTURN, BRILLIANE, BYD, CHANGAN, CHANGHE, CHERY, CHRYSLER, CITROEN, DFLZ, DFPV, DS, FORD, GEELY, GM, GREATWALL, HAFEI, HAIMA, HAWTAI Motor, HONDA, HONGQI, HUAPU, HYUNDAI, INFINITI, JAC, JAGUAR, KIA, LANDROVER, LEXUS, LIFAN, LINCOLN, LUFENG, MAZDA, MG, MITSUBISHI, NISSAN, OPEL, PEUGEOT, PORSCHE, RENAULT, ROEWE, SAIC ENGLANG, SEAT, SKODA, SMART, SSANGYONG, SUBARU, SUZUKI, TOYOTA, VW, YOUNGLOTUS, ZZMAZDA, ZZNISSAN;
OBDII: OBDII V20.80 for diagnose
BMS REEST: V18.13
Electronic Park Brak: V22.71
TPMS: V19.20
TPS: V27.66
Odometer: AUDI, VW, BENZ, Chrysler, Ford, GM, Porsche, Skoda, Seat
2) SBB V46.02 vehicle coverage VS SBB V33.02:
Toyota G chip works
works on Toyota Honda Ford up to 2014 year.
works on Acura 2012, Chevrolet 2013, GMC 2013.
SBB V33.02: up to 2011 year.
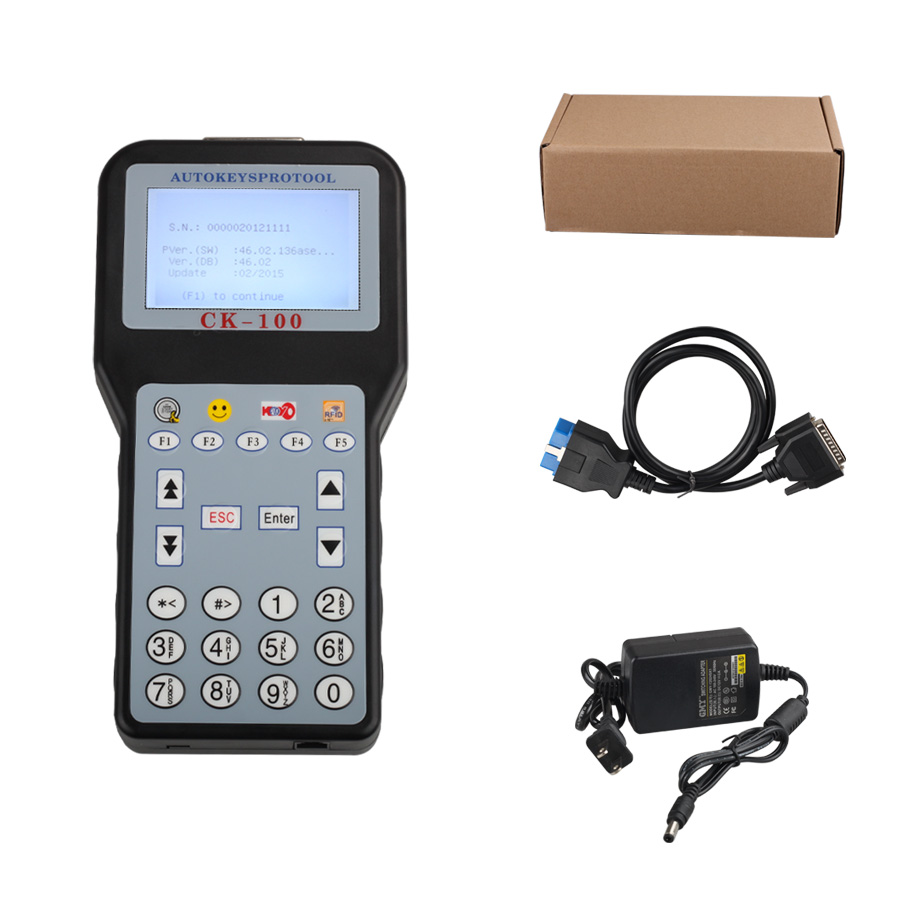
3) CK-100 V46.02
4.The different: Language
SBB2 Key Programmer language: English
SBB V46.02 Language: English, Italian, German, French, Spanish, Portuguese, Turkish
SBB V33.02 Language:
English/Italian/German/French/Spanish/Greek/Portuguese/Turkish/Russian
5.SBB V46.02VS CK-100 V46.02:
1) The same:
Same Toyota G Chip
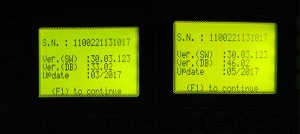
Same software version
Same function
Same vehicle coverage: SBB v33.02 <Ck100 V99.99 <SBB v46.02=CK100 v46.02
Which one is more popular?
CK-100 V46.02,better quality at higher price.

Source:http://www.carobd.de/wholesale/ck-100-auto-key-programmer-sbb-the-latest-generation.html
Conclusion:
Super SBB2: wins in multi-functions, newest car models, etc.
CK100 V46.02: almost same as SBB V46.02, better quality and more popular by locksmiths.
Therefore, I highly recommend the above two pieces.