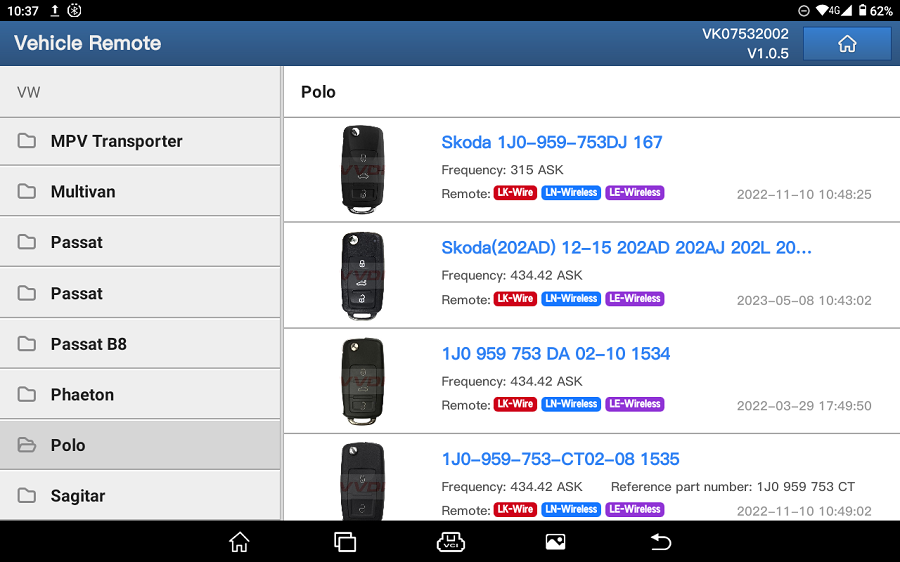
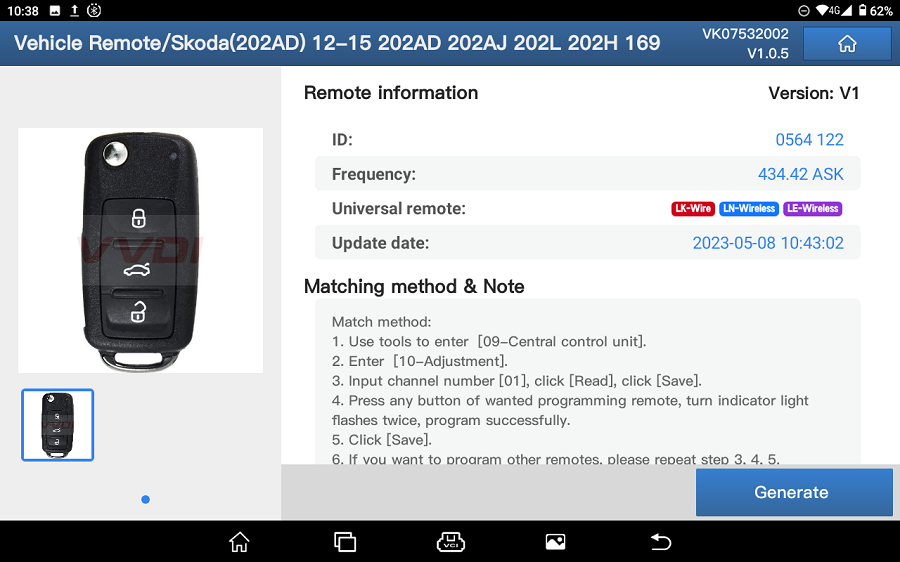
Launch X431 PAD V Elite scan tool new-added topology module mapping,it is easy to view the communication structure between modules.you can directly access all system to perform functions,view live data in graph.number of the DTCs are marked out for easy to location of the faults. And just one click, you can access to the fault module directly and the DTC definition and suggested reasons are listed, improving your working efficiency highest than ever.
X431 PAD V ELITE Introduction
LAUNCH X431 PAD V ELITE supports online programming + offline/J2534 programming, it is more powerful and cost-effective than other J2534 tools.
X431 PAD V ELITE Highlights
👍 High configuration hardware: 10.1 inch Touchscreen, sun readable screen, protection grade IP65, more waterproof, more resistant to falling, and the vehicle can work normally after rolling.
👍 Support 5G Wi-Fi Diagnosis, 4GB RAM + 128GB ROM (can be expanded to 256GB).
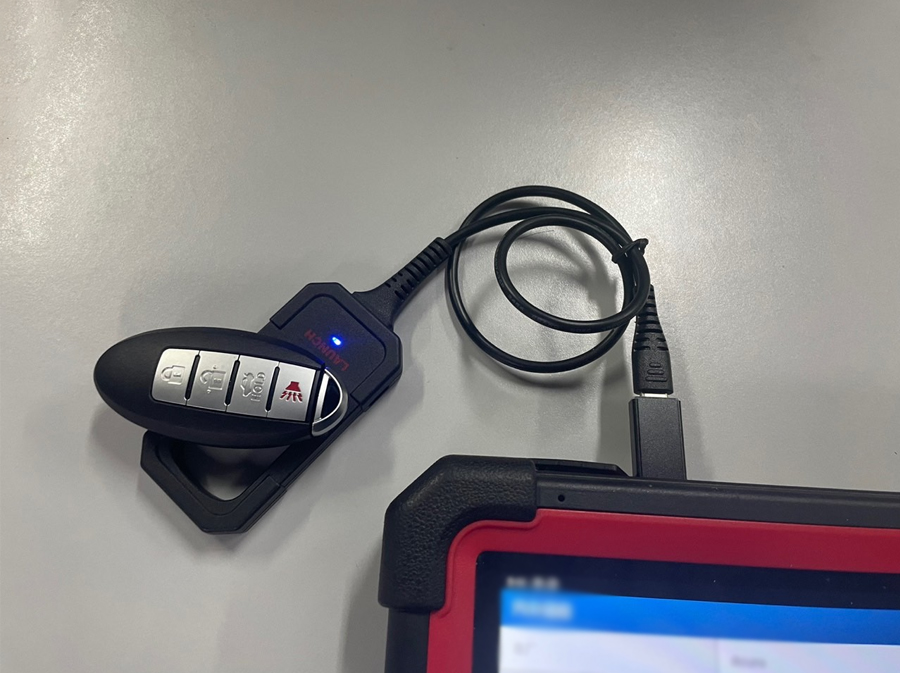
👍 Updated the connector from Smart Box 3.0 to Smart Link C, added Super Remote Diagnostic
👍 Online ECU Programming + Online Coding + J2354 Programming
👍 OE-Level Full System Diagnosis + 50 More Reset Services
👍 Full Bi-Directional Control / Active Test + ECU Coding + Guide Function
👍 FCA AutoAuth Access + SCN Online Coding
👍 Support support Topological Graph + J2534/RP1210/D-PDU / CAN FD DolP New Protocols
👍 25 Language Support , No language barrier.
👍 Auto VIN Scan + Remote Diagnostic +Diagnostic Feedback +Maintenance records, ect
👍 Support the expansion of 24V truck diagnosis (Optional)
👍 Added Tesla _EV vehicles: Model – 3, Model – S and Model- X ( Buy in MALL)
👍 2 Years Free Update You can use all functions as normal after 2 years free update, it will not be locked.
👍 1 Year Warranty + Free Tech Supports
👍 Extended module: Compatible with Oscillograph, X-PROG 3, TSGUN Wand, RF-Sensor, BST360 Battery Test, VSP600 Videoscope, ADAS, 24V Heavy Duty software , Wi-Fi printer, New energy vehicle, Multimeter, Ignition analysis etc.
👍 Multi-Language Supports: Support English, French, Spanish, German, Russian, Korean, Japanese, Portuguese, Italian, Polish, Dutch, Hungarian, Finnish, Simplified, Czech, Turkish, Greek, Arabic, Danish, Persian, Romanian, Serbian, Swedish, Chinese Traditional.
👍 Supports more models and more comprehensive functions:
a. Support 30+ Car Brands, overing European cars, American cars, Asian cars and Chinese cars ,and keep increating
b. function including: Online Coding, Online Programming,Online Parametric Configuration,On-Line Matching And Calibration, Fuel Quality Defect Firmware Upgrade and more
c. Applicable vehicle models for online programming : For Mercedes Benz, for Porsche, for FAW Volkswagen, for Kia, for bmw, for Nissan, for SKODA, for Mazda ,for VW, for Beijing Hyundai, For Seat, for Fiat, for Audi, For SAIC Rongwei, for Renault, for China GM, For SAIC MG, for GAC MOTOR, for Ford, for Shanghai Volkswagen , for Hyundai, keep increasing…
For the new released product Launch X431 PAD V Elite, customer should be with many things to know
Here we share some FAQ
Launch X431 PAD V Eliteh FAQ
Q:Hi this equipment support Honda CRV 2022 Hybrid and Nissan murano 2020?
A:Hello, LAUNCH X431 PAD V can diagnosis your Honda CRV 2022 Hybrid and Nissan murano 2020!
Q:Will the unit work on 2014 Infiniti QX70, VIN# JN8CS1MU0EM450620 ?
A:Hello, our engineering told me that the LAUNCH X431 PAD V can diagnose your model!
Q:Does this work on 2022 Ford F-350 6.7 power stoke diesel , ecm Tcm , instrument cluster programming?
A:Sorry, the LAUNCH X431 Pad V does not currently support 2022 Ford models!
Q:Can It program honda car with new software ?
A:Sorry sir, X431 Pad V currently does not support Honda programing!
Q:Hello! I am in USA and I would like to program VW and Audi vehicles. What country do I need to route my VPN for it to work? Thank you!
A:You can use a VPN from Europe, but it is risky and you need to operate with caution. Thank you.
Q:will the PAD V program, code, do special functions, and actuations on DoIP 2019 jaguar (USA)? (2017 and up) no subscription necessary? you notes say no USA programing.
A:Hello, if you are in the United States, please change your network to another country, so that you can use the programming function in this car; you do not need to change the network to use other functions. What do you mean by “(2017 and up) no subscription”?
Q:Hi , Is this toll can do Mercedes SCN coding and reset start counter of sprinter ?
A:Hello, what is “reset start counter”? Can you explain clearly?
Q:Am I able to add the smart box 3.0 to the pro3s+
A:Hello, it is not possible!
Q:can this tool program my 2004 escalade,2018 Chevy cruze, and 2007 BMW 5 series
A:Hi, it is possible to program the 2007 BMW 5 series, the other two cars cannot.
Q:How much is the update after the first year?
A:Hello, LAUNCH X431 Pad V renewal is currently at a discounted price of $559 (1 year), $859 (2 years).
LAUNCH X431 Pad V renewal card link, Click to learn more!
Q: Communication error with vehicle ECU?
Please confirm:
1. Whether the VCI is properly connected.
2. Whether the vehicle ignition switch is ON.
3. If all checks are normal, send vehicle year, make, model and VIN
number to us using Feedback feature.
Q: Failed to enter into vehicle ECU system?
Please confirm:
1. Whether the vehicle is equipped with the system.
2. Whether the VCI is correctly connected.
3. Whether the vehicle ignition switch is ON.
4. If all checks are normal, send vehicle year, make, model and VIN number to us using Feedback feature.
Q: Can I use any other power adaptor other than the included power adaptor to charge the tablet?
No. Please use only the included power adaptor to charge the tablet.
We assume no responsibility for damage or loss resulting from the use of the any other adaptors.
Q: How to save power?
• Please turn off the screen while the device keeps idle.
• Set a shorter standby time.
• Decrease the brightness of the screen.
• If WLAN connection is not required, please turn it off.
• Disable GPS function if GPS service is not in use
Q: How to reset the tablet?
*Warning: Resetting may cause data loss. Before doing so, please make sure important data and information has been backed up.
There are 2 methods available to reset the tablet:
Method 1
1. Ensure the tablet is in ON mode.
2. Select “Tablet Setting” on the Home screen.
3. Select “Backup & reset”.
4. Tap “Factory data reset”.
5. Tap “RESET TABLET” to confi rm.
Method 2
1. Ensure the tablet is in OFF mode.
2. Hold and press VOLUME – key and POWER key until the tablet enters system boot mode.
3. Use the VOLUME + / VOLUME – key to switch to system recovery mode and press POWER key to confi rm.
4. Use the VOLUME + / VOLUME – key to move the highlight bar on“wipe data / factory reset” and press POWER key to confi rm.
5. Press VOLUME + / VOLUME – to select “yes” and press POWER key to confi rm.
6. Select “reboot system now” and press POWER key to restart the system.
7. After resetting is complete, follow the on-screen instructions to finish the system settings.
Q: How to activate new VCI device?
*Note: Before registration, please make sure the network is properly connected.
If you have activated a VCI device before and bought a new VCI device due to the loss or other reasons, please follow the below steps to activate:
1. On the Home screen, tap “User Info” -> “Activate VCI”.
2. Input product S/N and activation code, which can be found from the included password envelope, then tap “Activate”.
3. After activation completed, the tablet will automatically wirelessly connect to the VCI device. Tap “User Info” -> “VCI” to check if the
activated VCI device is displayed in the connector list or not. Each tablet is allowed to bind multiple VCI devices.
If you intend to use one of the VCI devices to diagnose / test a vehicle, just switch to the corresponding VCI device.
Q: How to update Android?
A newer Android version will be released to bring better user experience and more capabilities. Please check for updates on regular basis.
*Note: Please make sure your tool battery has at least 70%. Do NOT run any other programs during the update.
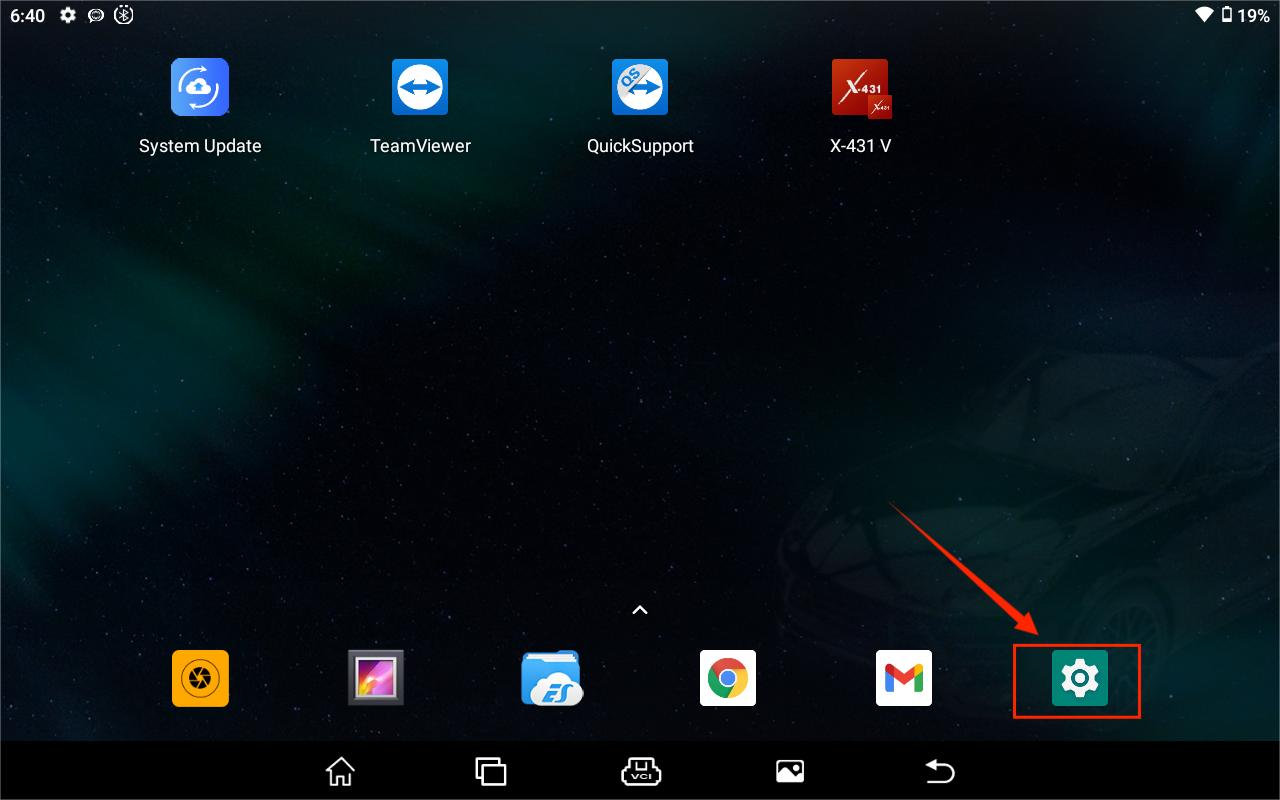
1. On the Home screen, tap “Other Module” -> “Wireless Upgrade”.
2. Tap “Check for updates”. Once a newer version is found, follow the on-screen instructions to download and install the update file.
3. Be patient to wait until the update is done.
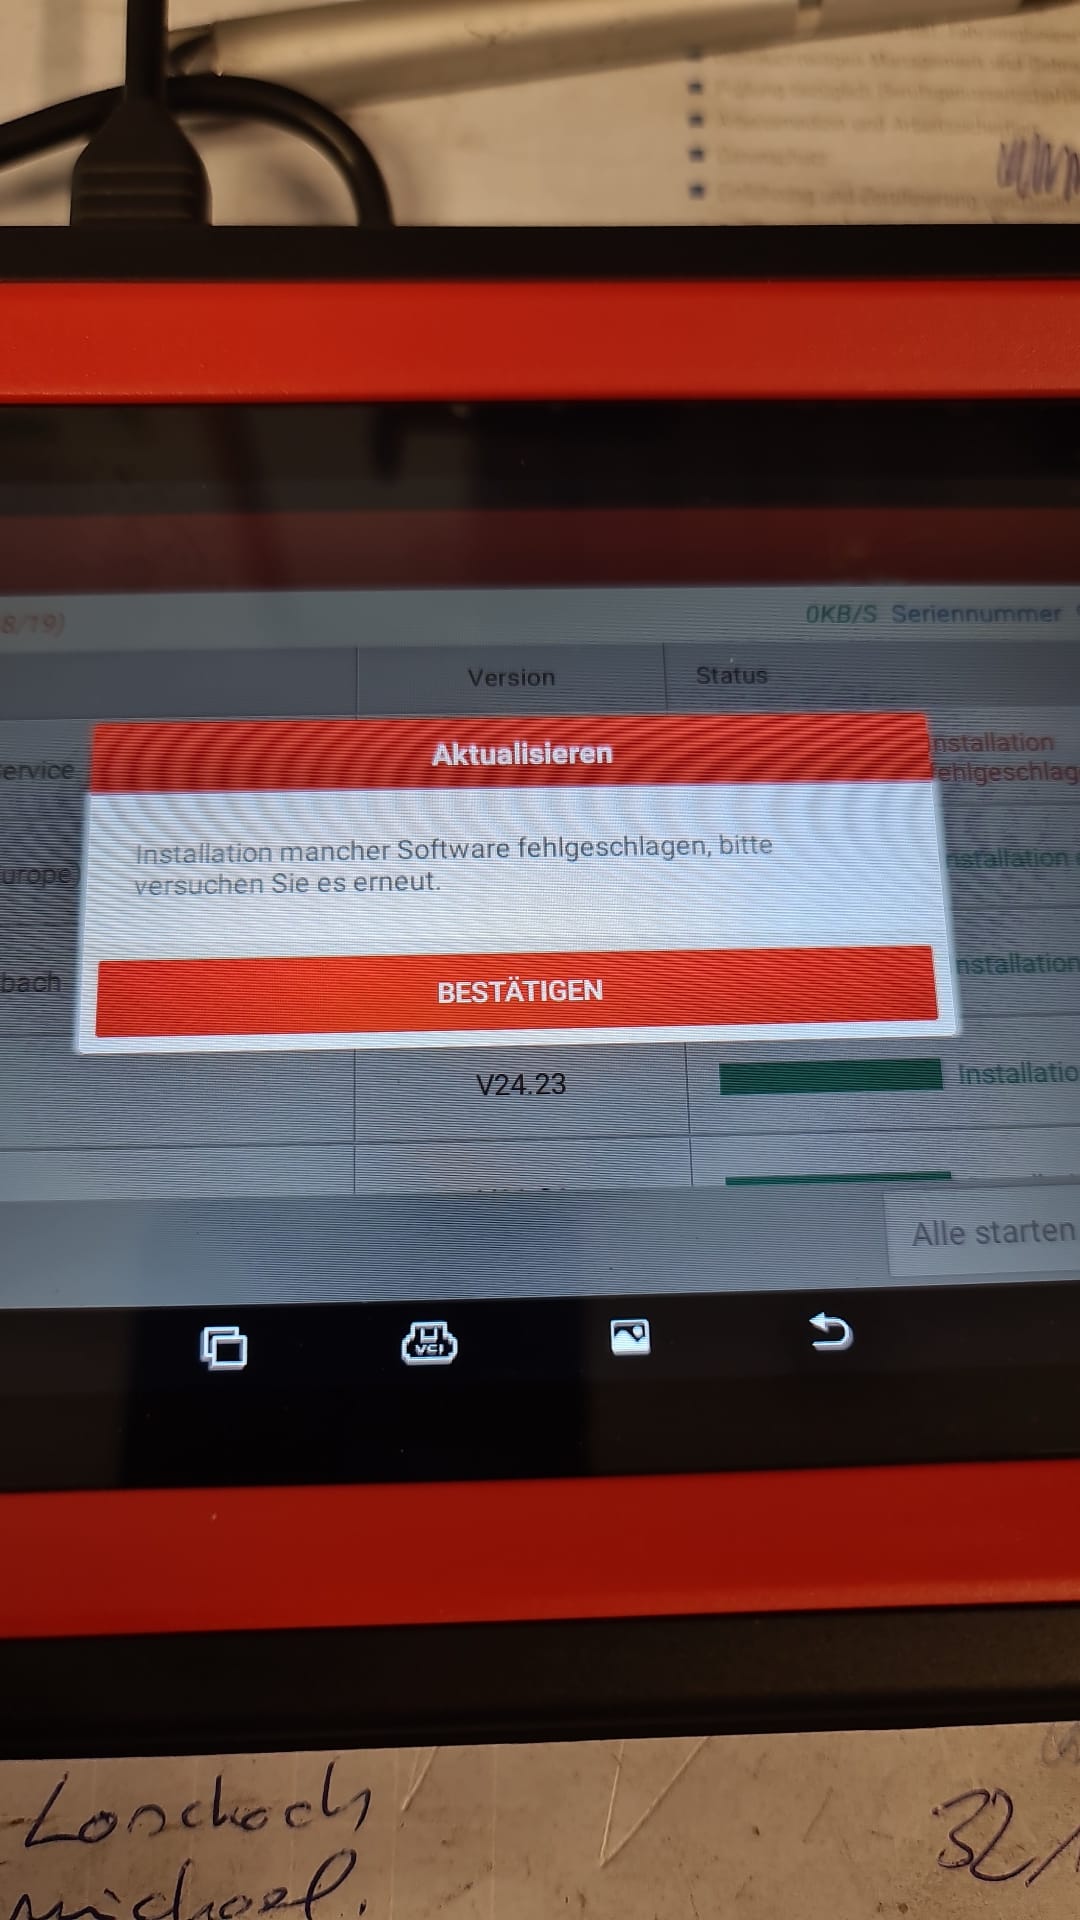
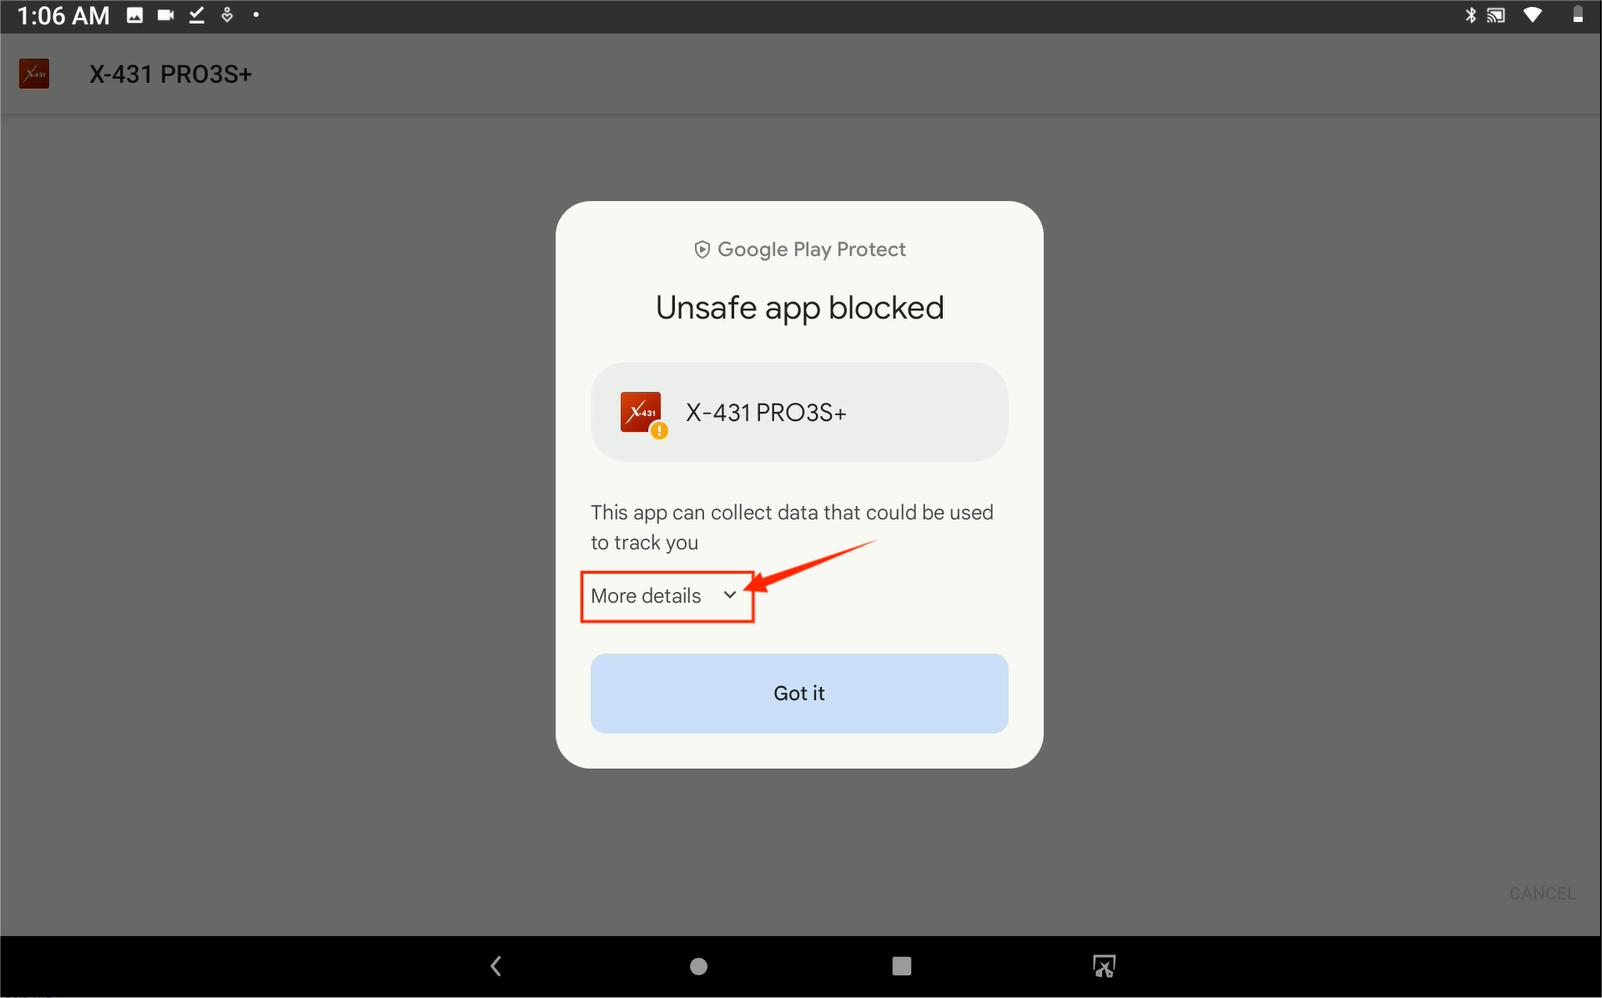
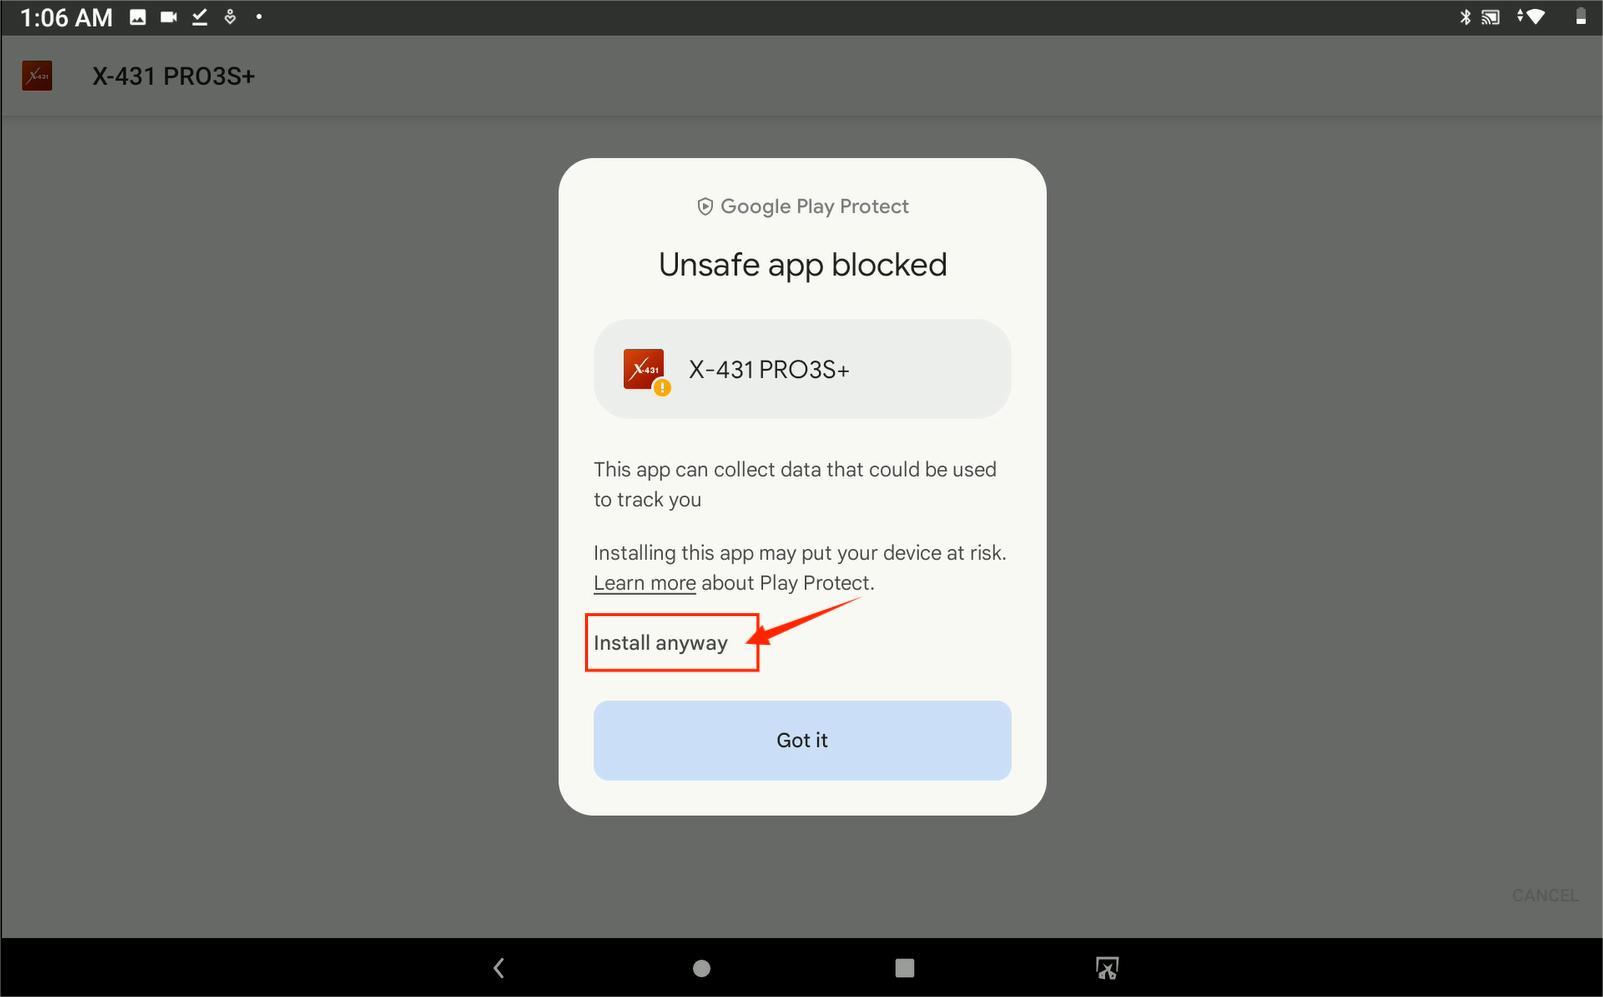
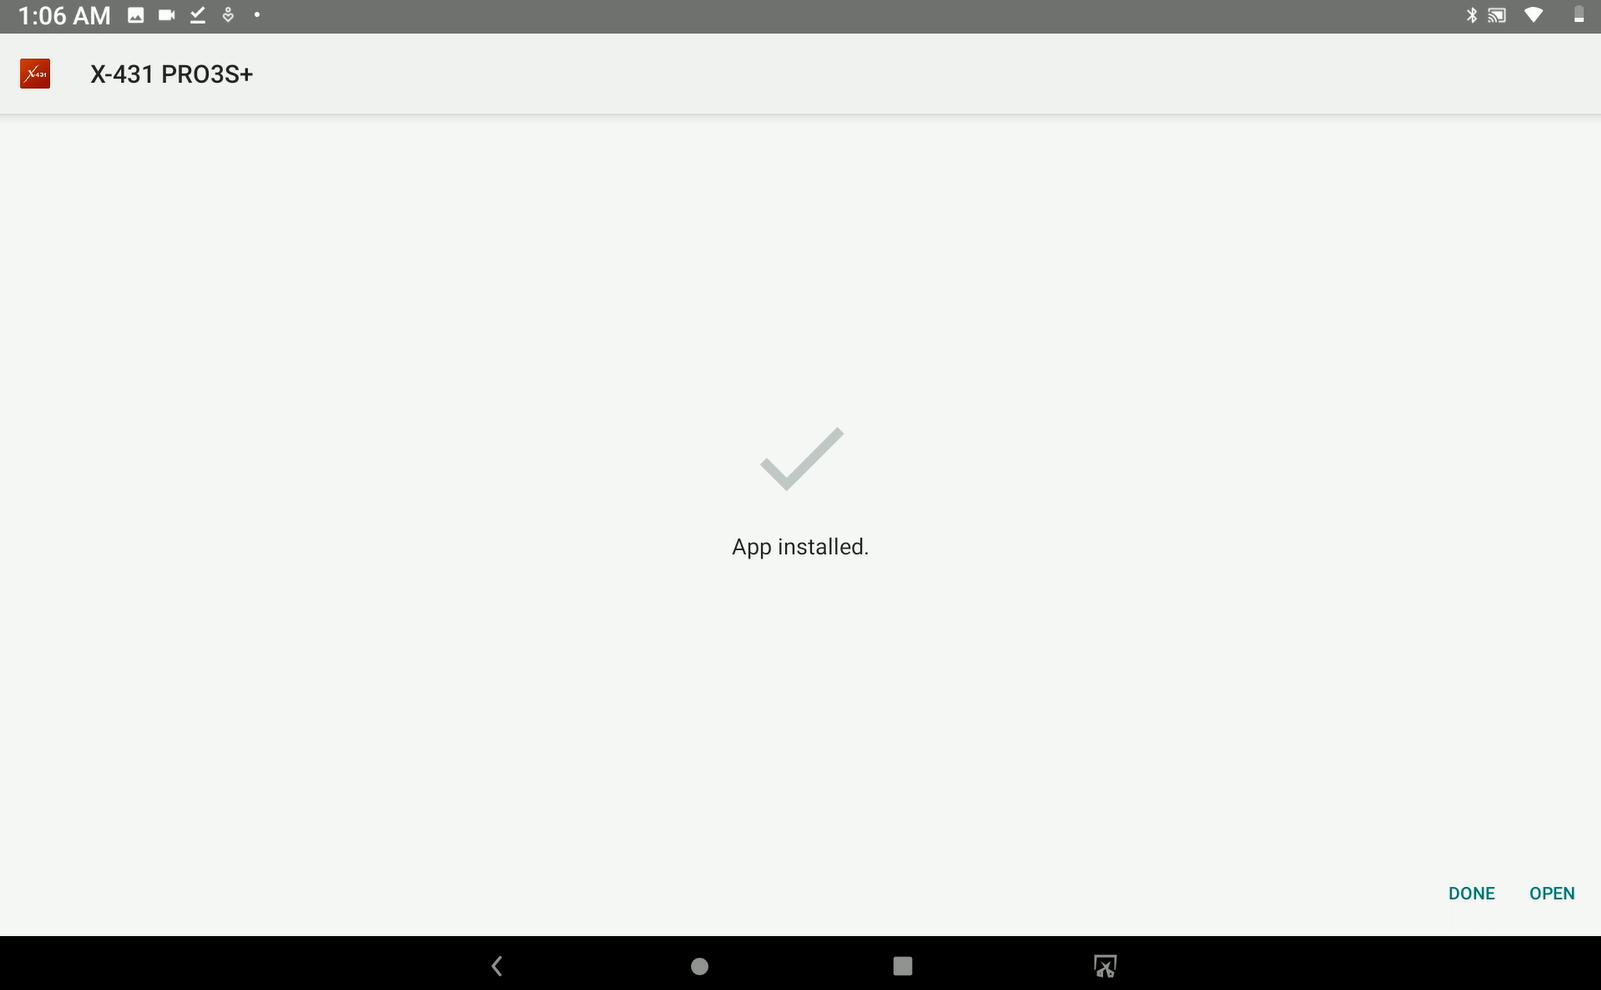
Q: How to update the APK and diagnostic software?
*Note: During the update, please make sure the tool has a stable network connection.
1. On the Home screen, tap “Software Update”.
2. To update all software, tap the “All software” tab and tap “Update”on the bottom of the screen to start the download.
3. To update some common software, tap the “Common software” tab to update the previously added common software list.
Q: Can I use the VCI device to communicate with the tablet viaBluetooth?
The VCI device actually supports the Bluetooth communication, but this feature is currently disabled in the diagnostic application.
The Wi-Fi communication between the tablet and the VCI is highly recommended since it provides more stable connection and faster transmission speed.
Q:What to do if the tablet runs out of space when downloading software?
1. Refer to the item “How to back up data?” to back up the important data.
2. Delete the data that has been backed up to release the storage space.
Q: How to back up data?
1. Turn the tablet on.
2. Plug the external storage device into the data transmission port (not type-C port) of the tablet.
*Note: For this tablet, the USB Type C interface is only for charging and disabled for data exchange. To exchange fi les with other external storage devices, please use the USB Type A interface only.
3. Go to “Other Modules” -> “Files” open the ES File Explorer.
4. After the tablet identifi es the storage device, USBxxxx will appear under the Internal Storage.
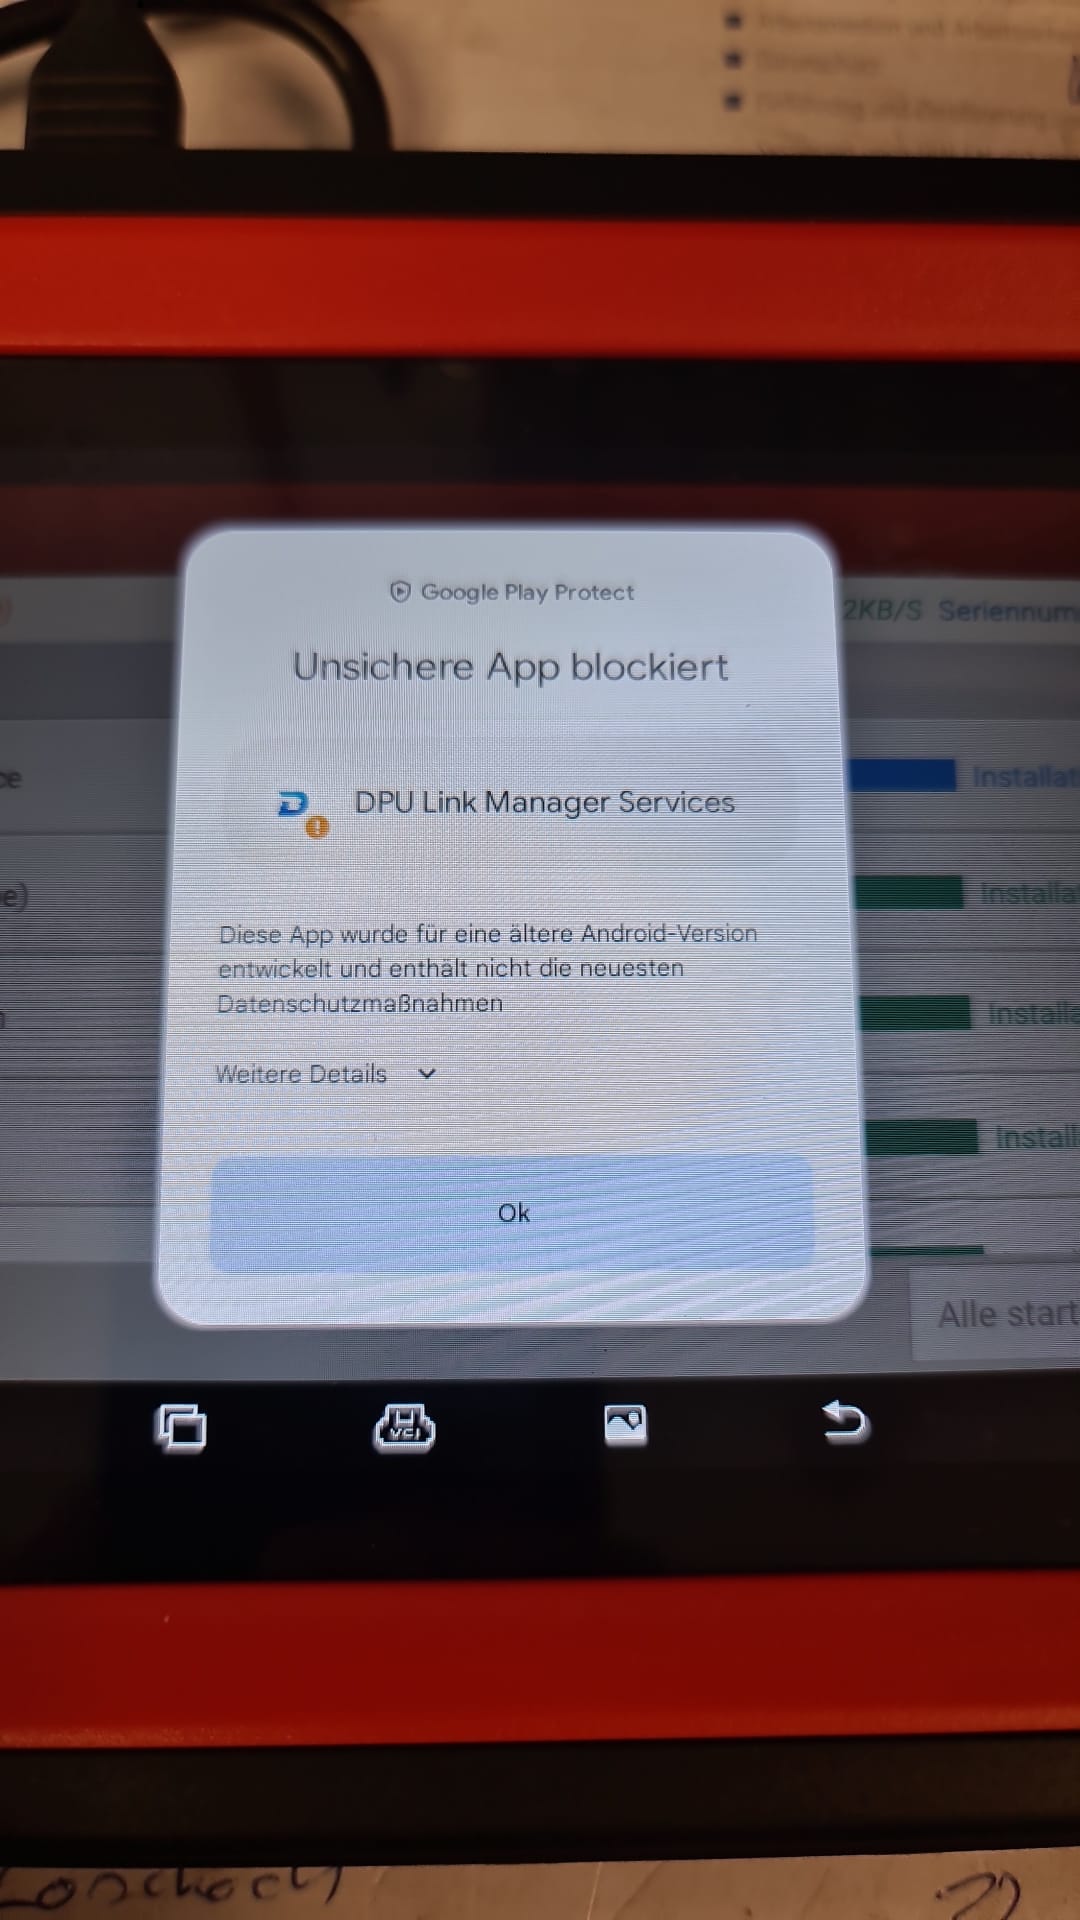
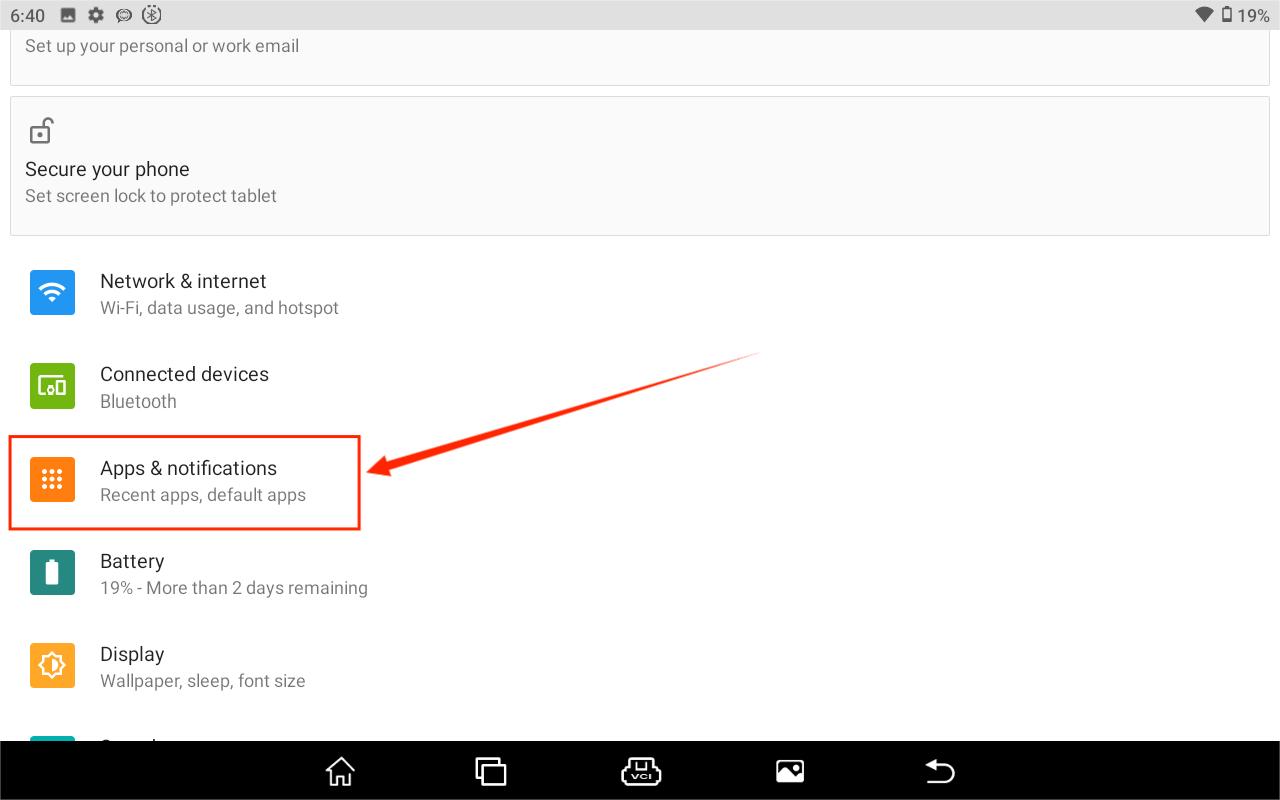
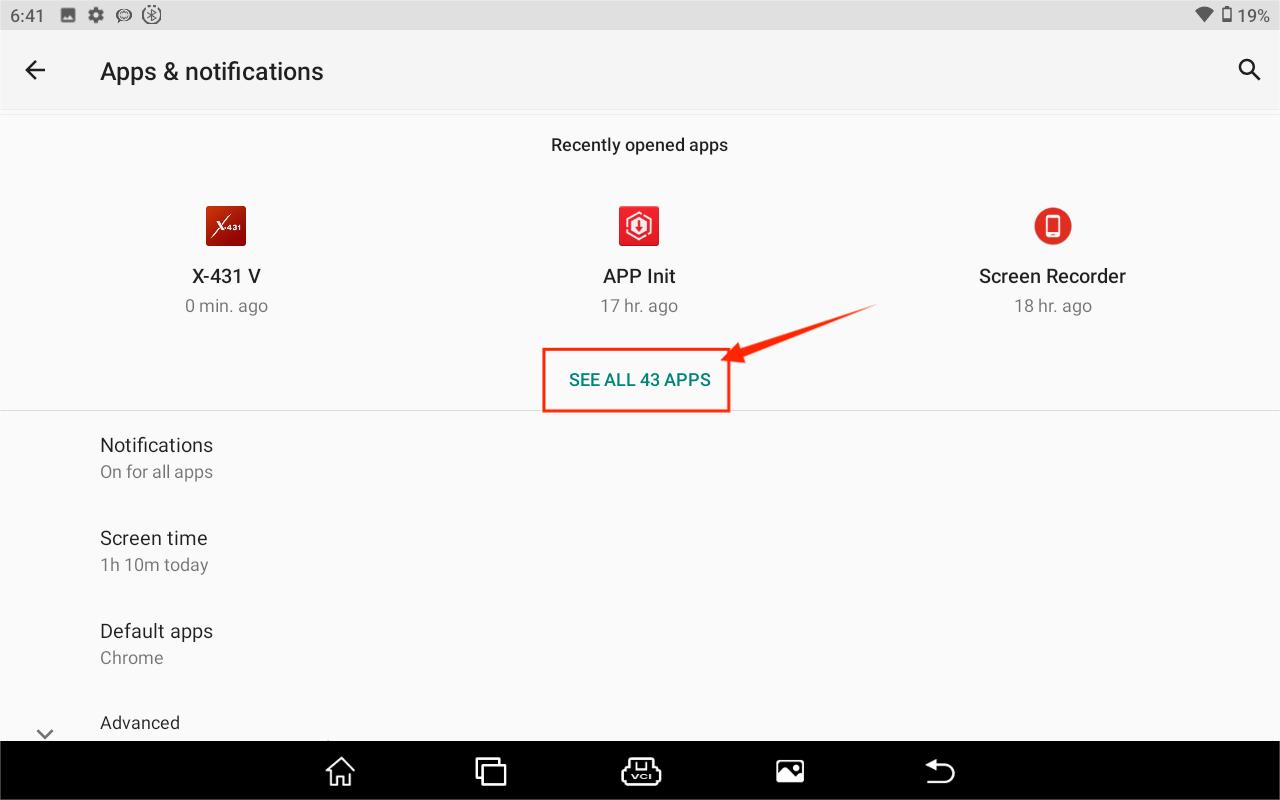
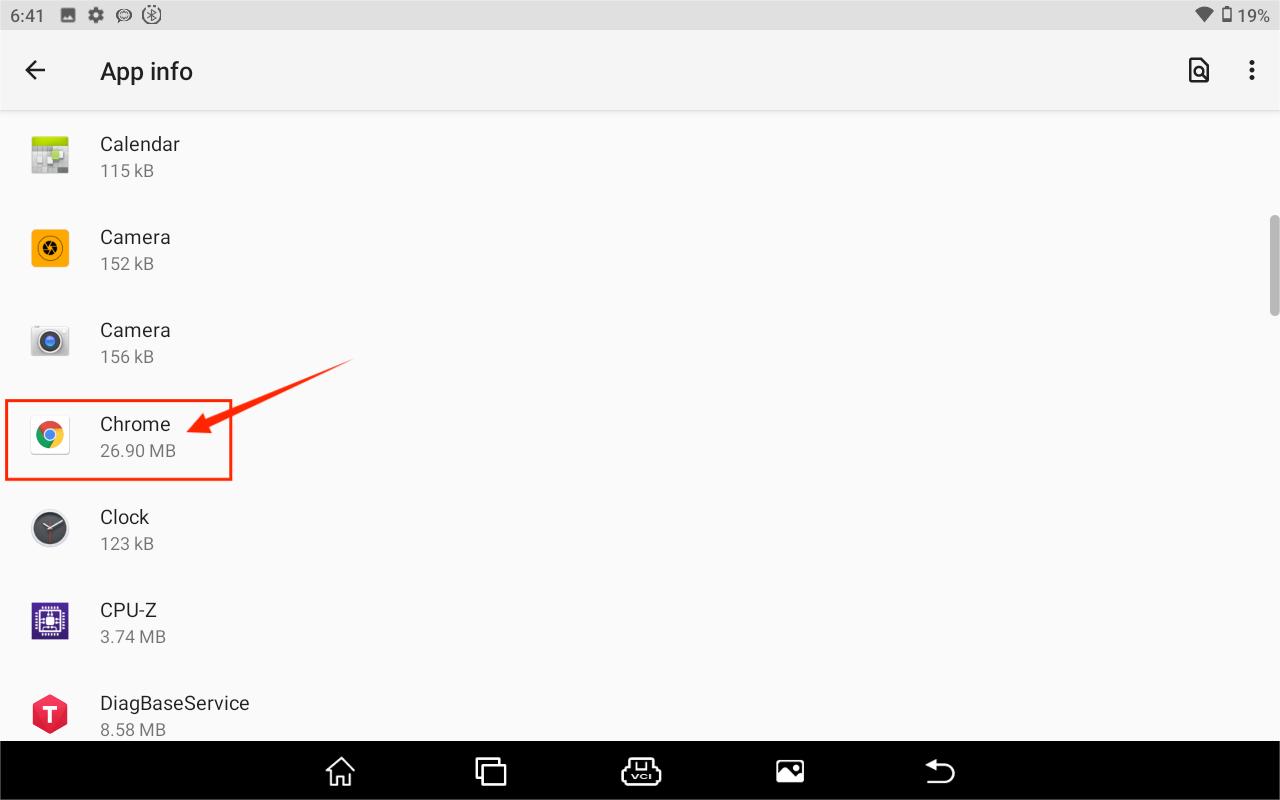
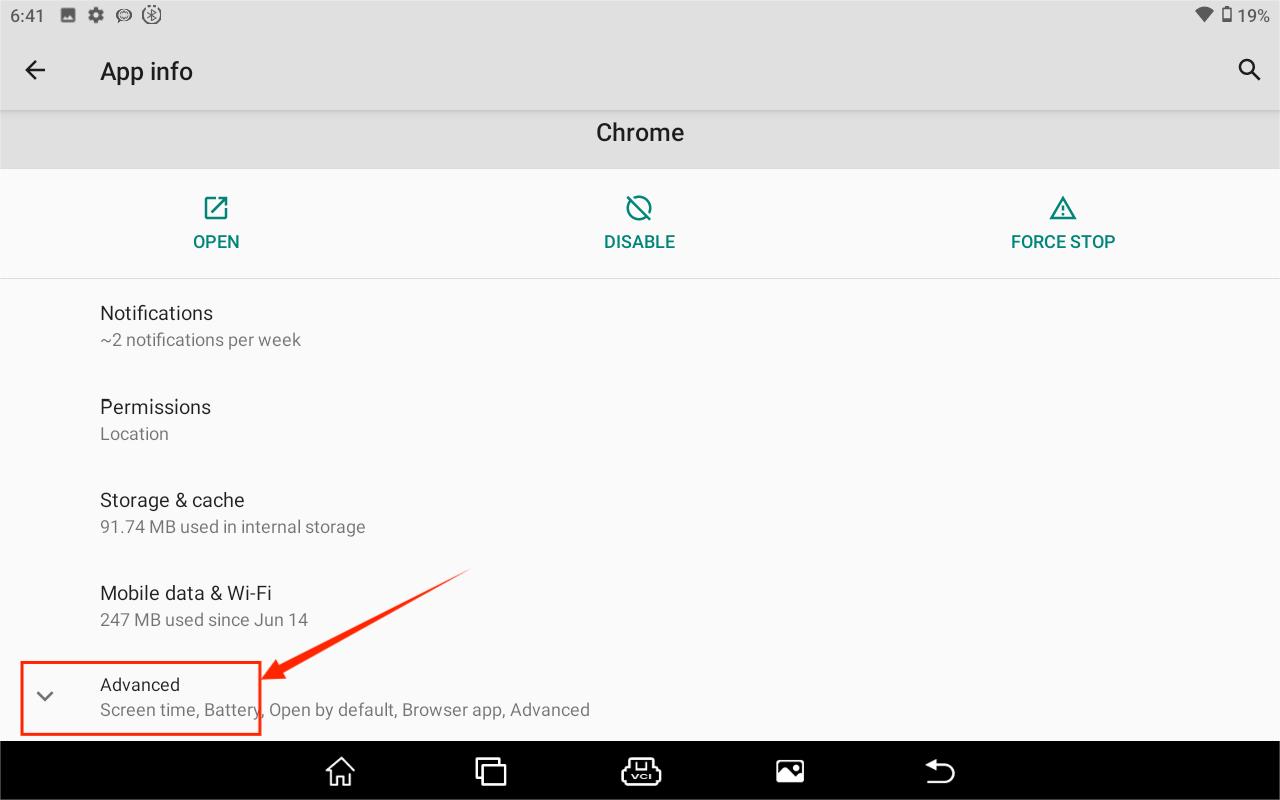
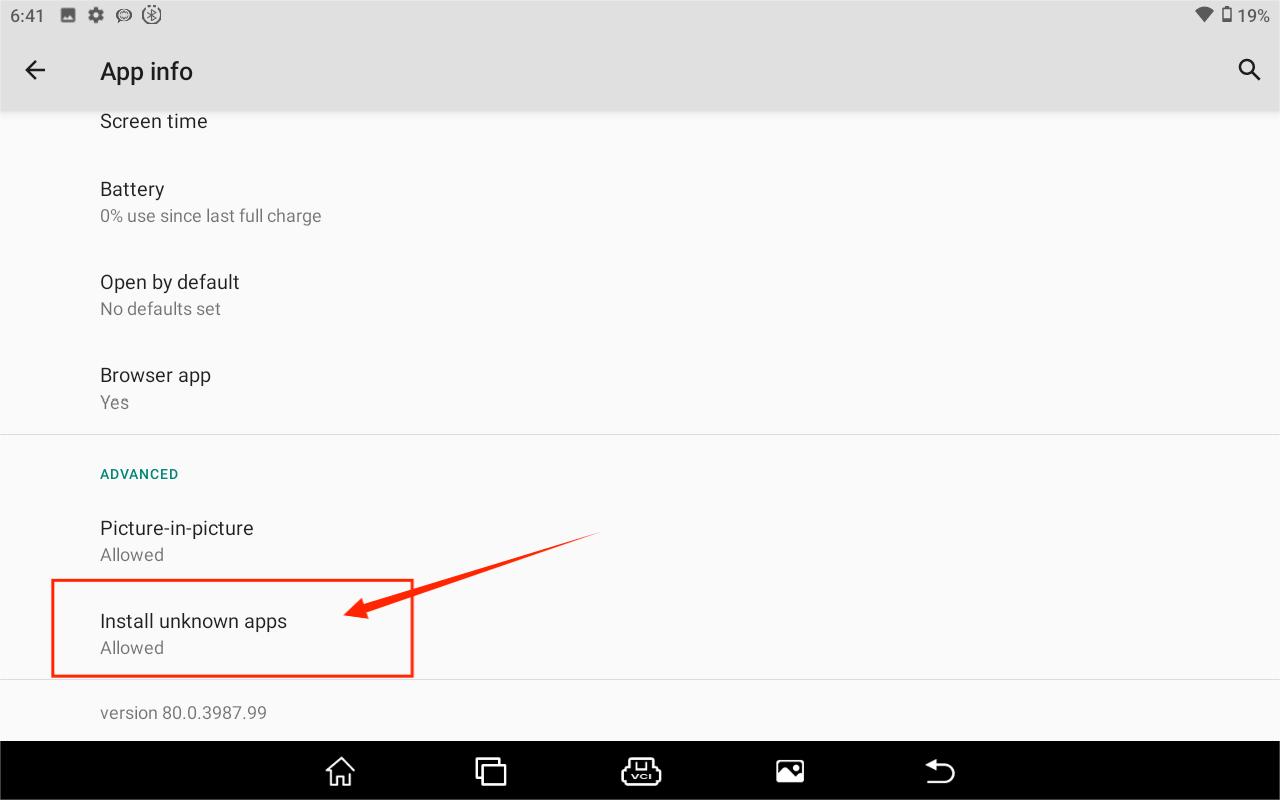
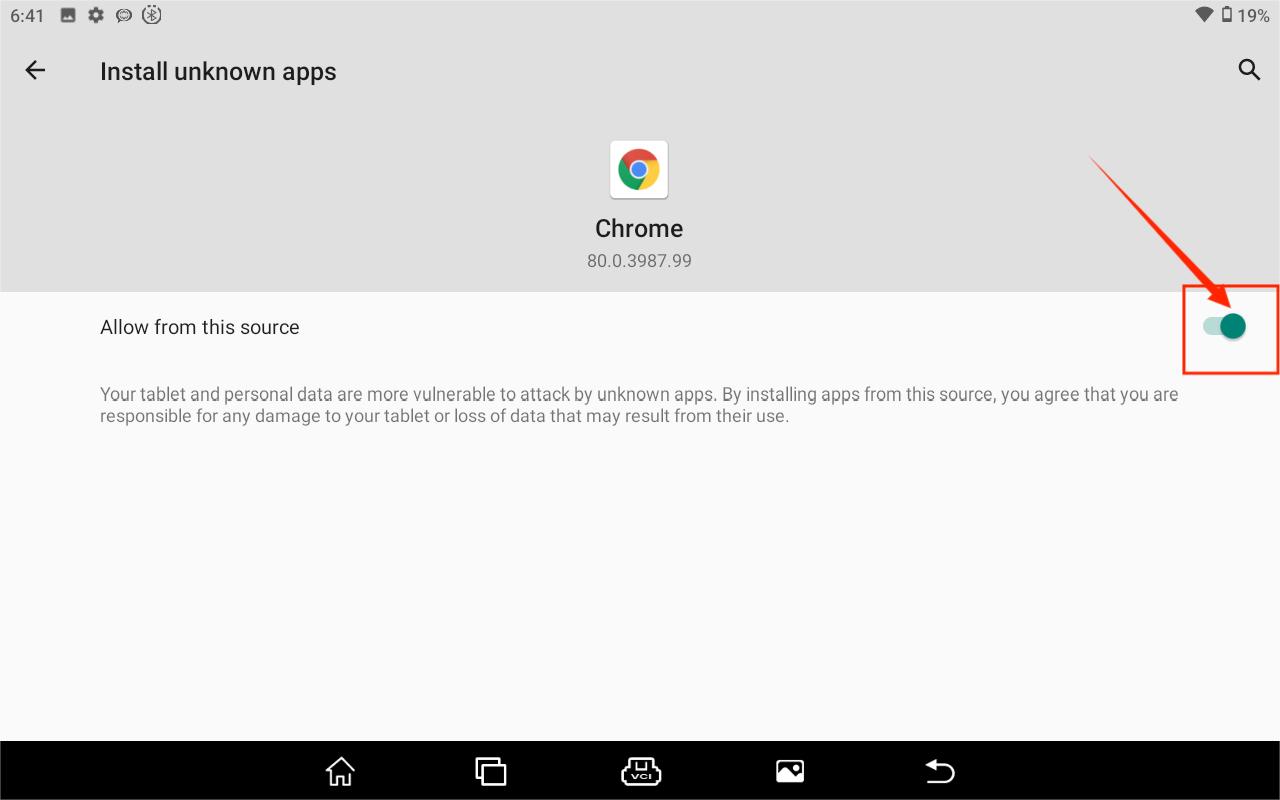
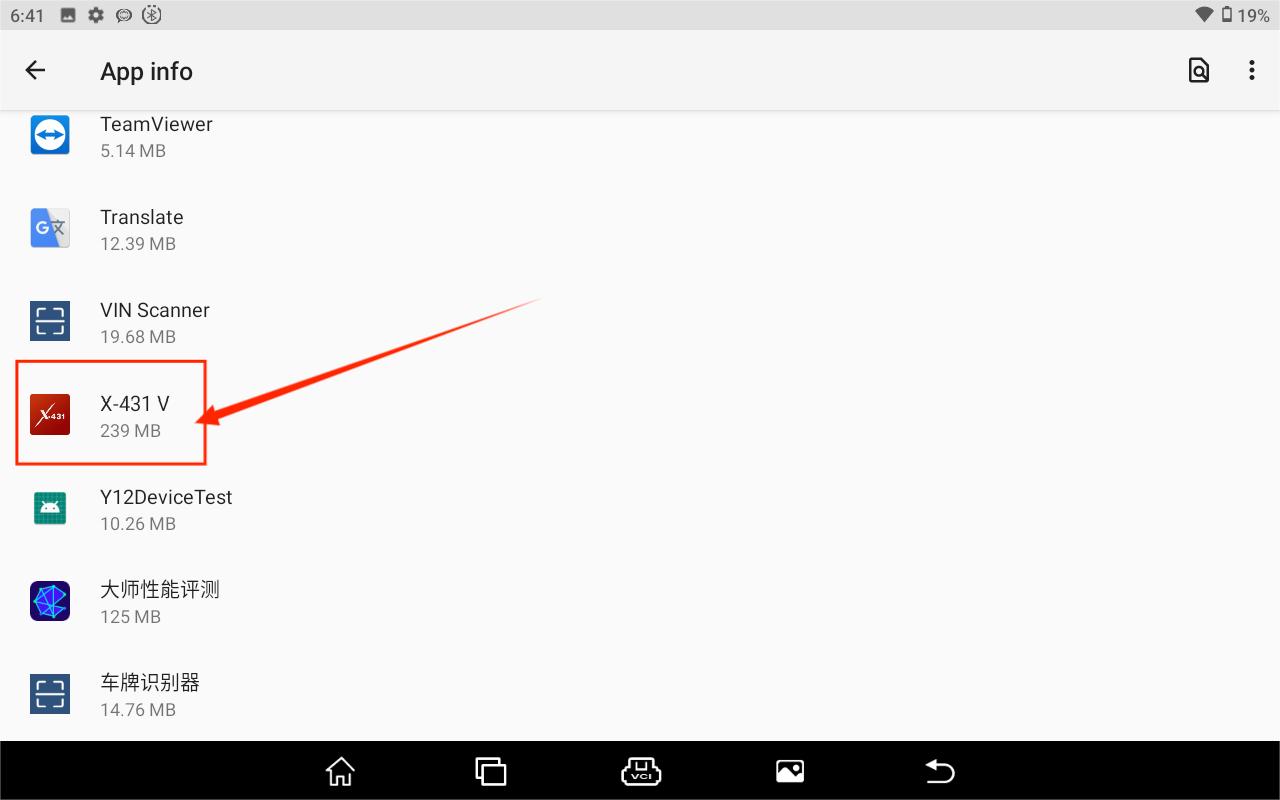
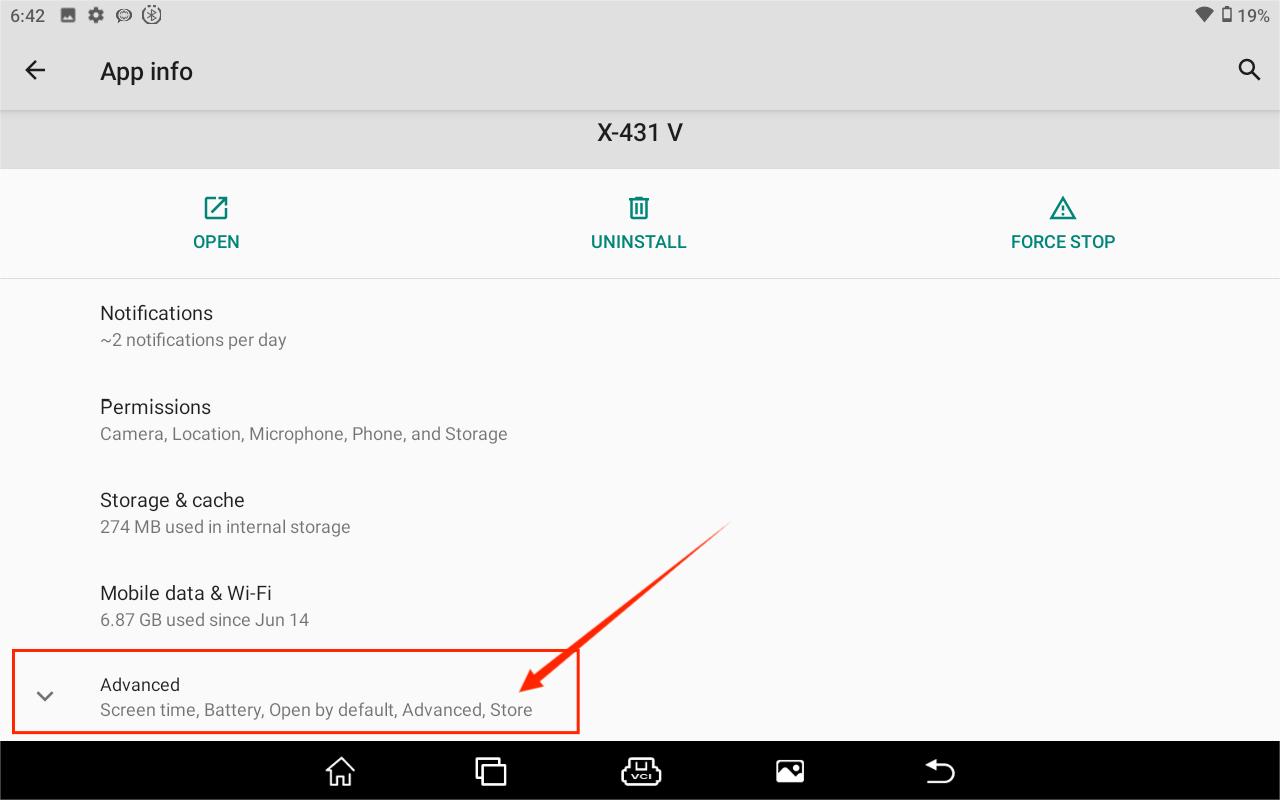
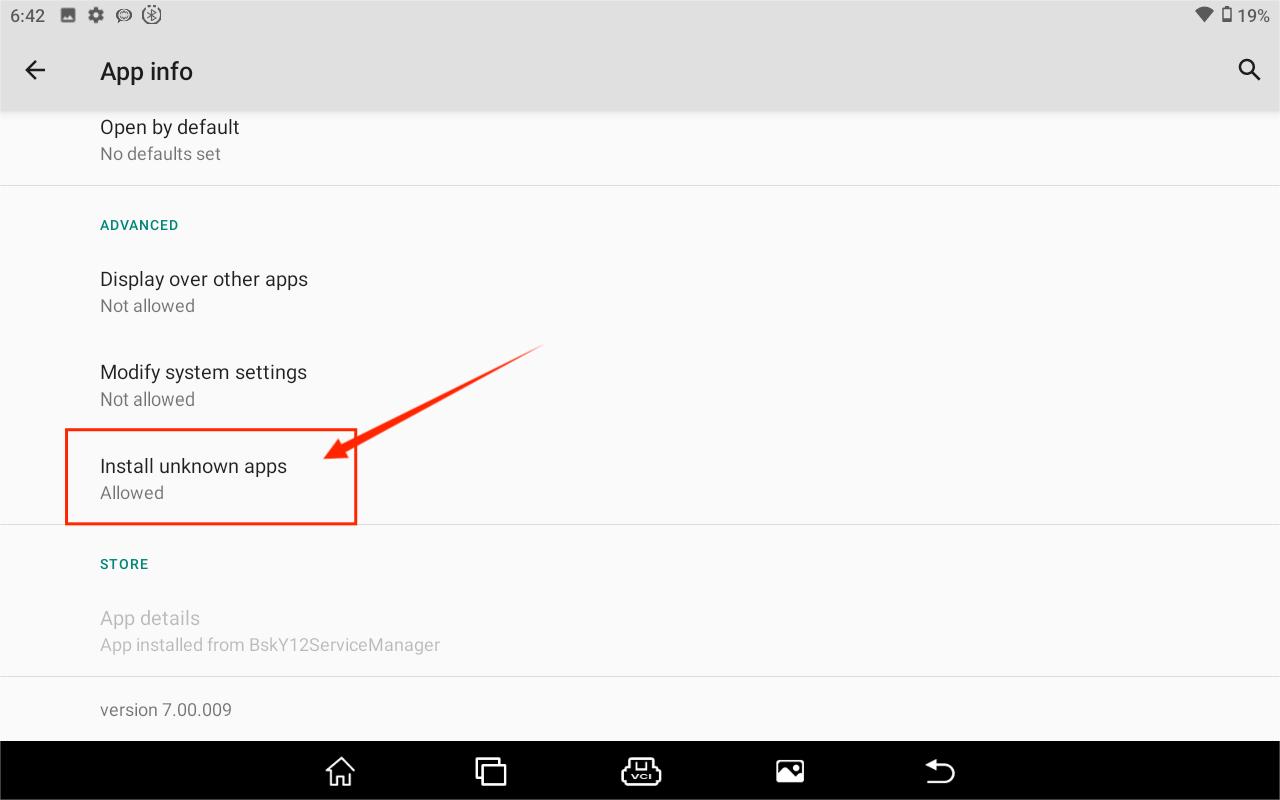
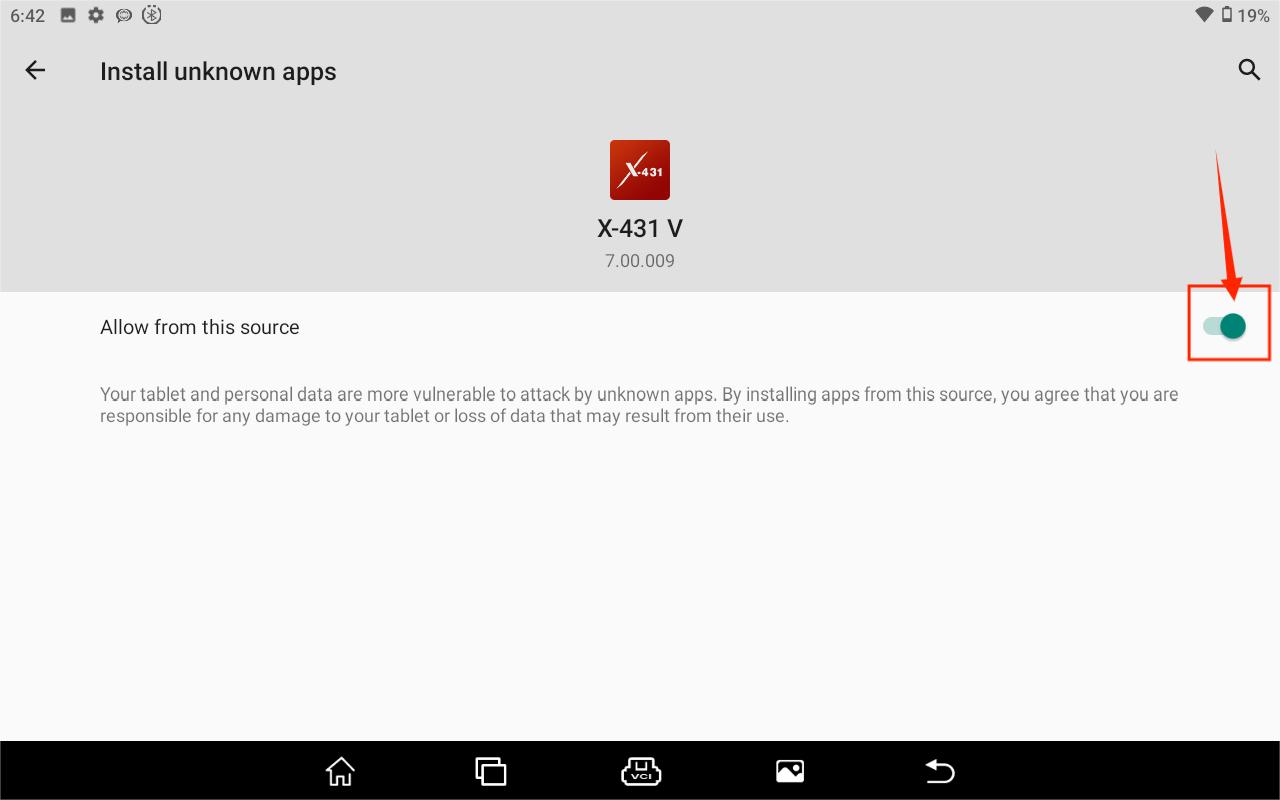
Q: The diagnostic application is failing.
1. On the Home screen, tap “Tablet Setting” -> “Apps”.
2. Select the application name from the Apps list.
3. Select “FORCE STOP”, and then press “OK” to confirm.
4. Select “Clear Data”, and then press “OK” to confirm.
Q: How to retrieve the login password?
Please follow below steps to proceed in case you forgot the login password
1. Tap [Login] button on the upper right corner of the screen.
2. Tap “Retrieve password”.
3. Input product S/N and follow the on-screen prompts to set a new password.
for more details,please visit
https://www.carobd.de/upload/pro/24022717090867516287.pdf