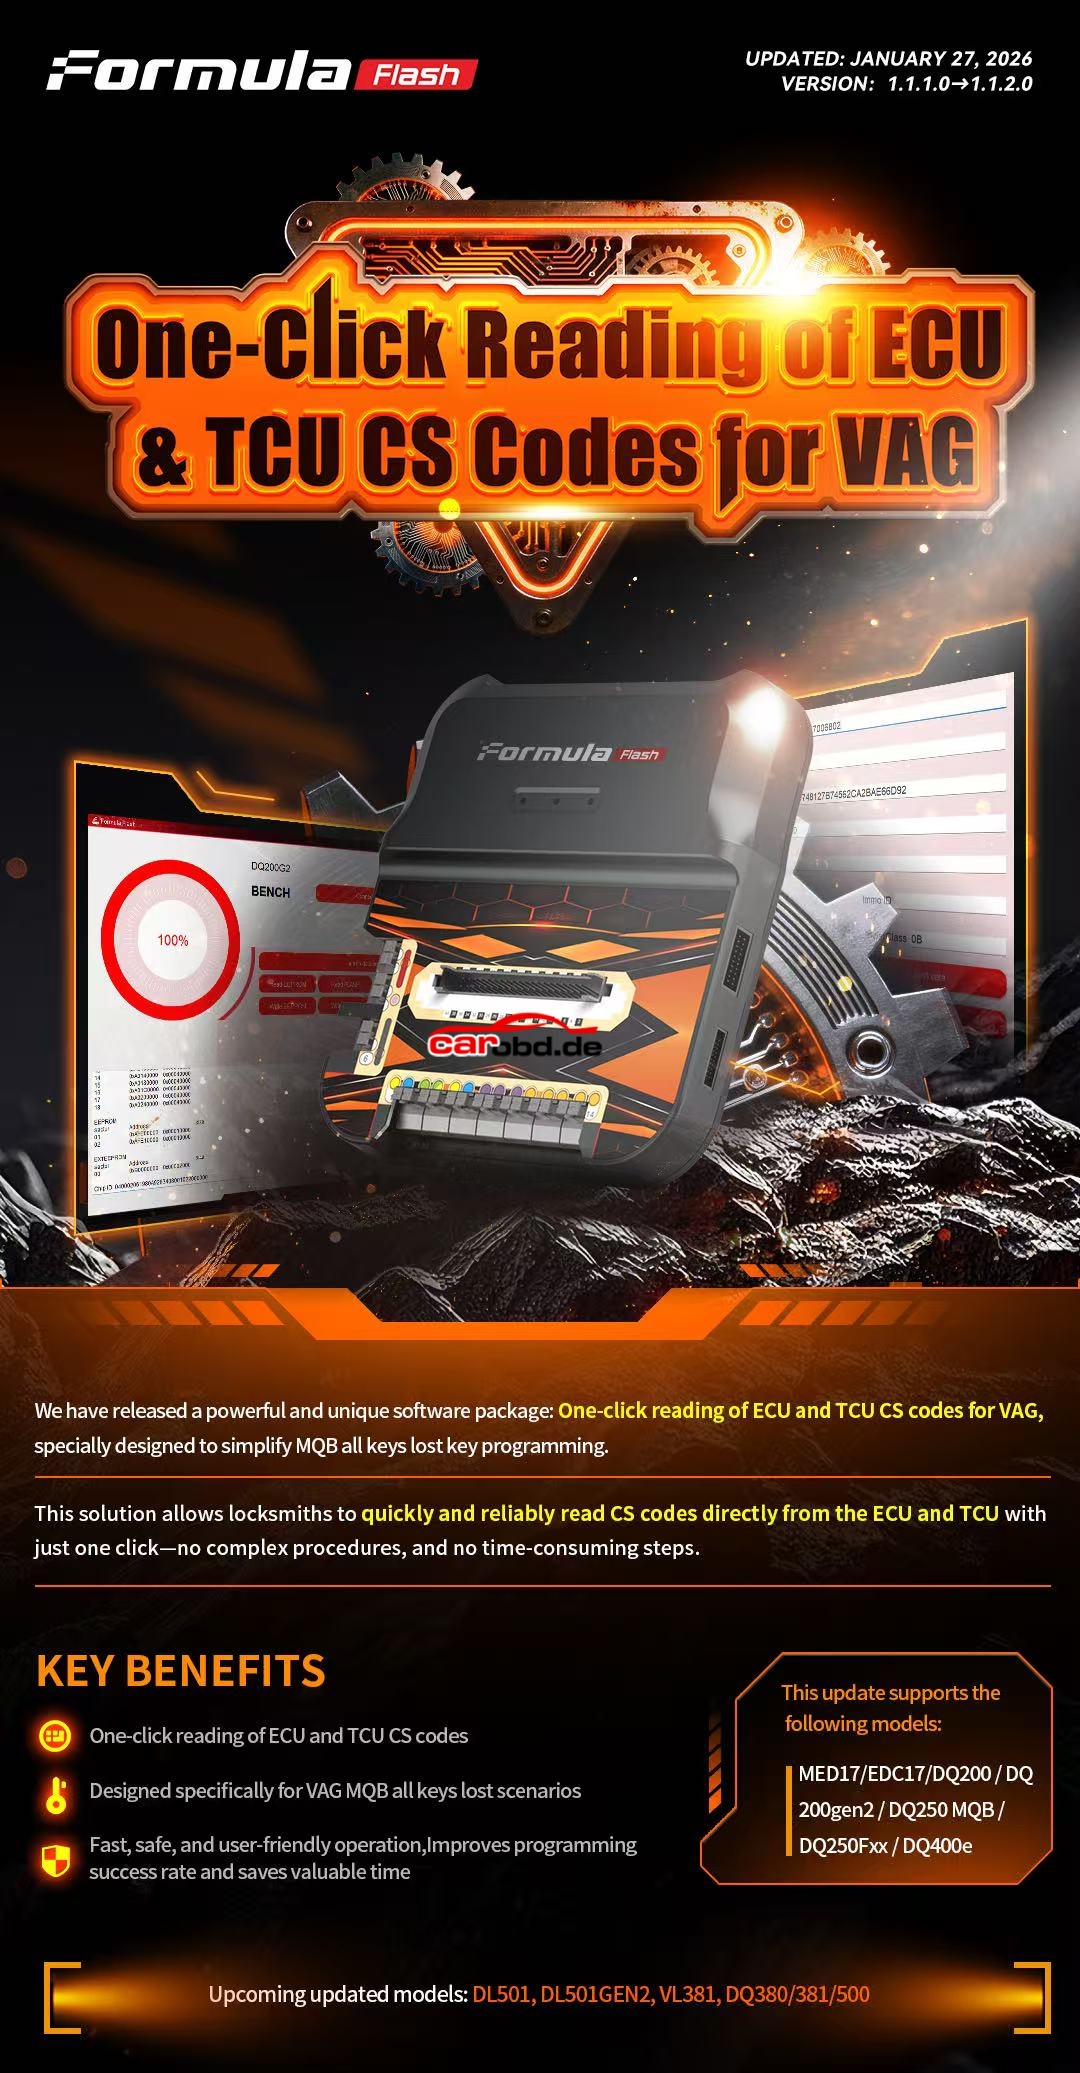
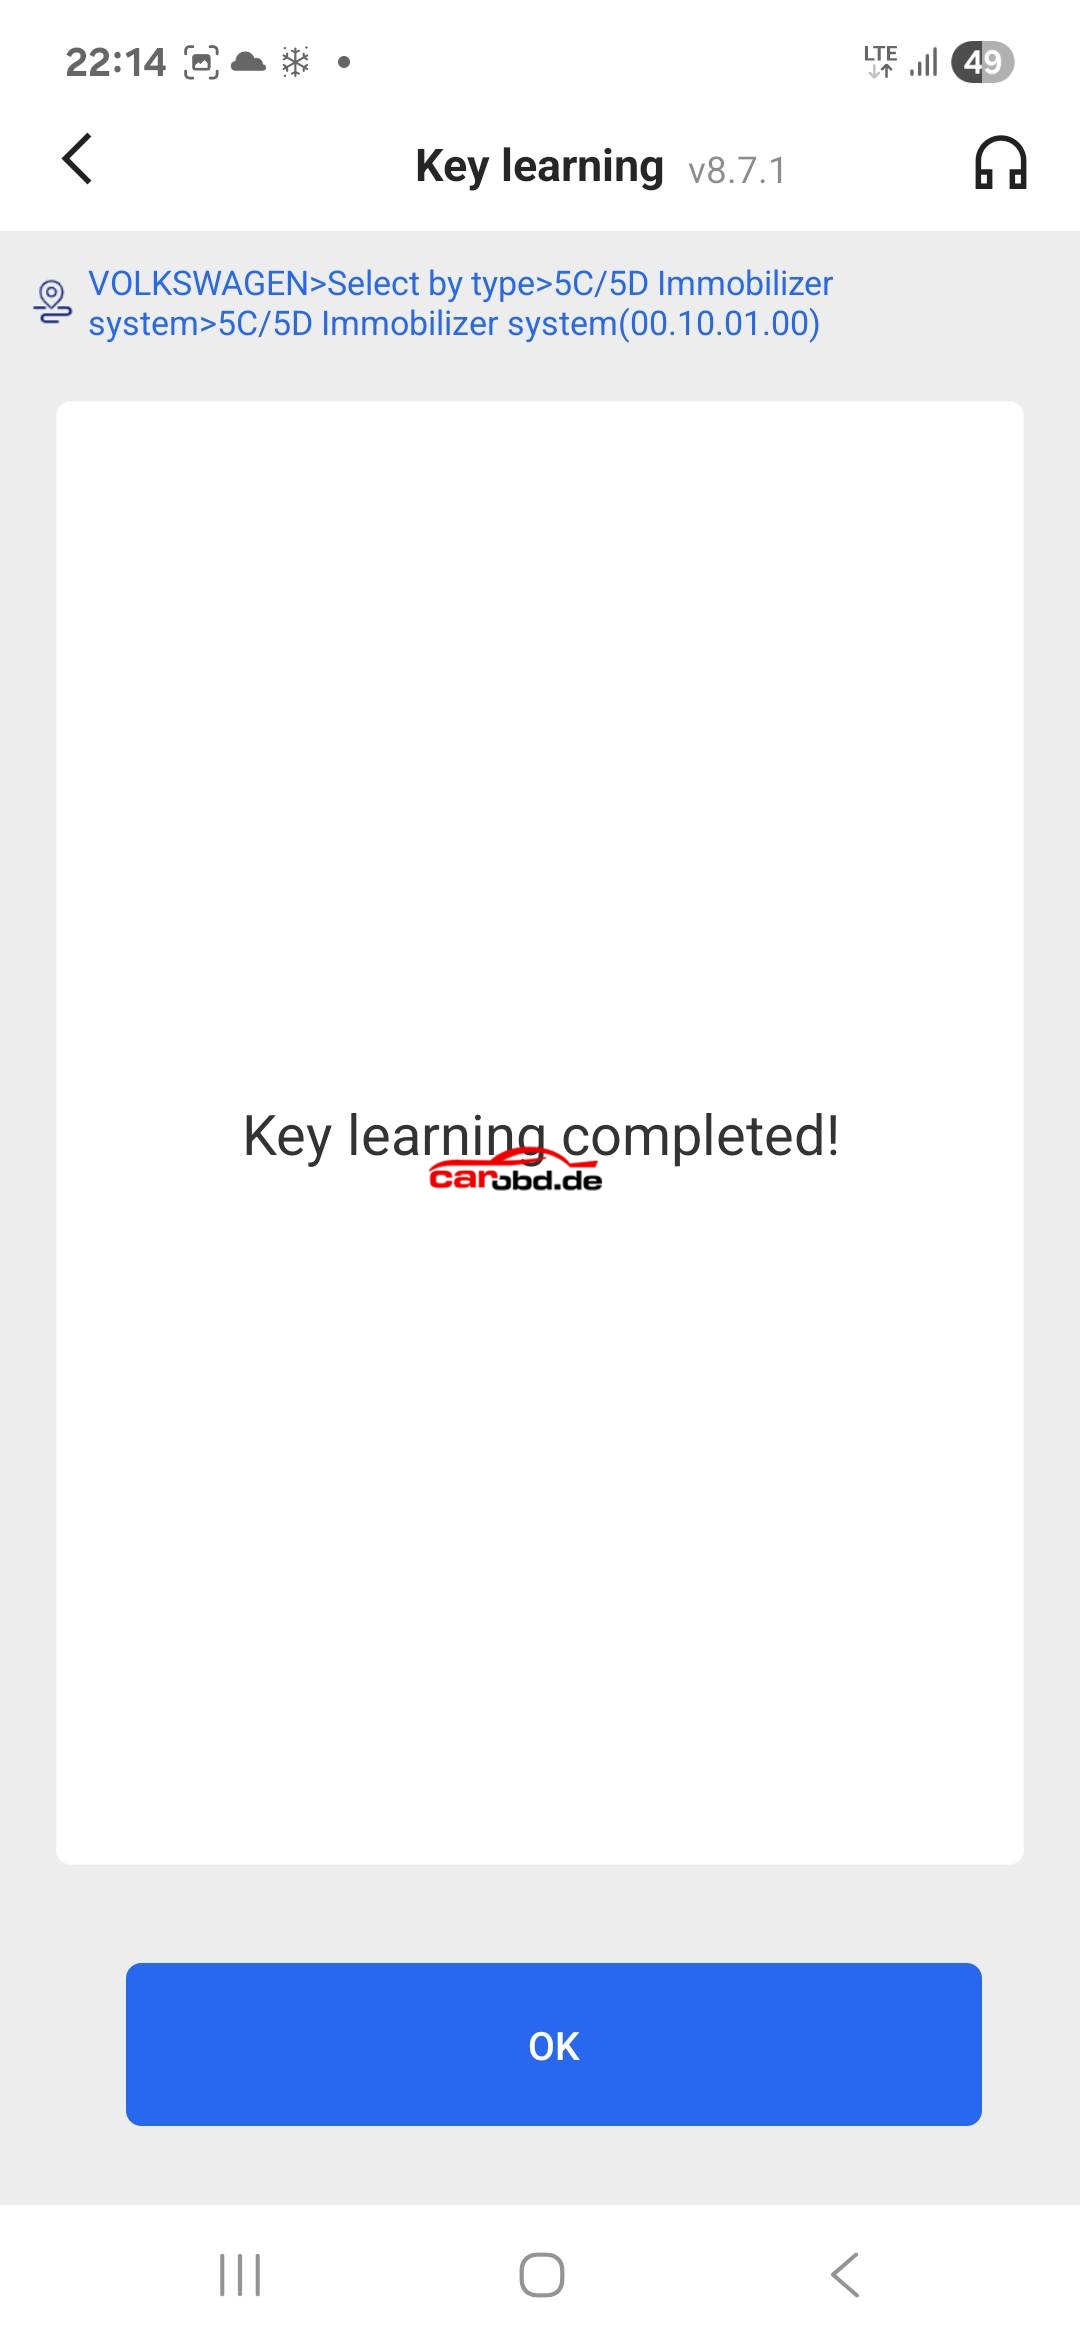
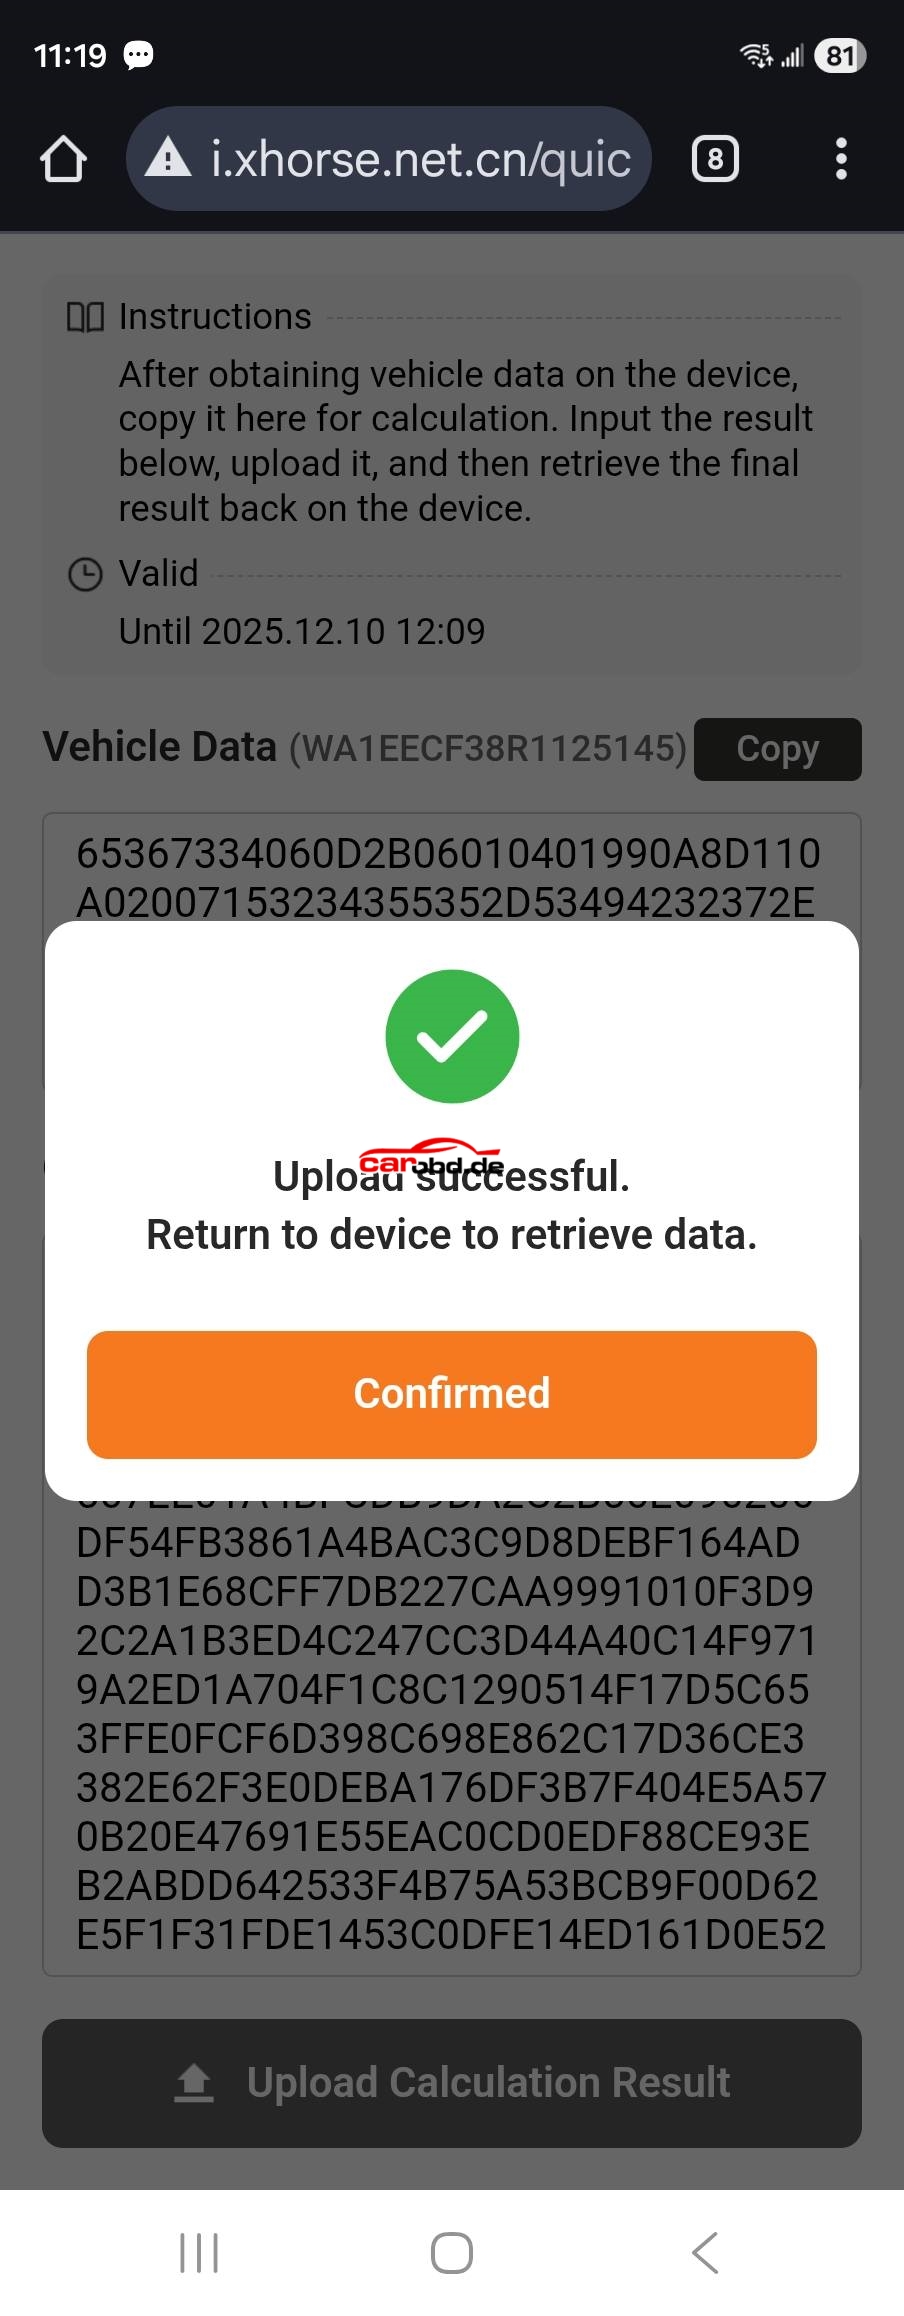
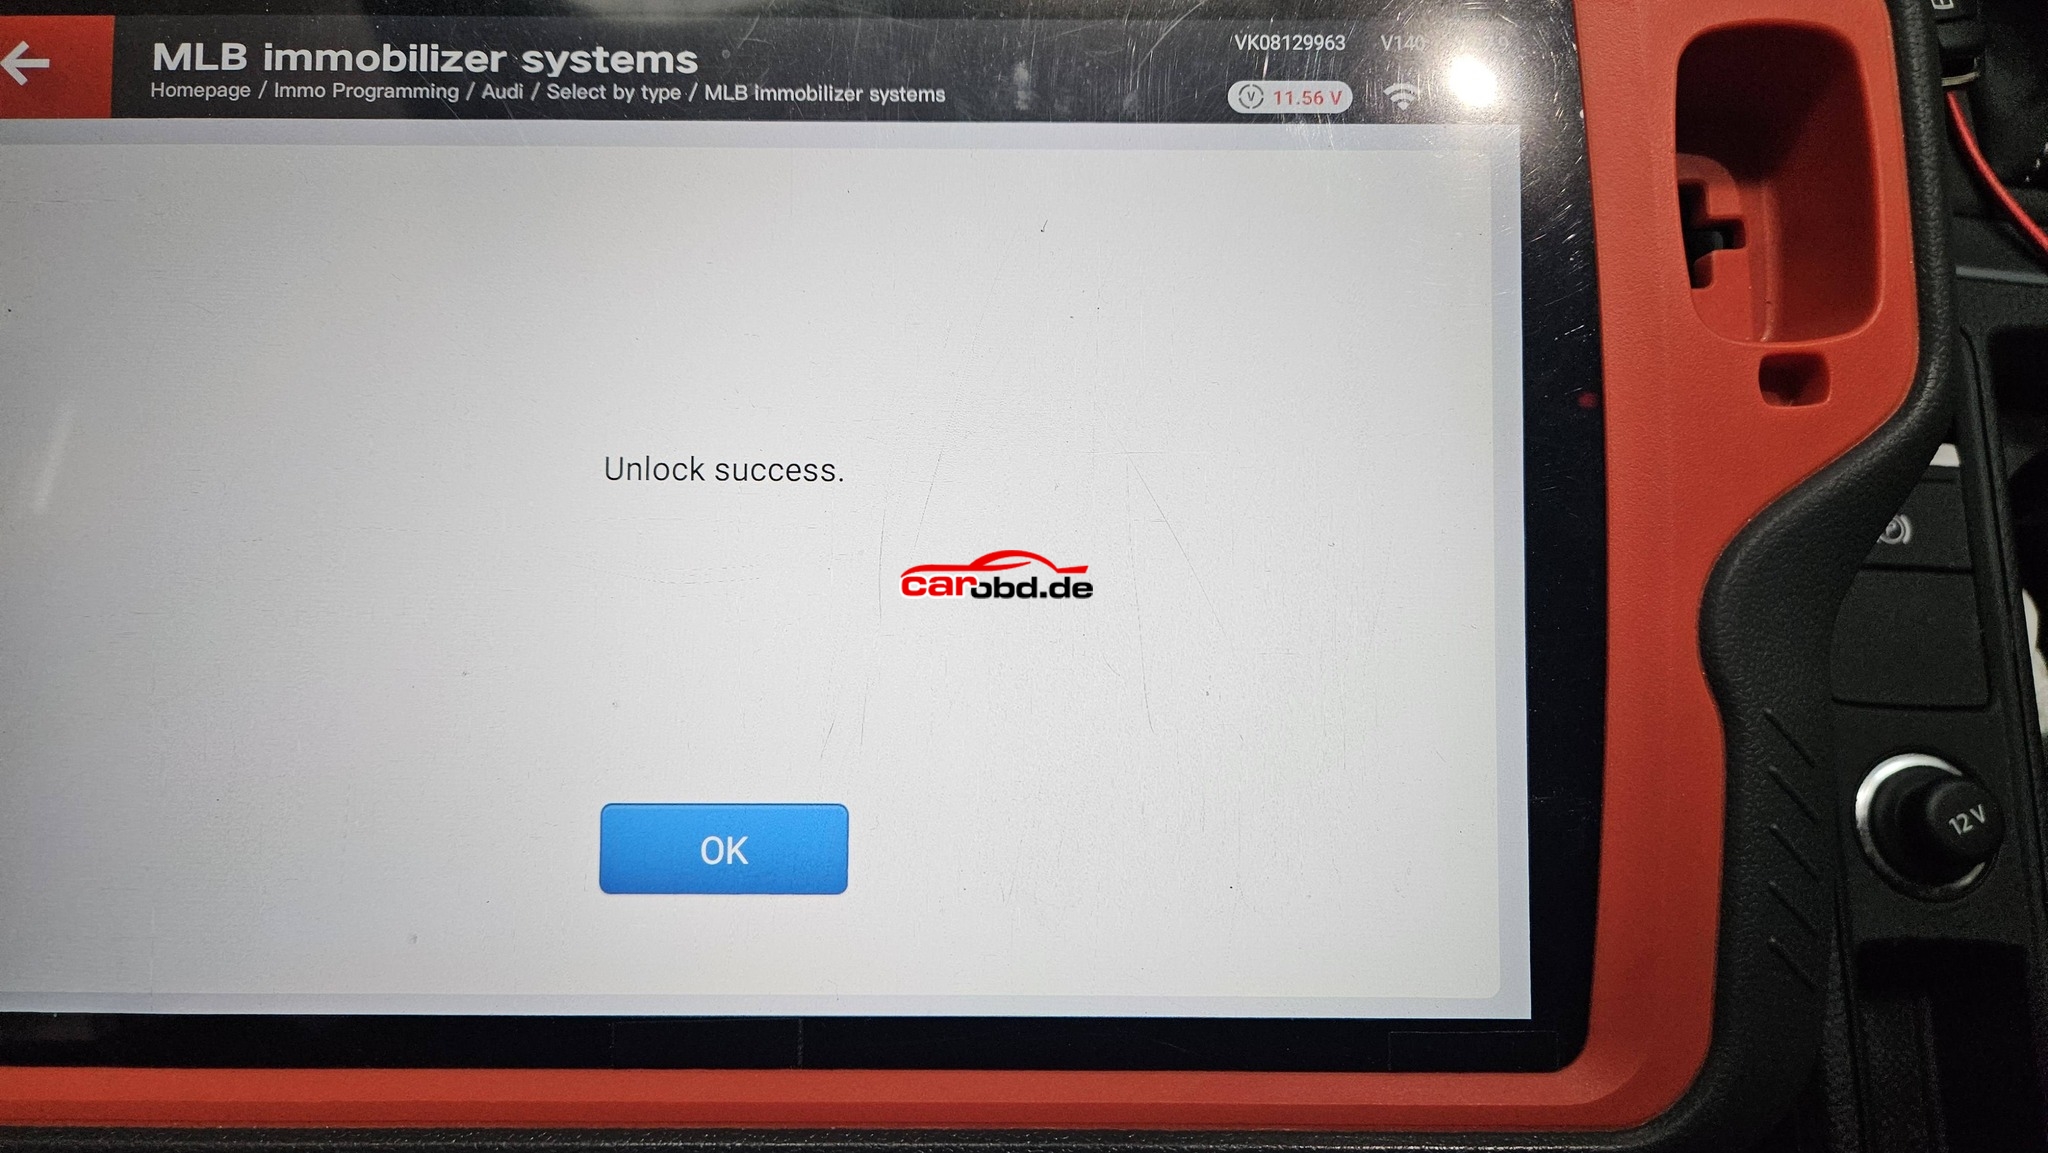
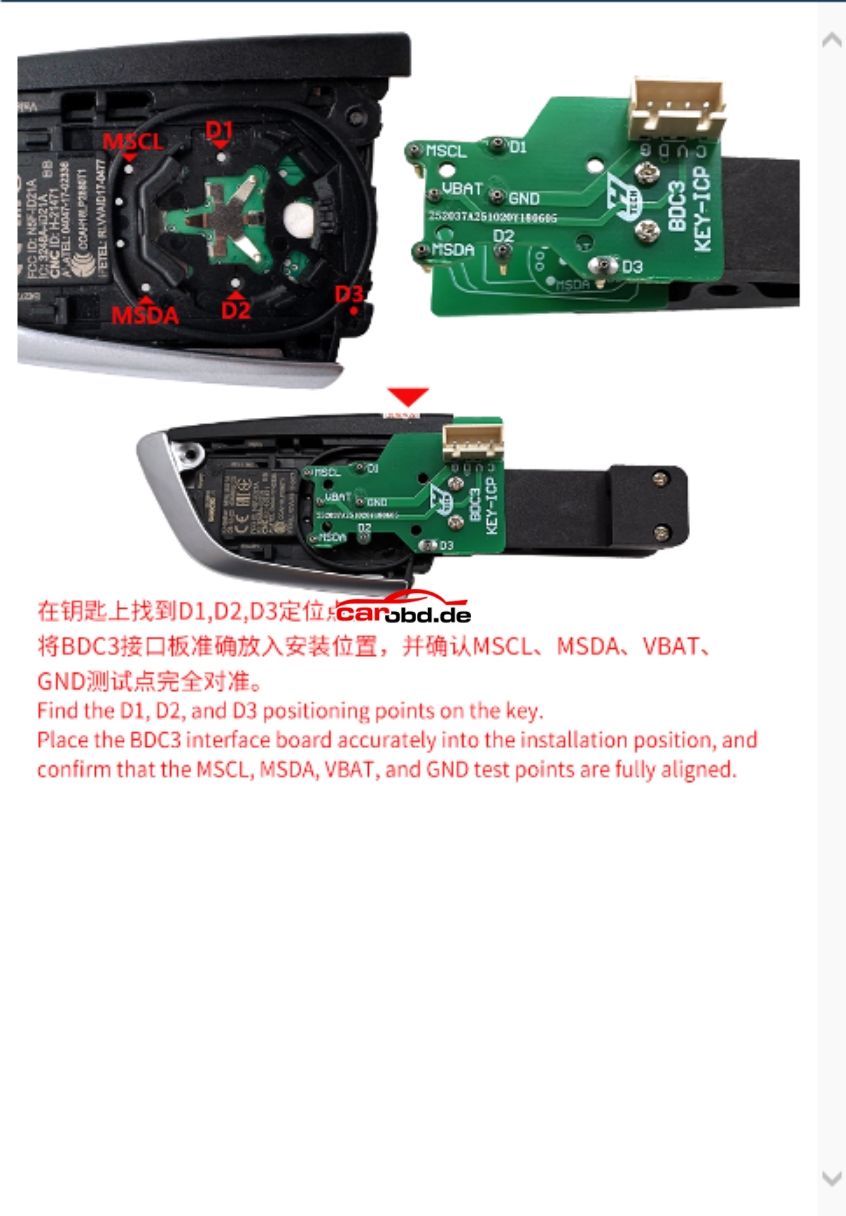
One-Click Reading of ECU&TCU CS Codes for VAG
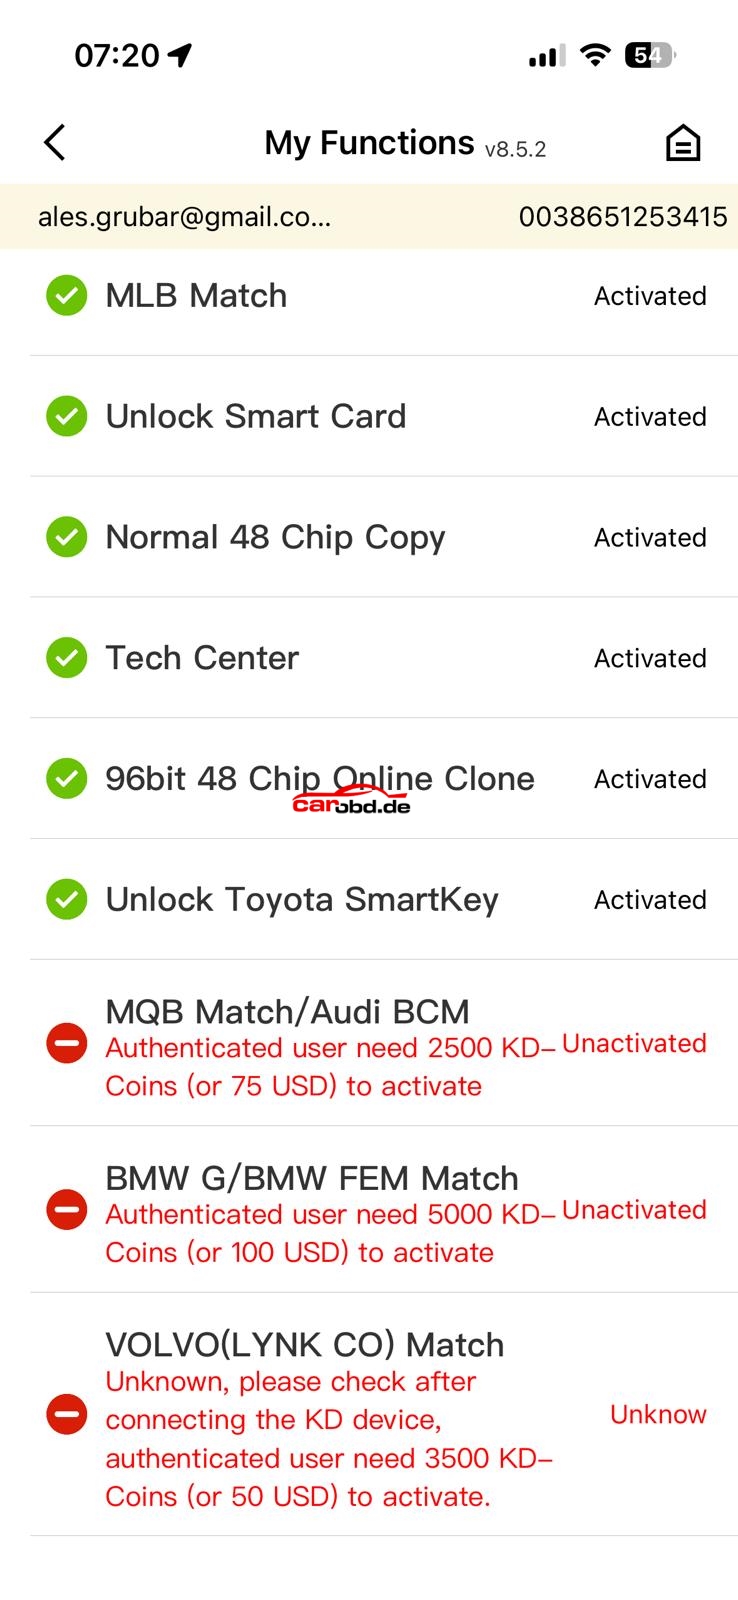
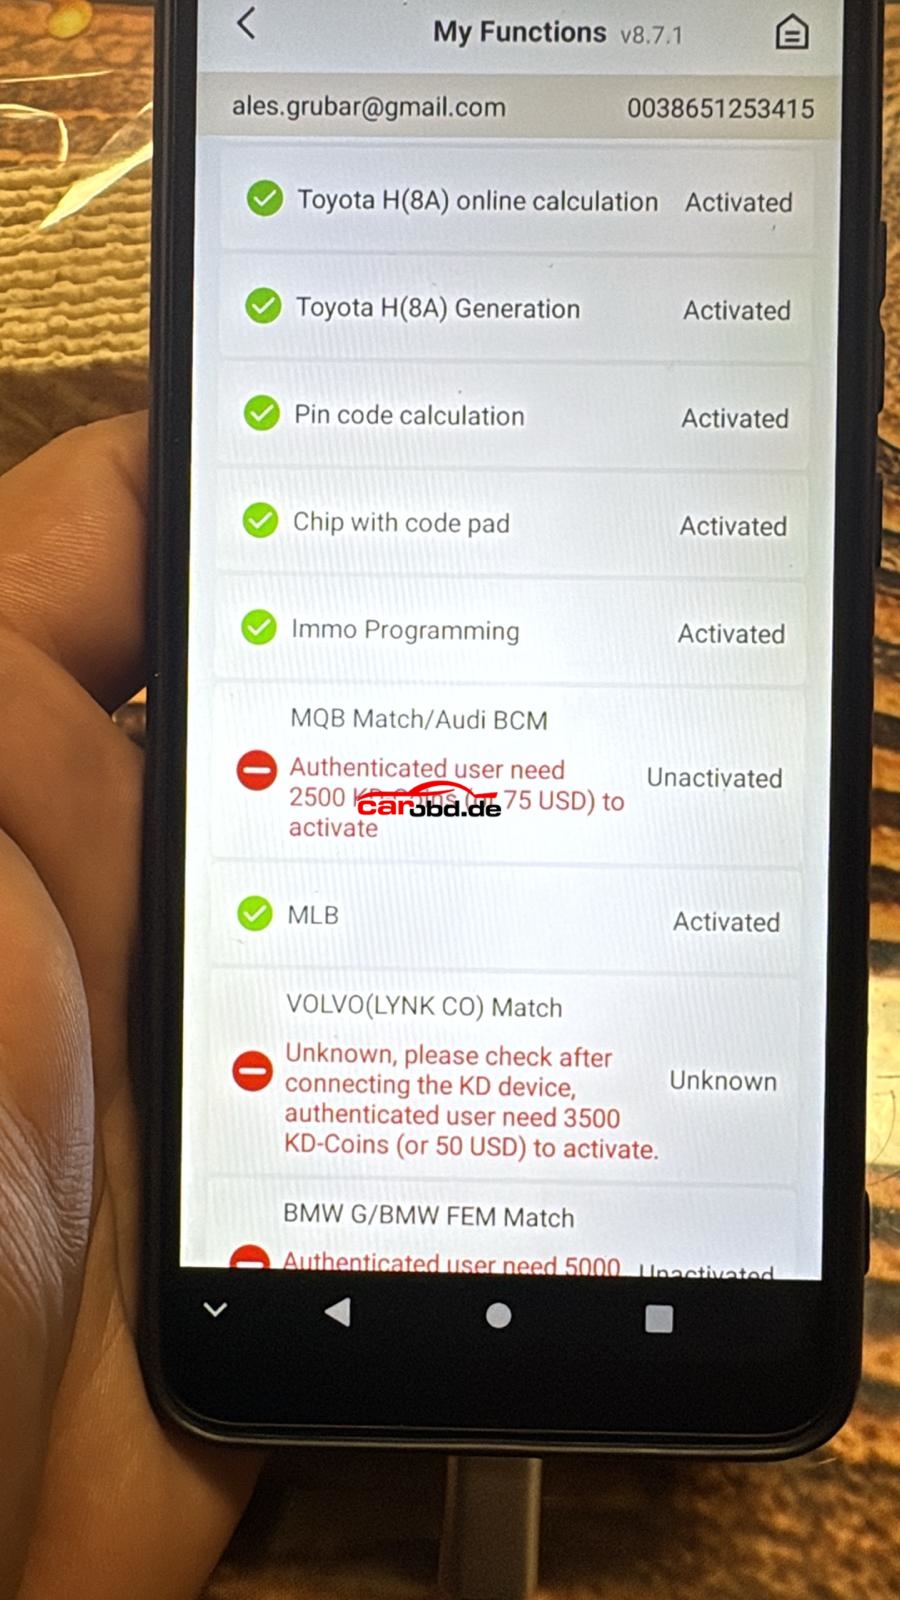
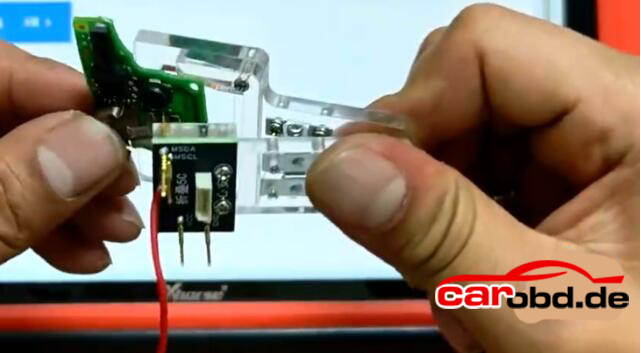
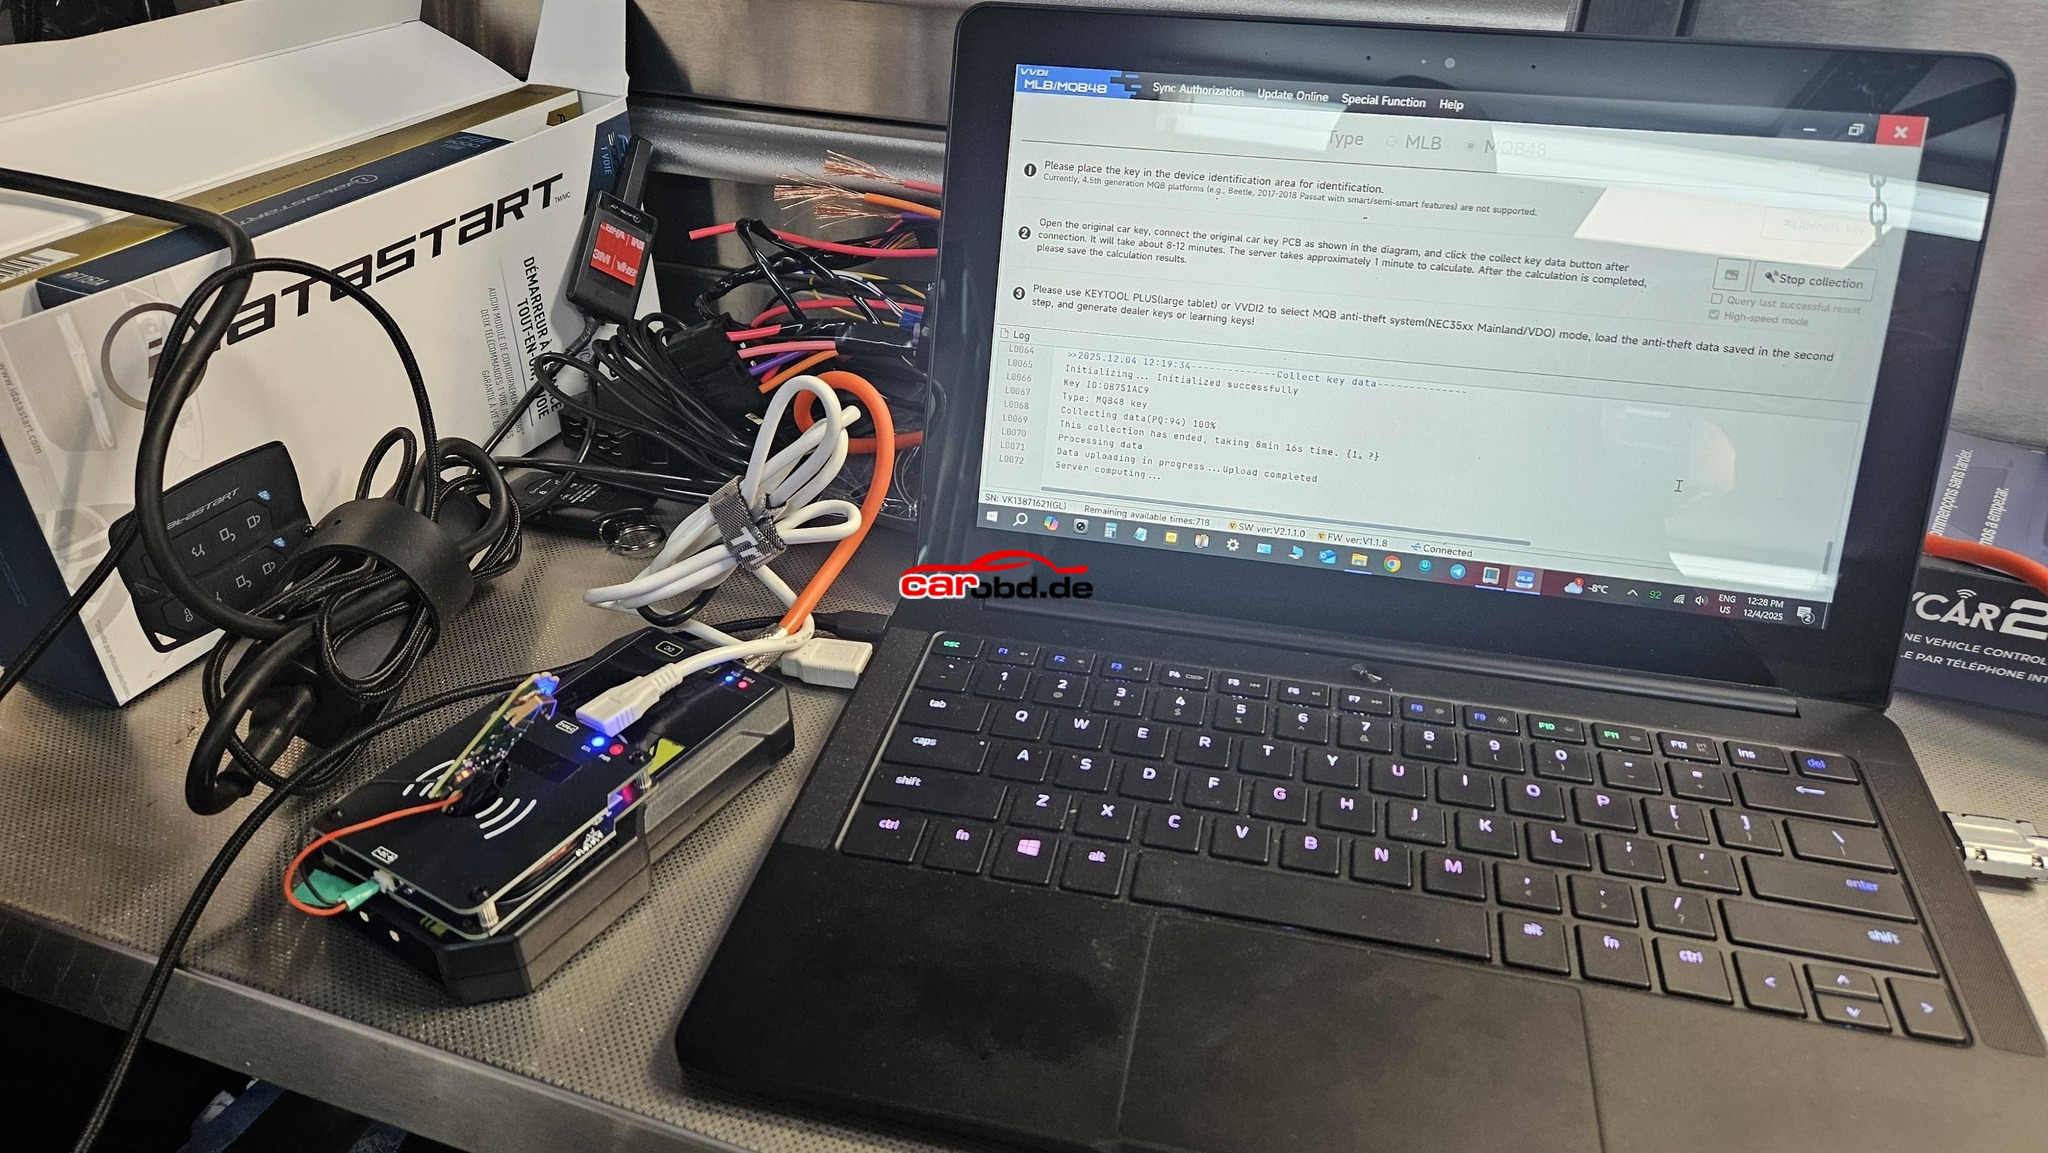
Formulaflash released a powerful and unique software package: One-Click reading of ECU and TCU CS codes for VAG,specially designed to simplify MQB all keys lost key programming .This solution allows locksmiths to quickly and reliably read CS codes directly from the ECU and TCU with just one click-no complex procedures and no time-consuming steps.
Support Models:
MED17
EDC17
DQ200
DQ200gen2
DQ250 MQB
DQ250Fxx
DQ400e