The Diagbox for Lexia 3 V48 PP2000 V25 Citroen and Peugeot diagnostic has newly upgraded to latest V7.57. Here is the step-by-step Daigbox V7.57 installation instruction:
ⅠInstall Lexia 3 DiagBox V7.57 setup1
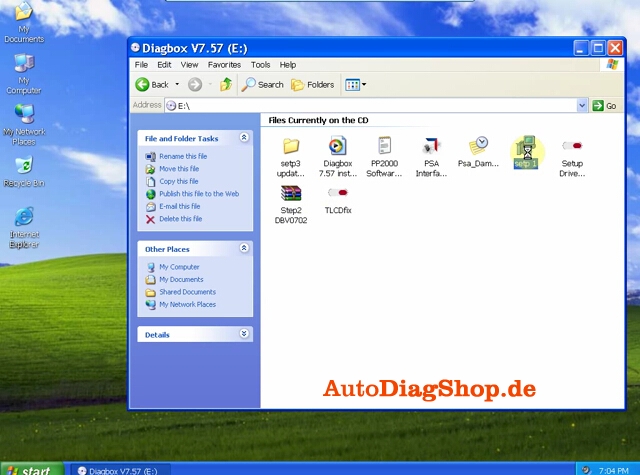
1) Insert CD software into the computer
2) Open Diagbox V7.57 (E:) CD
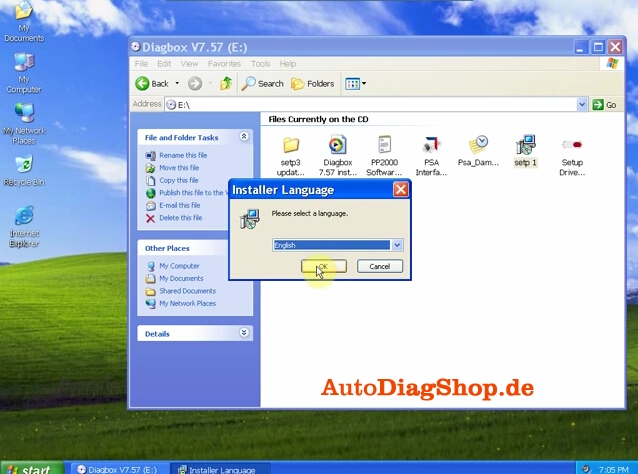
3) Select and open setup1
4) After loading setup. Select system language
5) Accept SPTD setup license agreement.
6) Restart the computer
7) Select language again
8) Accept license agreement
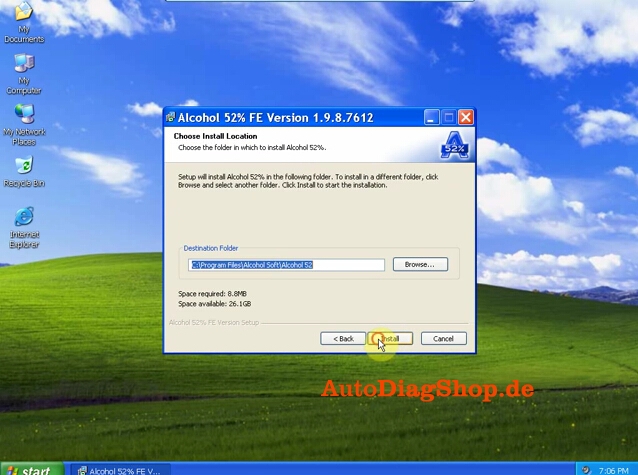
9) Save file to a certain folder and click next
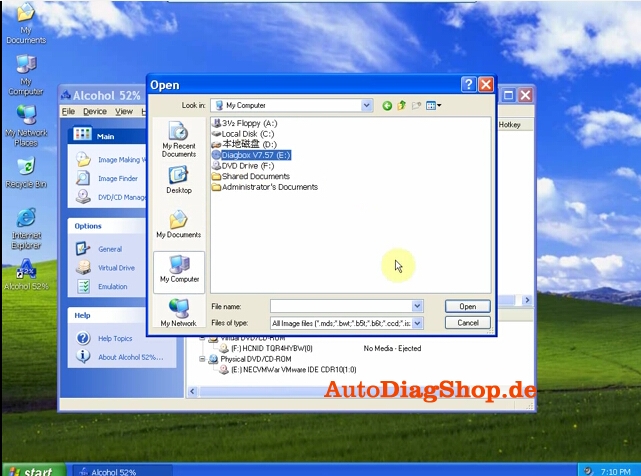
10) Select Alcohol 52% file on the desktop, select Add image from my computer Diagbox V7,57 and mount on Setup BDV0702
11) Setup is installing. Select language again.
Ⅱ Install DaigBox-setup
12) Open Diagbox.V07.02(F:) and open Diagbox-setup driver
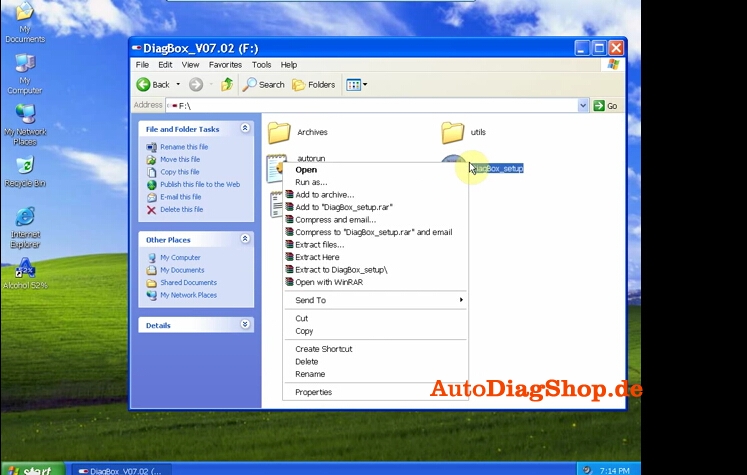
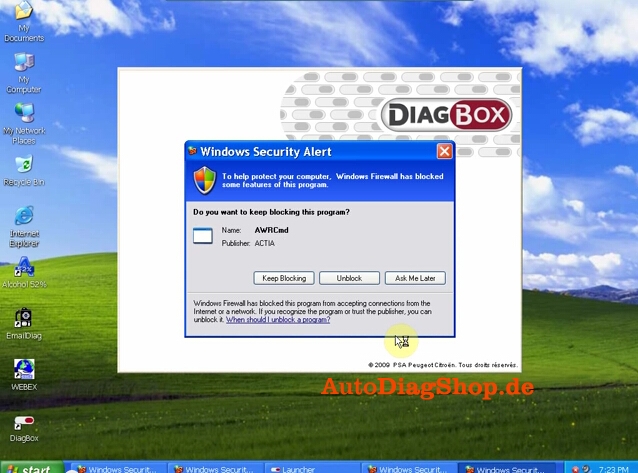
13) Select language. Installing setup driver will generate three folders on the desktop, EmalDiag, WEBEX and Diagbox. Accept the windows security alert
14) Diagbox software is loading.
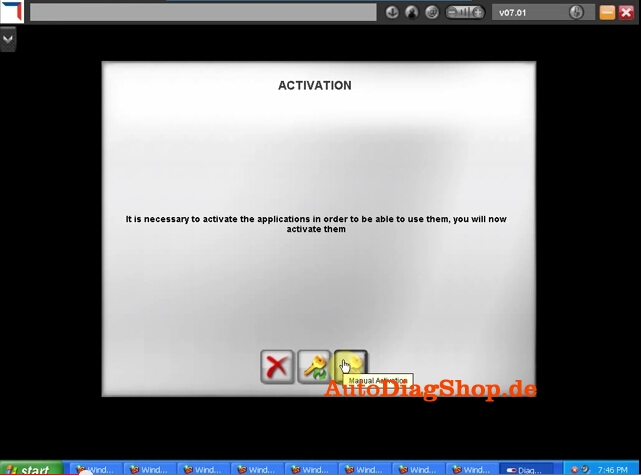
Ⅲ Activate Lexia 3 DiagBox software
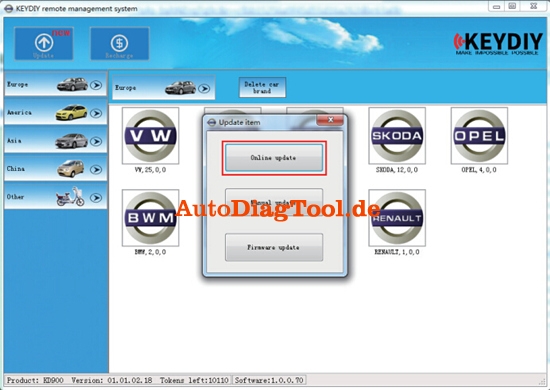
15) The system will prompt ACTIVATION message, click manually activation (3rd option)
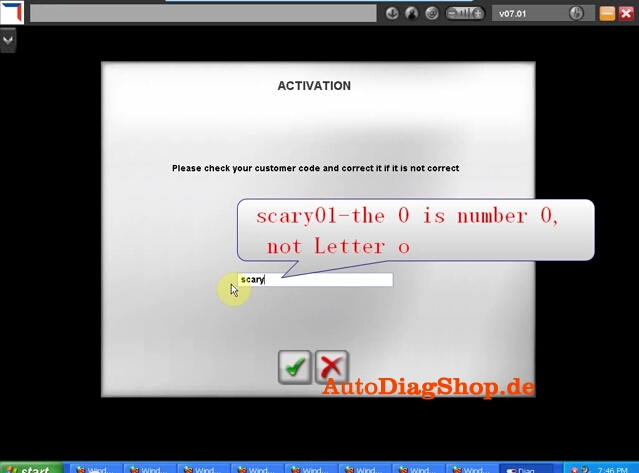
16) Check your customer code and correct it if it is not correct
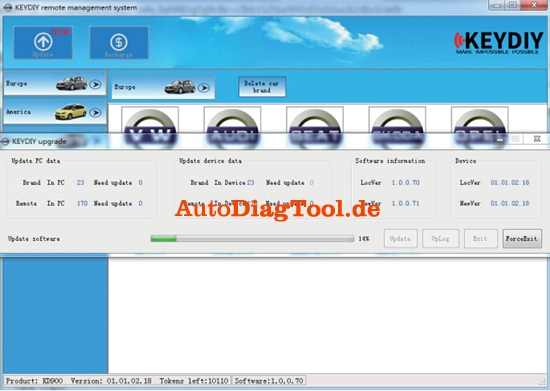
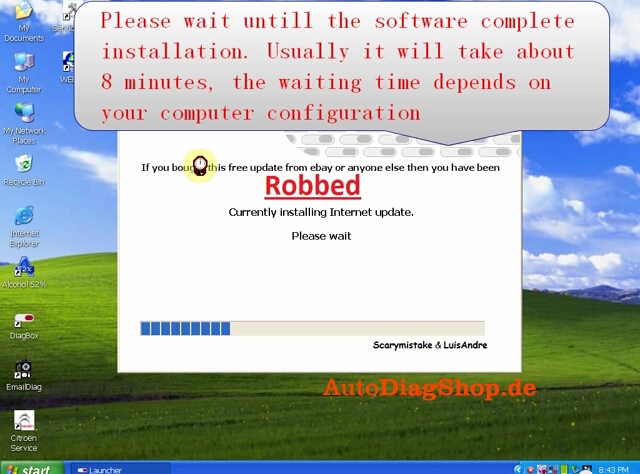
17) Please wait until the software complete installation. Usually it will take about 12 minutes. The waiting time depends on your computer configuration
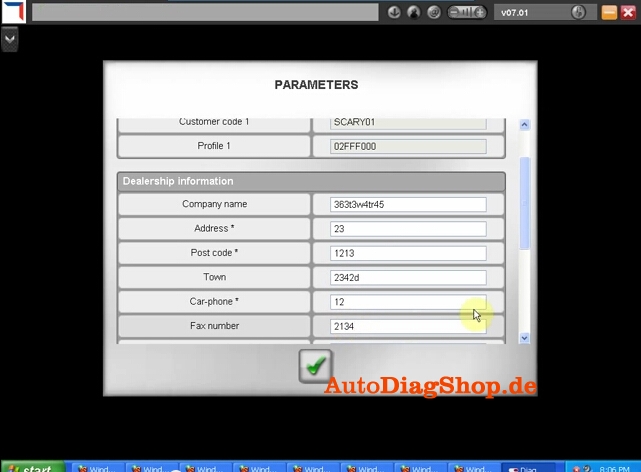
18) After complete install, click Yes to continue When come to the PARAMETER program, fill in the Dealership Information and Technician information , including Company name, Address, Post Code etc
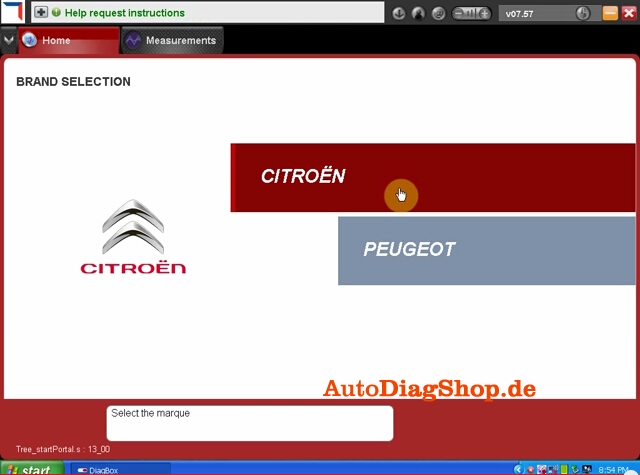
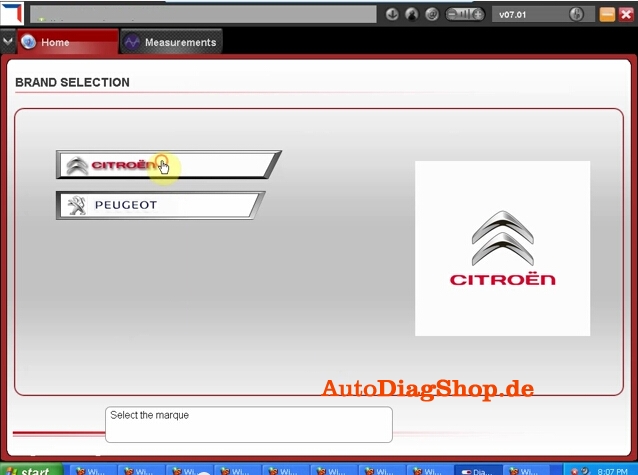
19) Click No when the system asks for new update. Select Citroen or Peugeot band in BRAND SELECTION program and then select detail vehicle model to check vehicle information.
20) Close the activation program. Unlock windows security alert
Ⅳ Update DiagBox to V7.57
You can not directly update DiagBox to V7.57. You have first update to V7.44, than update V7.44 to V7.49, then update V7.49 from V7.57.
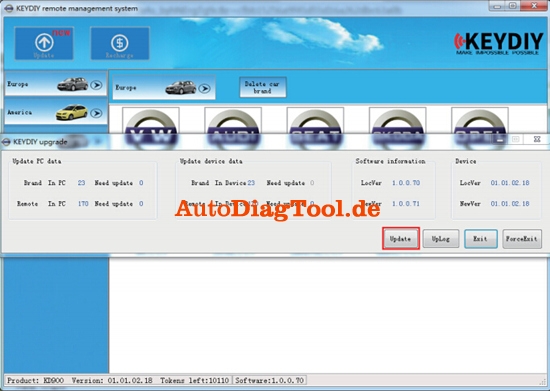
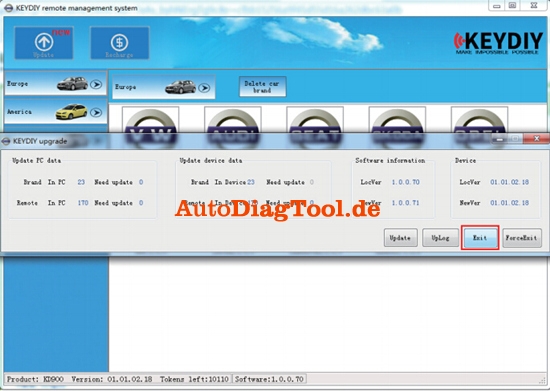
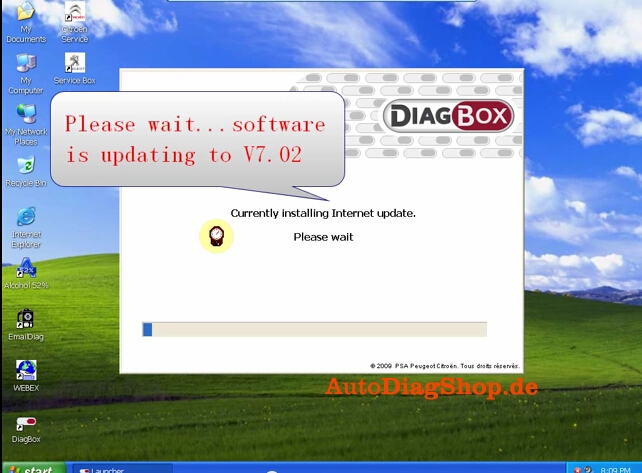
21) Open DiagBox shortcut on the desktop, the software is updating to V7.02
22) When the system asks for an update, click no. Check the vehicle information again. Close the program.
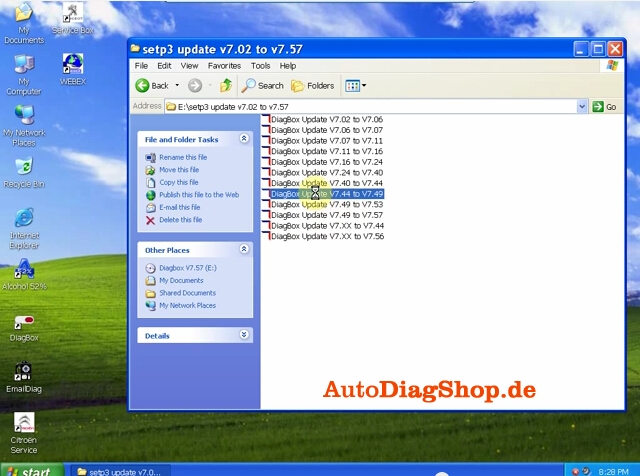
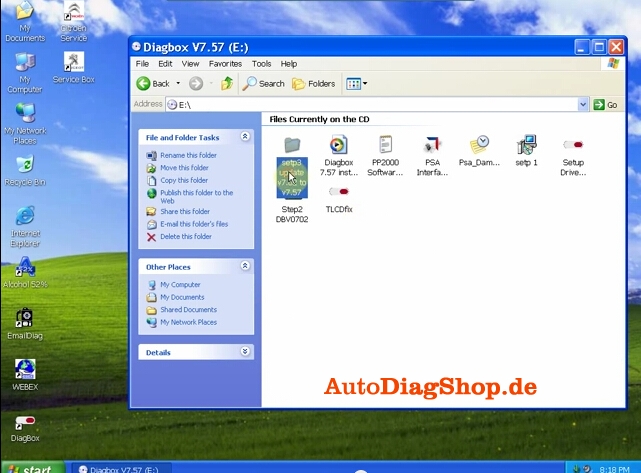
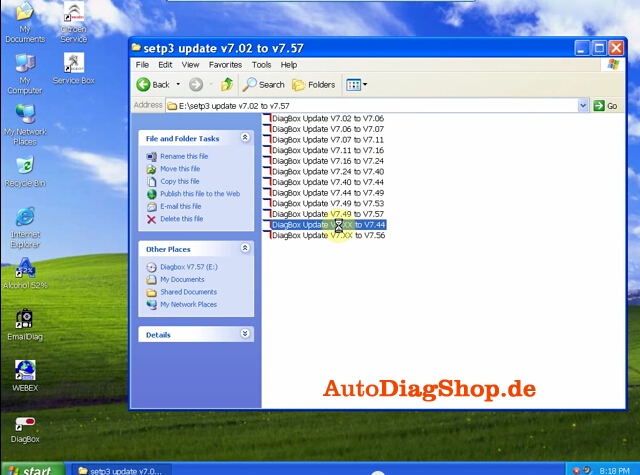
23) Open DiagBox V7.57(E:) CD software on My computer. Select setup3 update V7.02 to V7.57 file.
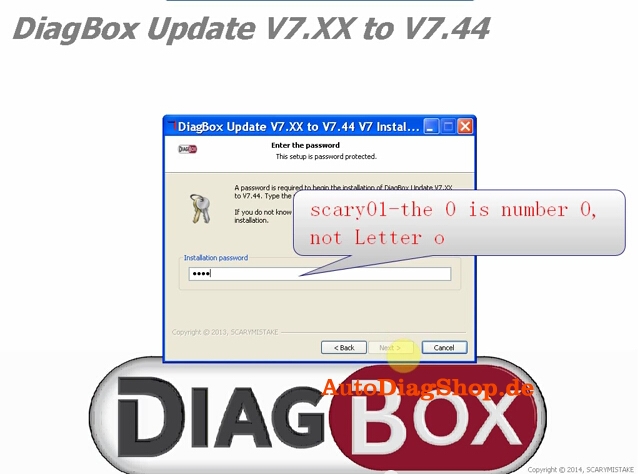
24) Select DiagBox Update V7.xx to V7.44, select language, accept windows prompts
25) Enter the setup password, scary01
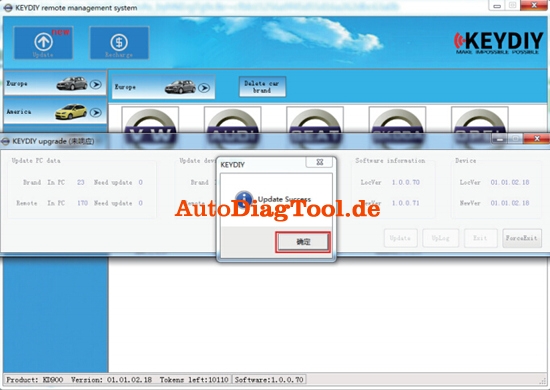
26) After update complete, select no to restart the computer now but restart the computer later.
Back to setup3 folder, select Update V7.44 to V7.49, follow the operation of updating DiagBox V7.xx to V7.44.
27) Select DaigBox Update V7.49 t0 V7.57. Follow the same update operation as previous update.
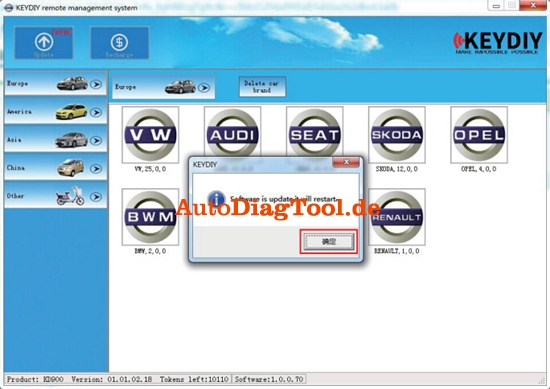
28) Here is the new DiagBox software program of V7.57
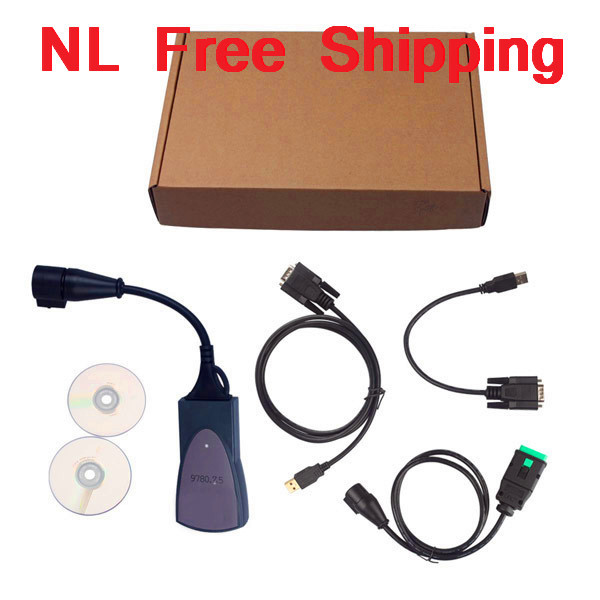
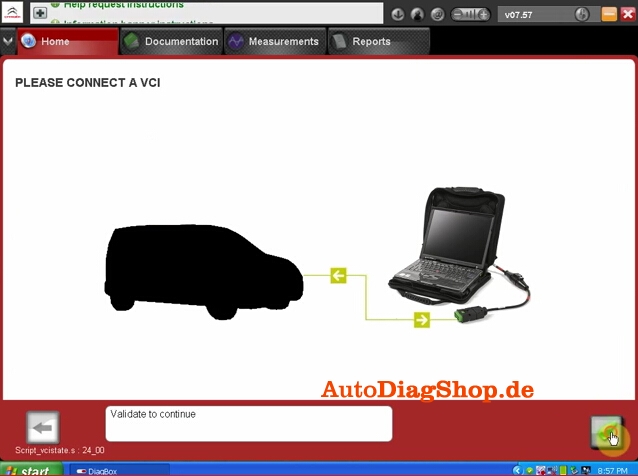
29) Please connect the device to the car, then use the short USB cable to connect with the computer, then it will prompt to install driver.
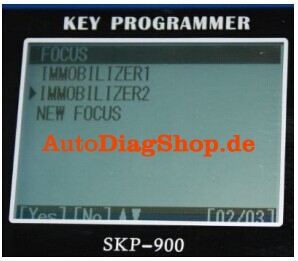
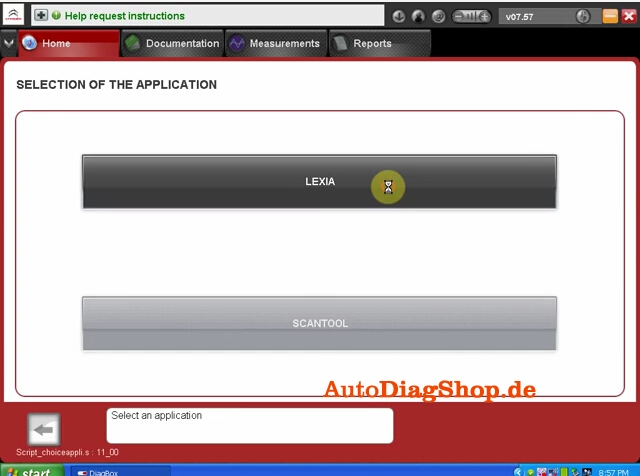
30) Select the application as LEXIA
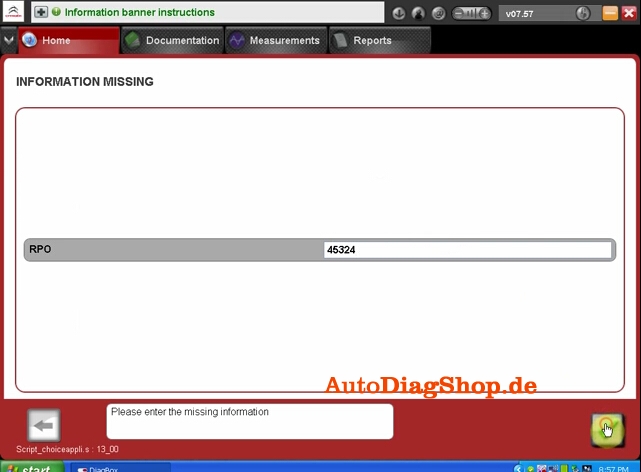
31) Enter missing information
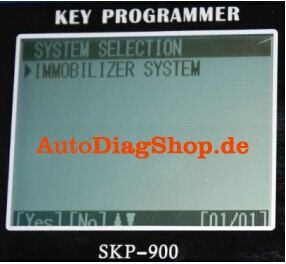
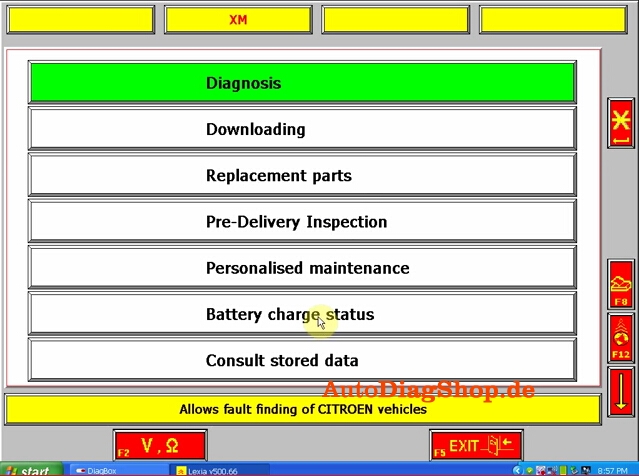
32) Come to the main diagnosis function, select the function you want to project.