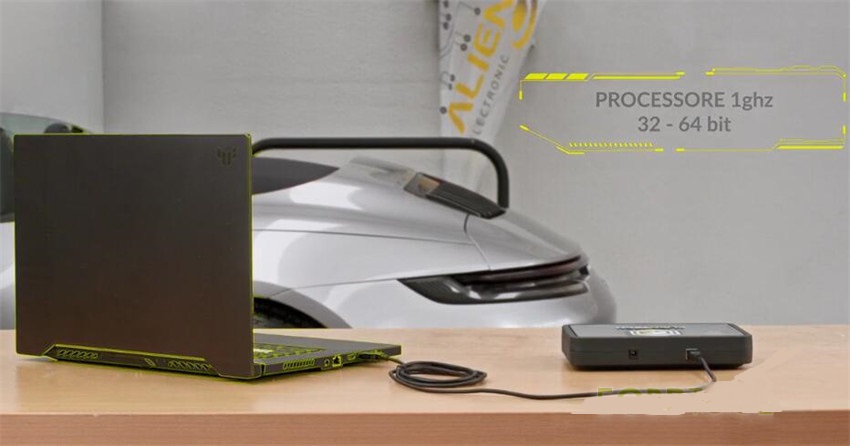
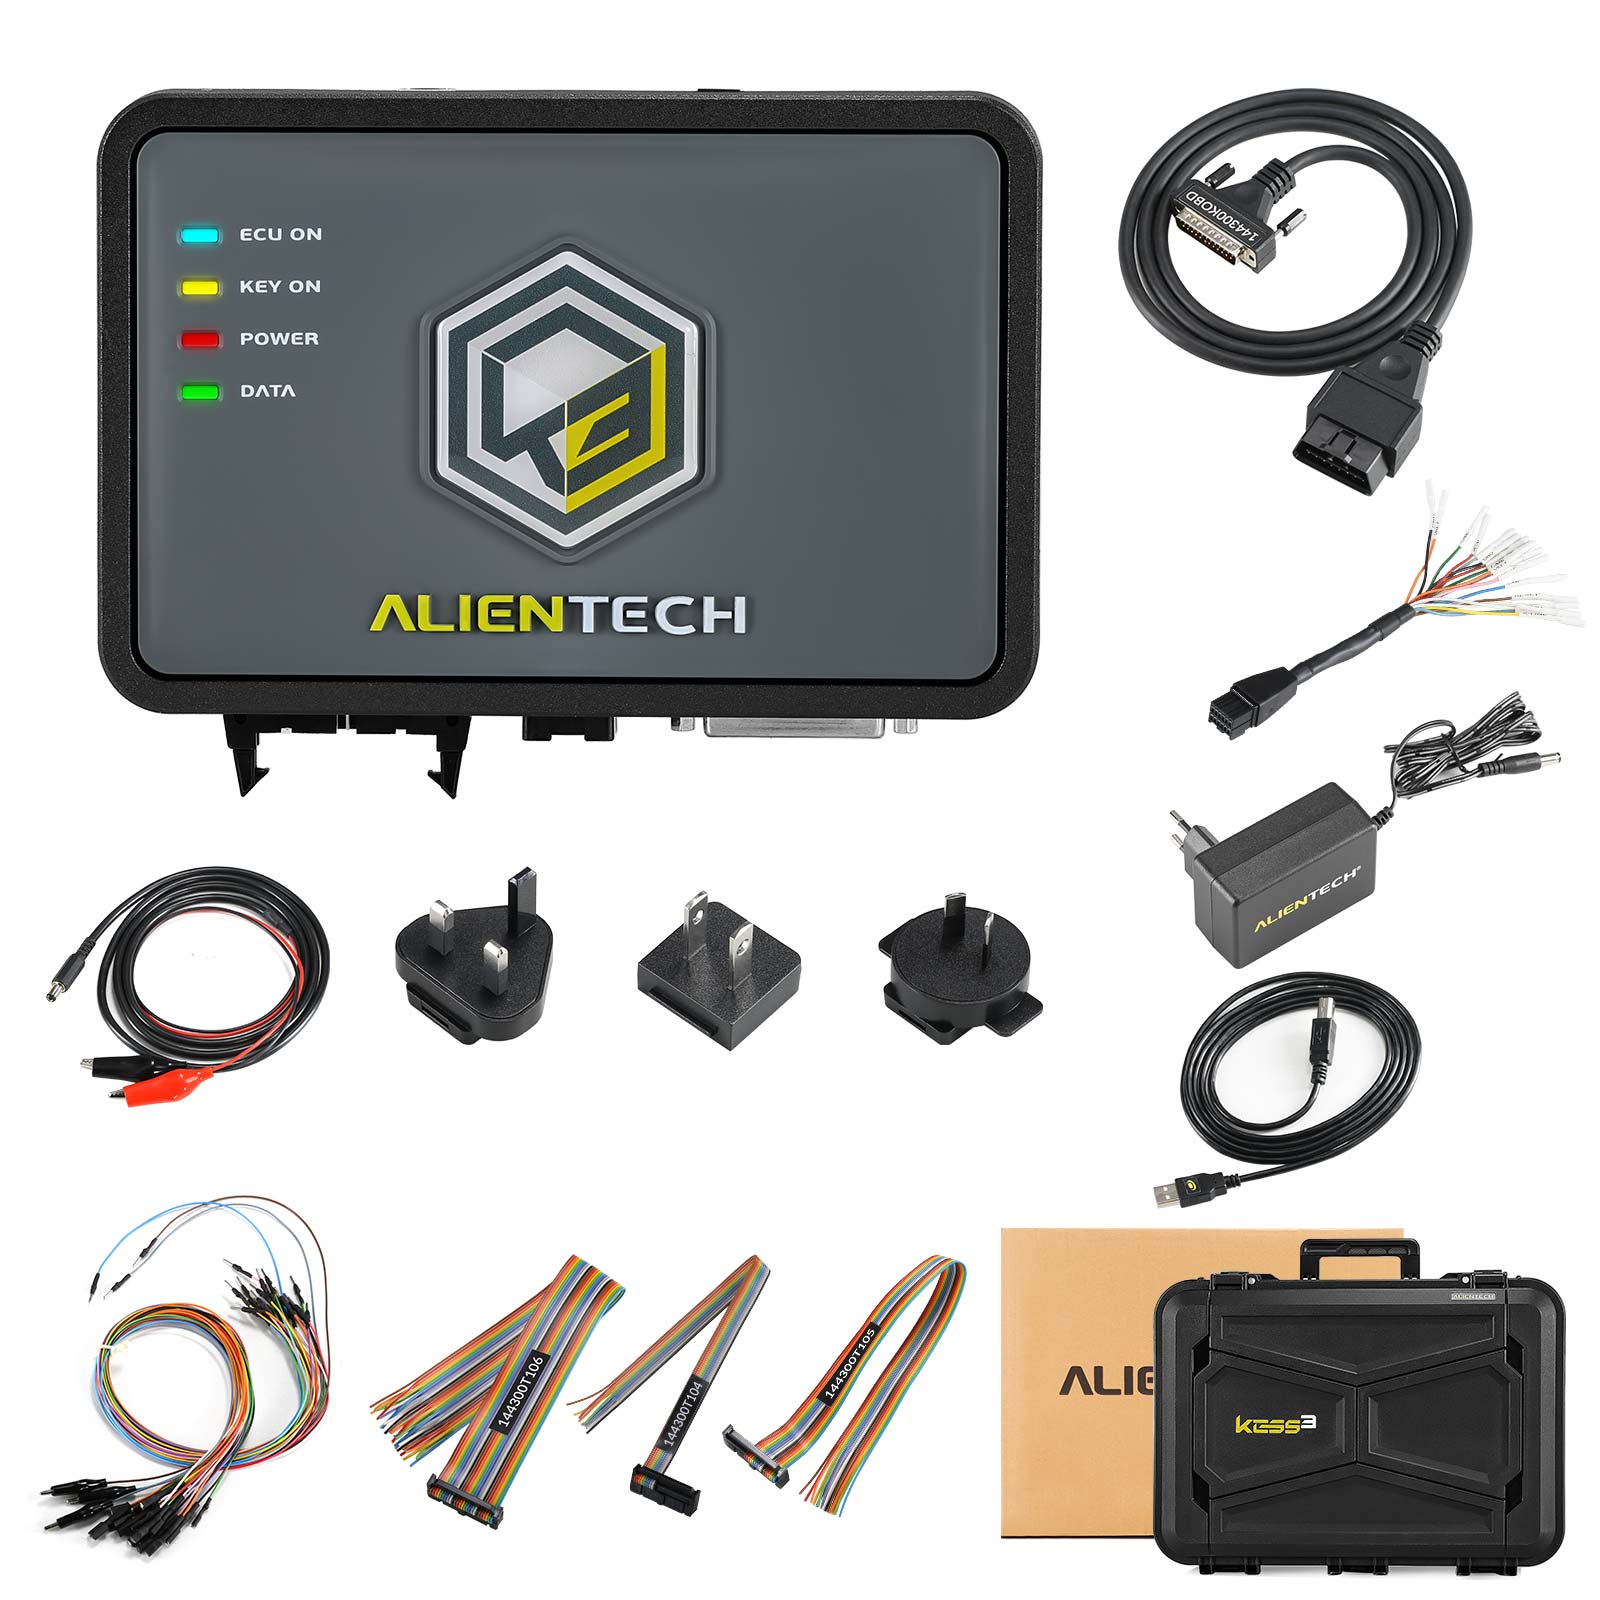
The new original Alientech KESS V3 combines Kess V2 and Ktag into 1 tool. It is a powerful programmer that supports ECU and TCU reading and writing in Automobile, Motorcycle, Trucks, Agricultural Vehicles and Marine applications via OBD, Bench, and Boot Mode.

PART One: Kess V3 vs.Kess V2 vs. Ktag
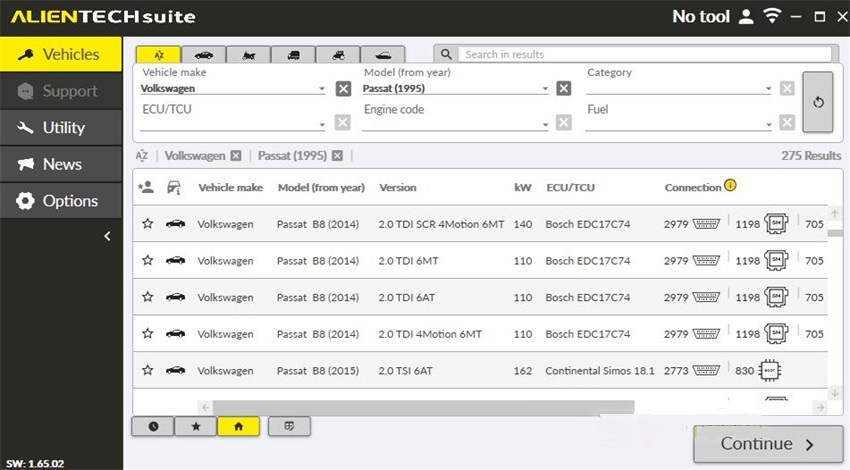
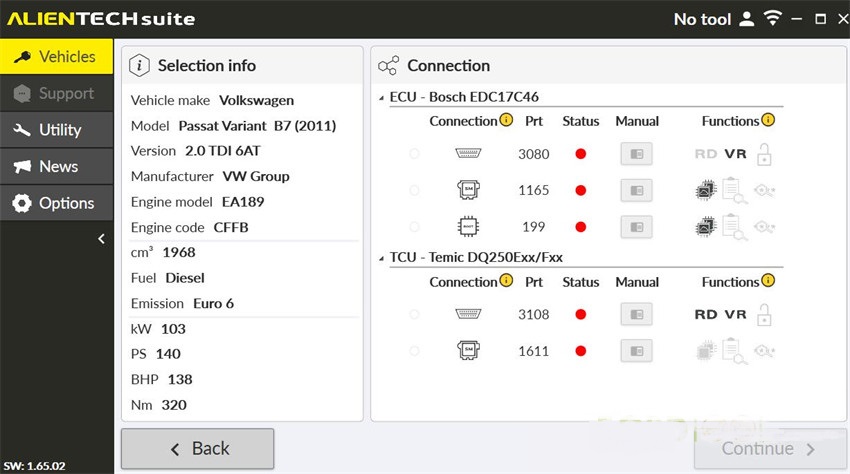
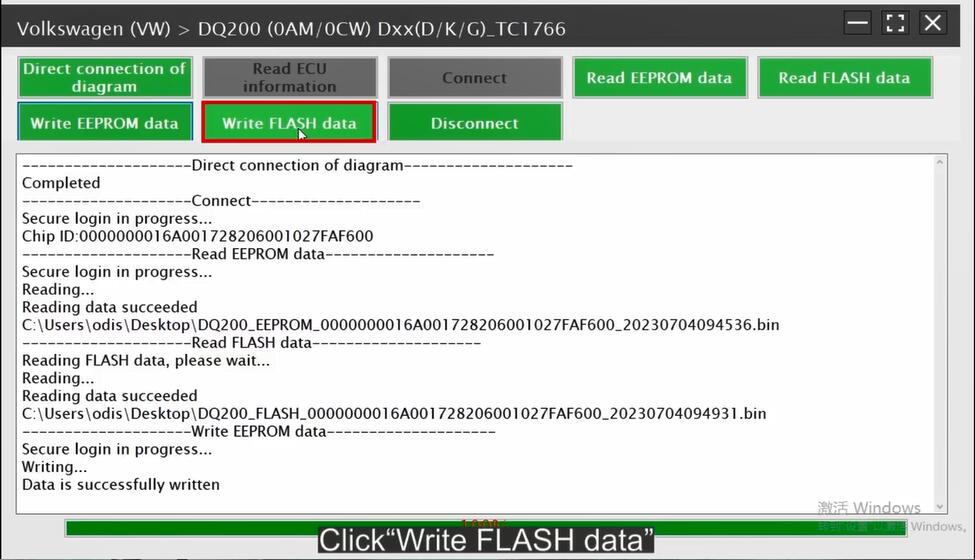
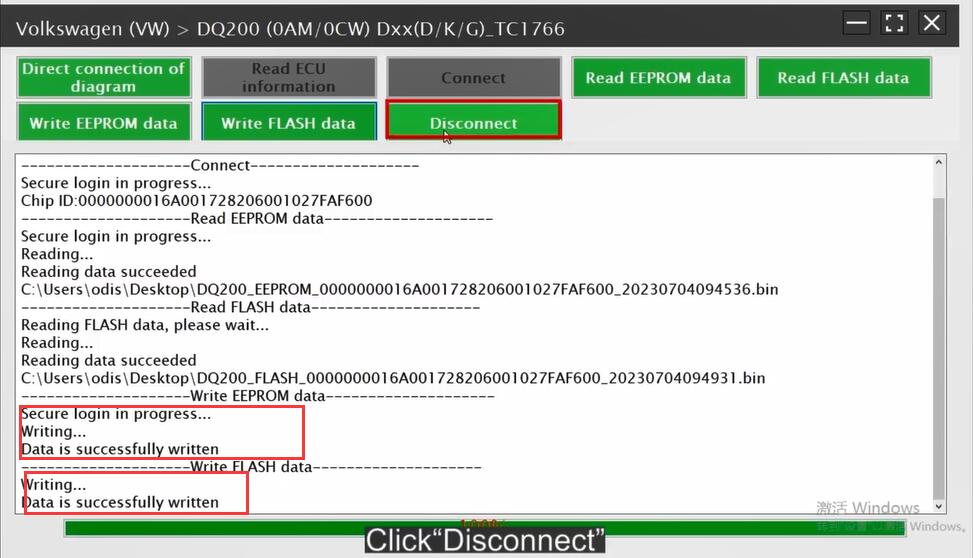
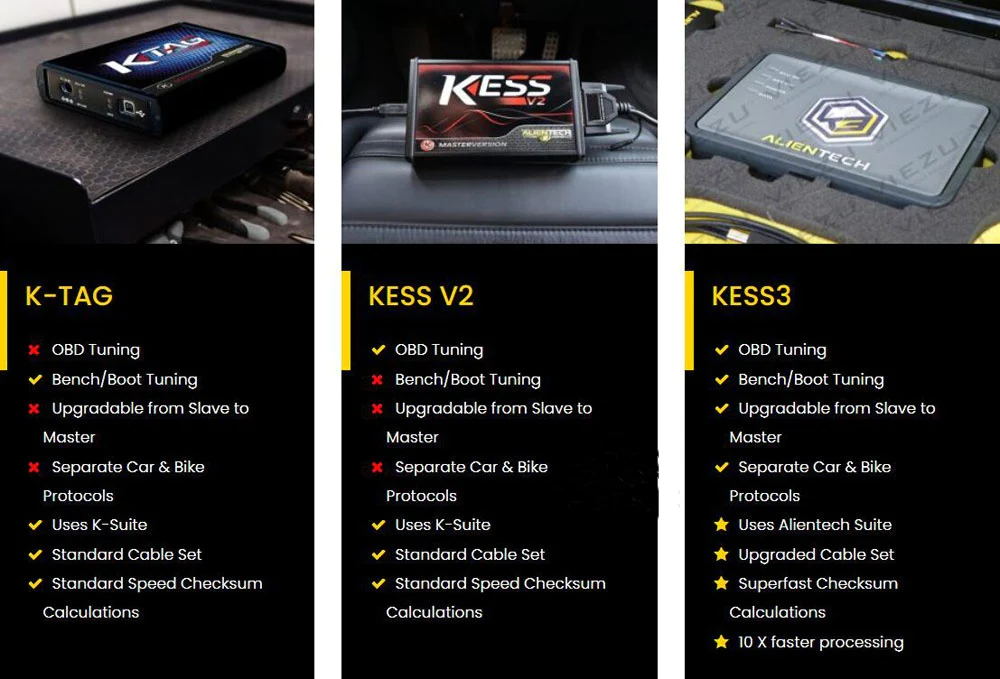
Kess3 is the only one ECU programmer supporting OBD, Boot, and BENCH connection.
It has two versions: Master and Slave. Users can update from Slave version to Master version, but others cannot.
A single flexible device that can be configured as required, when the tool is initialized, you can choose the mode of operation.
Master version: The configuration that allows you to edit software calibrations in a completely autonomous way. The read files can be interpreted by your choice of remapping software.
Slave version: If you are not confident yet or sufficiently autonomous in editing software calibrations, thanks to this mode you can work with a network of trainers who will support you file requirements.
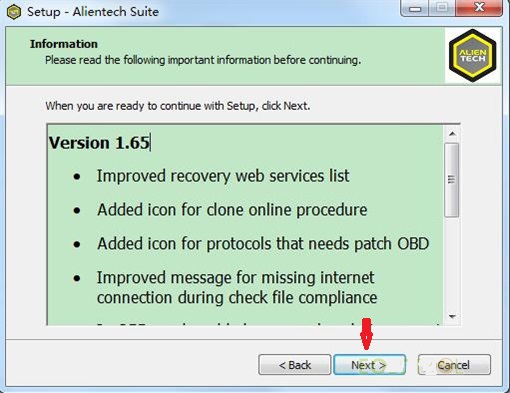
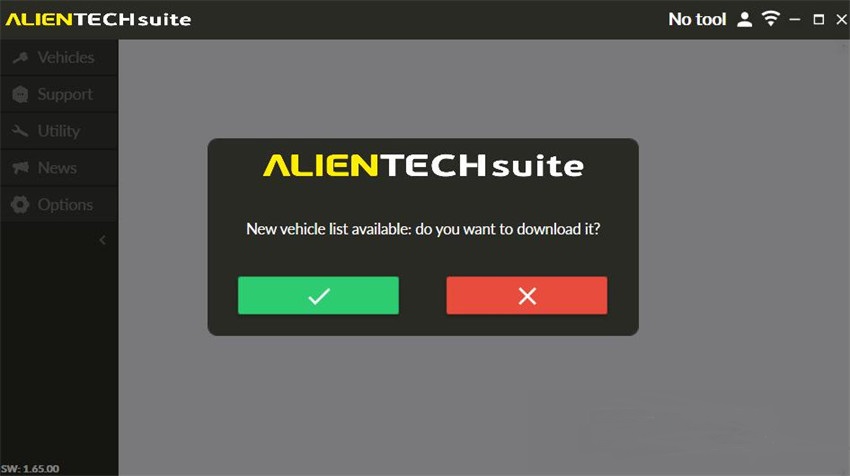
Kess V3 ECU Programmer uses new Alientech Suite software, supports Separate Car & Bike Protocols, upgraded cable set, and can calculate checksum super fast, works with 10 times faster processing
PART Two: Kess V3 Software & License
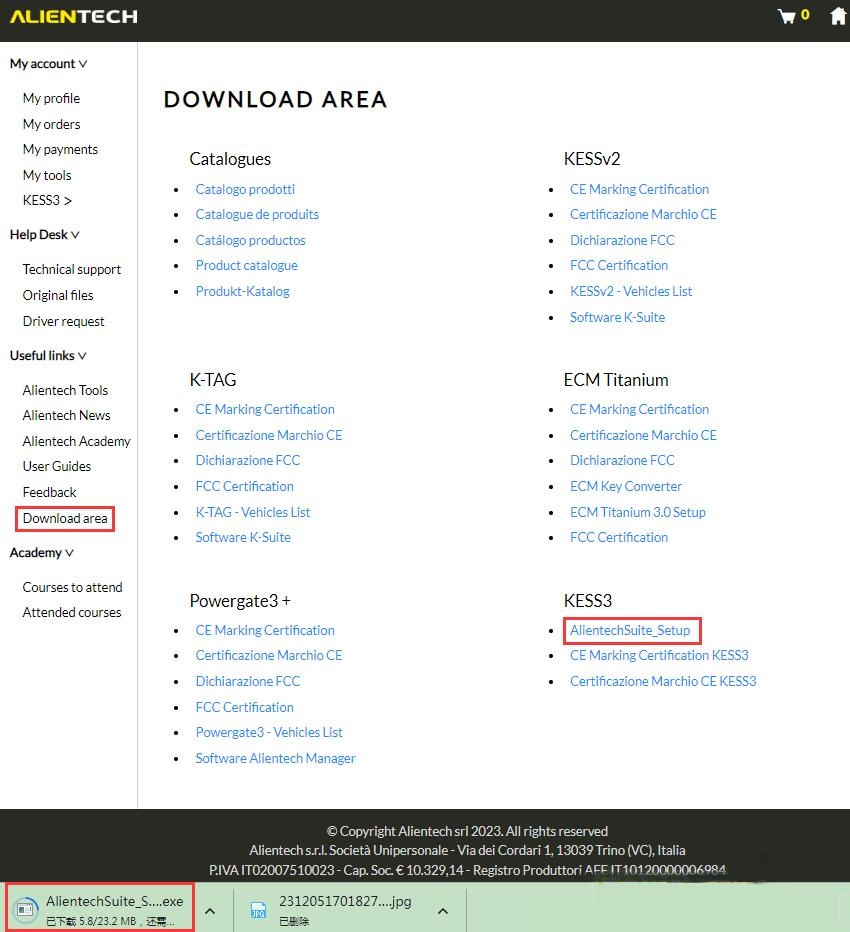
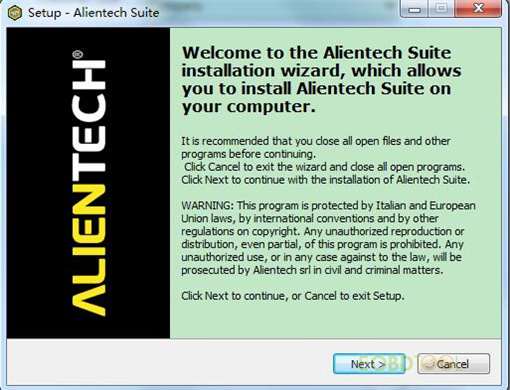
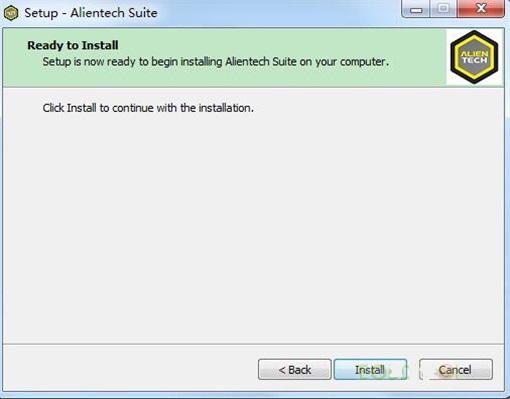
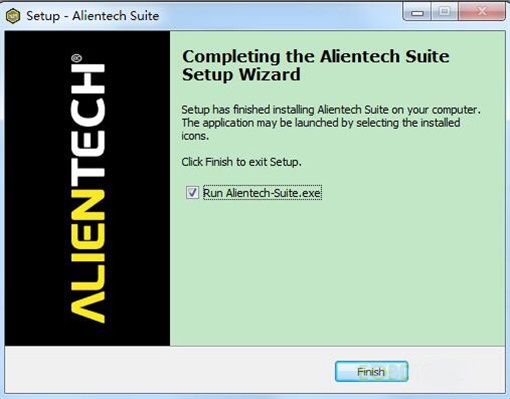
Alientech KESS3 comes with hardware only, without any software.
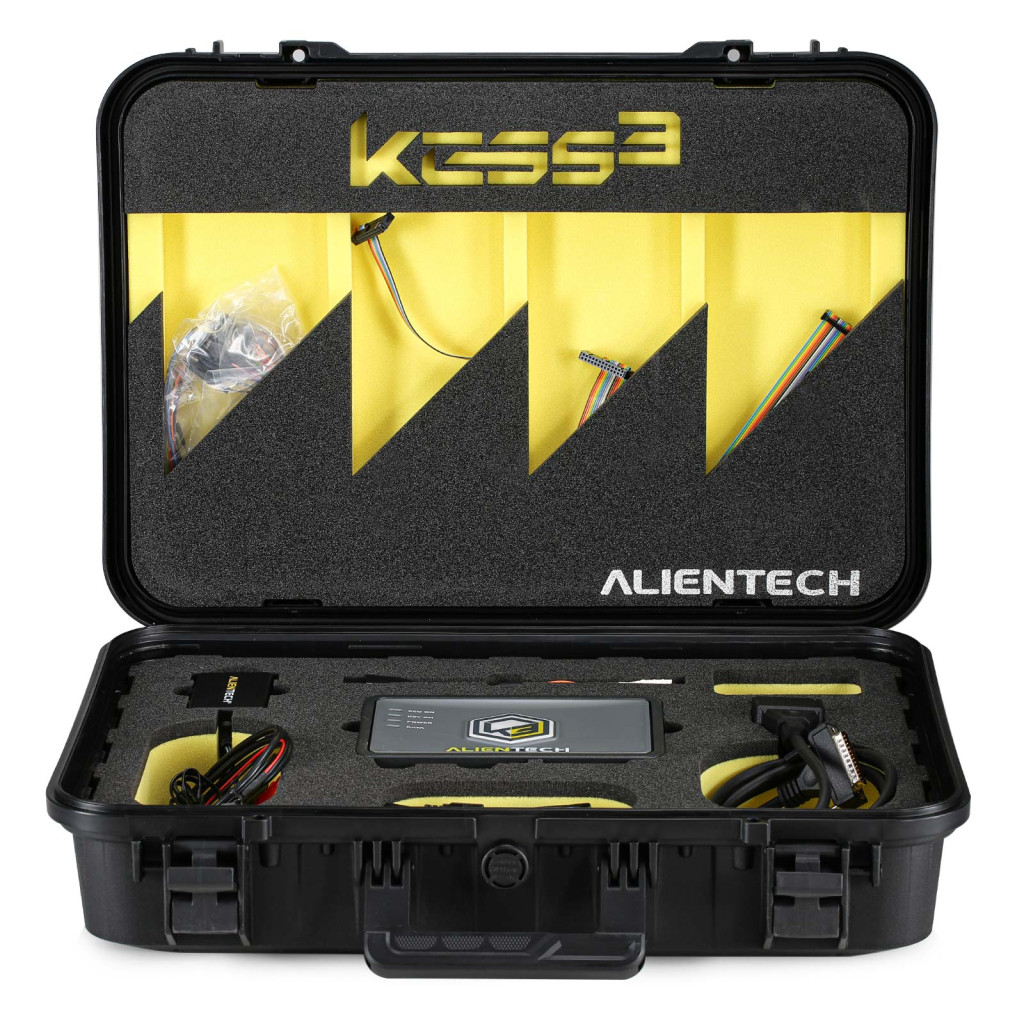
Kess V3 Package List:
1PC x Alientech KESS3 Programmer
1PC x USB cable
1PC x The new generation OBD cable
1PC x 1400SWALIM power supply
1PC x 144300TALI cable
1PC x 144300KBNC Cable
1PC x 144300KTER Pack
1PC x 144300T104 Cable
1PC x 144300T105 Cable
1PC x 144300T106 Cable
You can pay for the software and protocols License below according to your need. Contact carobd.de customer service to learn more info.
KESS3 Master Protocol Activations
KESS3 Master –Car — LCV OBD Protocols activation
KESS3 Master –Bike –ATV & UTV OBD Protocols activation
KESS 3 Master –Agriculture –Truck & Buses OBD Protocols activation
KESS3 Master –Marine & PWC OBD Protocols activation
KESS 3 Master –Car –LCV Bench-Boot Protocols activation
KESS3 Master –Bike –ATV & UTV Bench-Boot Protocols activation
KESS 3 Master –Agriculture –Truck & Buses Bench-Boot Protocols activation
KESS3 Master –Marine & PWC Bench-Boot Protocols activation
KESS3 Master –12 Months Subscnption
KESS3 Master –6 Months Subscription
KESS3 Slave Protocol Activations
KESS3 Slave –Car –LCV OBD Protocols activation
KESS3 Slave –Bike –ATV & LJTV OBD Protocols activation
KESS 3 Slave –Agriculture –Truck & Buses OBD Protocols activation
KESS3 Slave –Marine & PWC OBD Protocols activation
KESS 3 Slave –Car –LCV Bench-Boot Protocols activation
KESS 3 Slave –Bike –ATV & LITV Bench-Boot Protocols activation
KESS3 Slave –Agriculture –Truck & Buses Bench-Boot Protocols activation
KESS 3 Slave –Marine & PWC Bench-Boot Protocols actlvation
KESS 3 Slave –12 Months Subscription
KESS 3 Slave –6 Months Subscription
Kindly Notice
1. 100% original Alientech KESS V3
2. This is only firmware KESS V3 without software, please buy the above KESS3 software license according to your need. (There are 2 versions for software, Master and slave version, you can choose the software version to buy)
3. Kess3 hardware supports one year warranty
4. Once you buy the KESS V3 protocol license, you can update the corresponding protocol for free for lifetime.
5. The 6-month and 12-month subscriptions are different from the above OBD/Bench/Boot protocols listed. Buy software subscription depends on your actual need.
6. Once the equipment and software are sold, refunds and returns are not accepted
7. If you have any equipment problems, please contact Alientech official website technology, they will help you solve the problem.
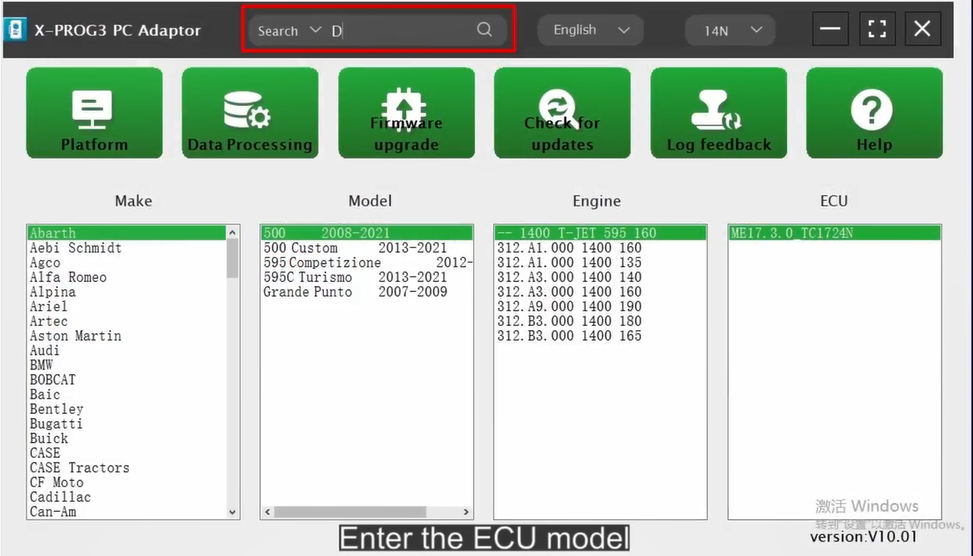
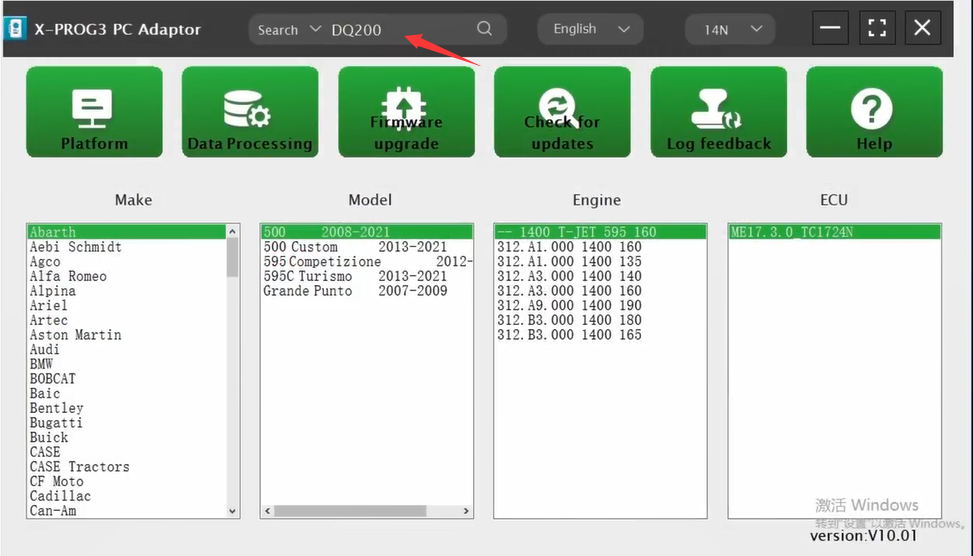
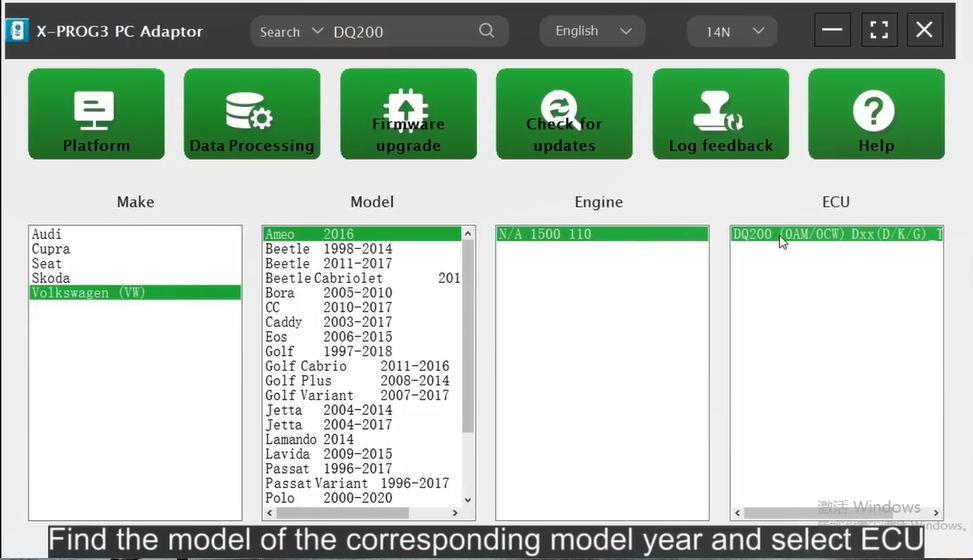
PART Three: Kess V3 Car List
There are various brands of vehicles are supported. Download KESS V3 ECU & TCU Support List to check if your vehicle model is covered.
For more informations, please visit following link
https://www.carobd.de/wholesale/alientech-kess-v3-ecu-tcu-programming-tool.html