Autel MaxiIM IM608 feedback: I tried to touch all the options at the top of the screen, they are not responsive, and again the IM608 prompts the xp400 programmer was disconnected. I tried to restore the factory settings, but it does not work.
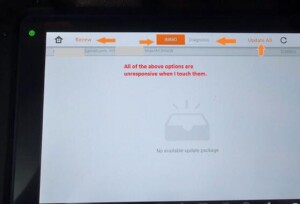
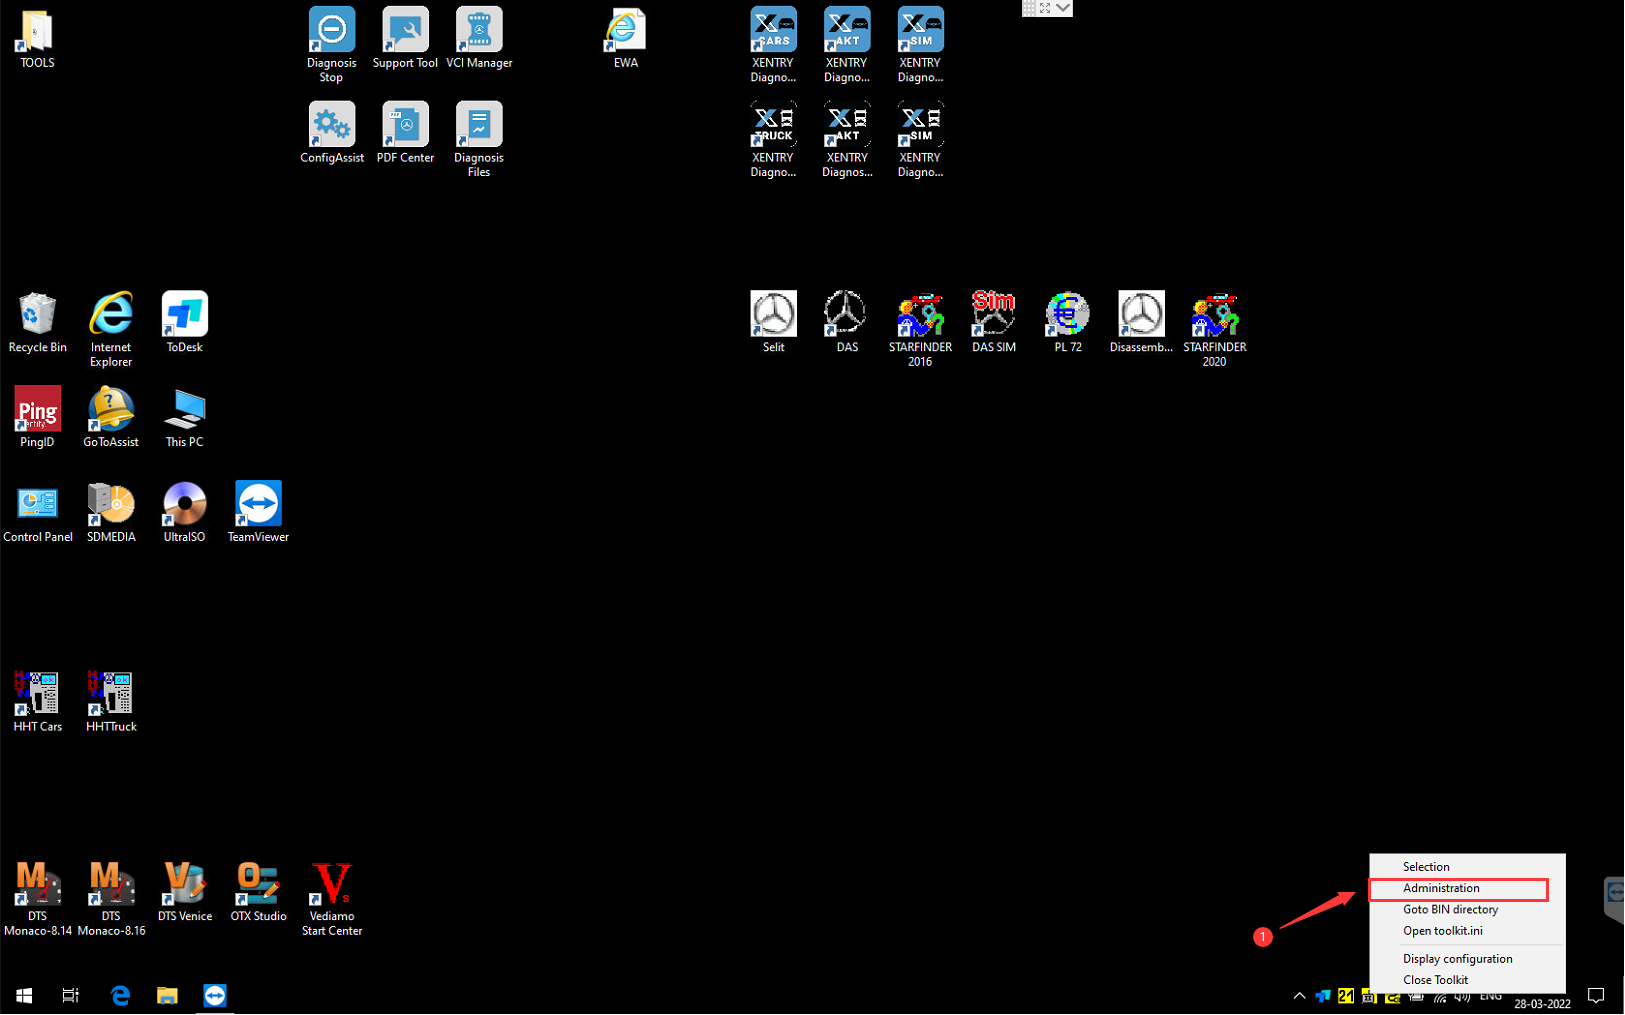
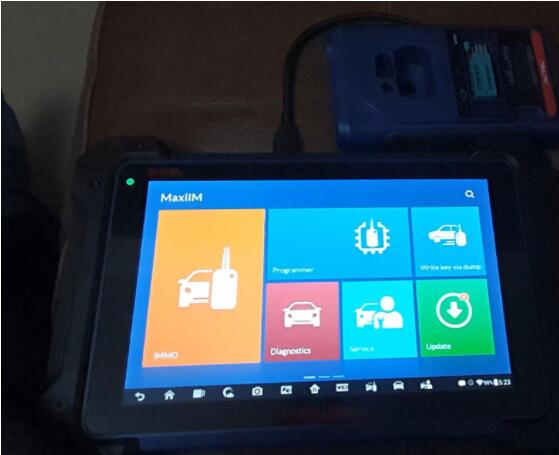
Image 1: sometimes, the touch screen is unresponsive no matter which option I select.


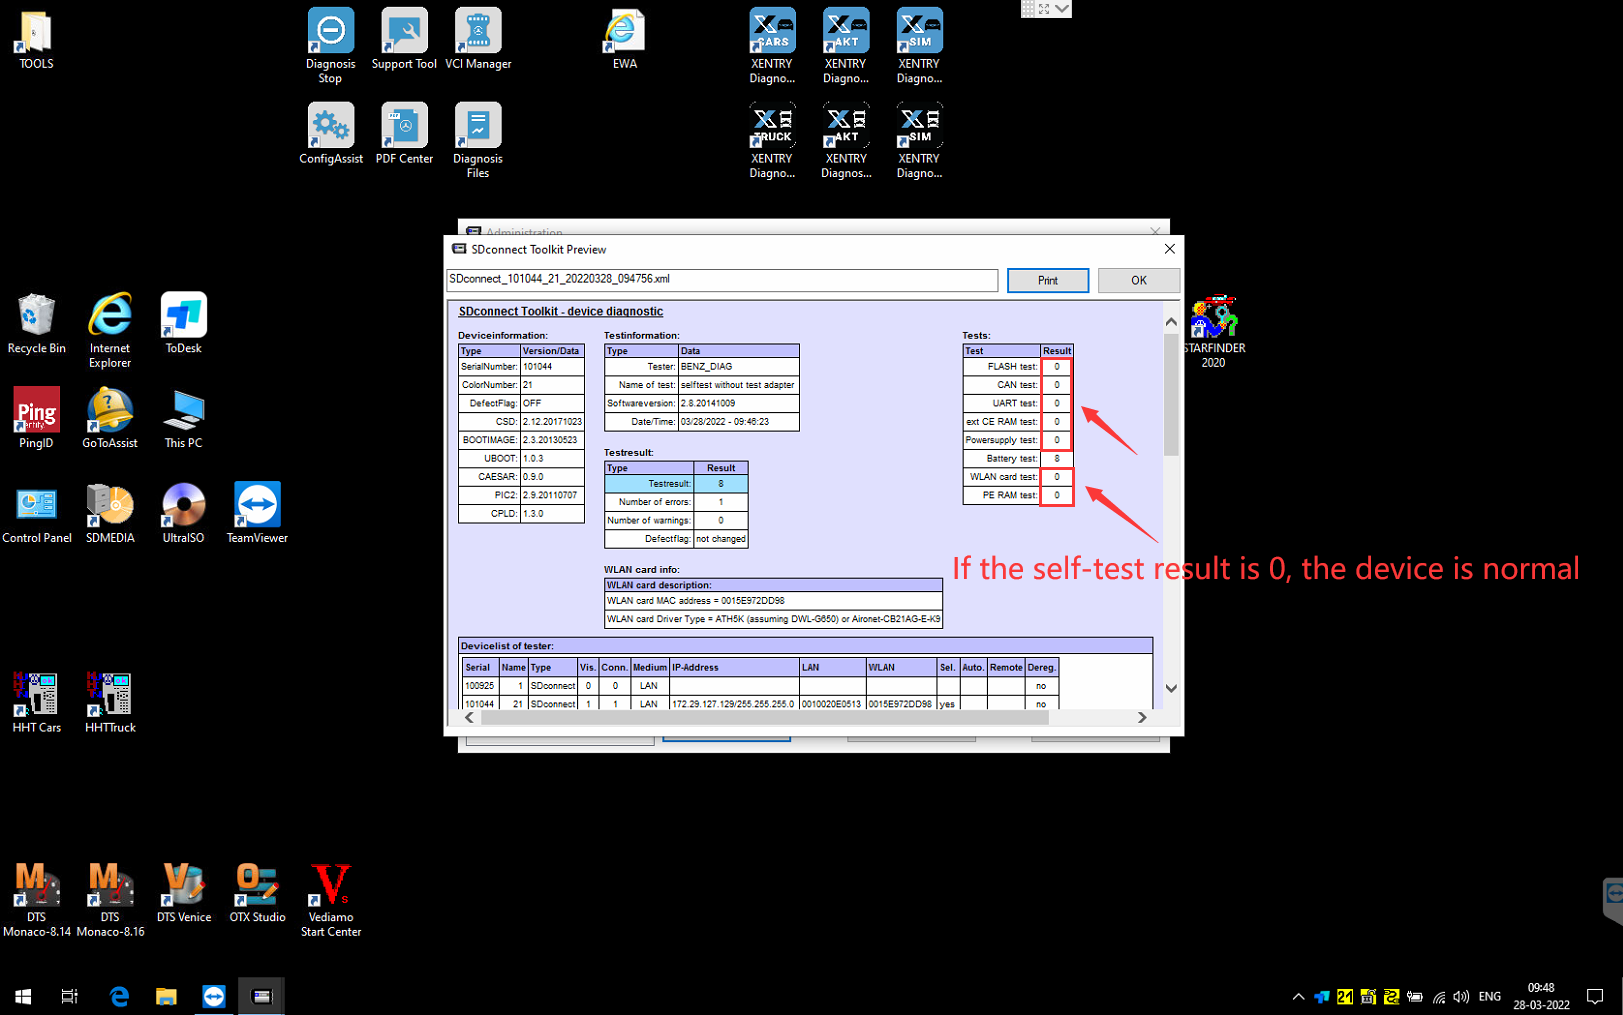
Image 2-3 : After selecting “IMMO” on the home menu, I got message “The programmer is disconnected”.
Autel Tech support analyzed the possible reason and solution:
1. Solution to “The programmer is disconnected”
It should be other problems that are not related to screen touch.
2. Solution to Autel IM608 touch screen not work
The touch problem needs to be solved first.
1.When the touch does not respond but the screen display is normal, you can connect an additional to see if it can control the menu. If so, it means that there is no problem with the im608 software. The problem is related to the touch screen, please replace a new touch screen.
1.If the mouse cannot control the screen, there may be a problem at the operating system.You can try to format the factory settings (I checked the user record, he restored the factory, but not formatted, please go to System settings>>Reset>>Factory reset>>Erase SD card (make sure to tick off this to format).
FYI, his Autel IM608 will expire at 7th November, 2021, please format as soon as possible, otherwise it cannot be formatted.
Alright, hope you are always happy with Autel IM608, however if you have the same problem, please feel free contact at www.carobd.de