In general, Benz electric steering locks (ESL) are used with EIS W204/ W207/ W212. ESL is damaged in high frequency. In this case, there are two possible reasons and solutions:
If the ESL motor is damaged, replace a new motor.
If the NEC chip of ESL is locked, renew EIS then replace ESL.
How to tell if the ESL motor is damaged or NEC chip is locked?
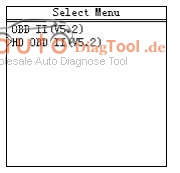
Open VVDI MB tool software. Click “Check ESL damage status”.
If it shows ESL works normally, generally it means the EIS motor is damaged and you need a new one.
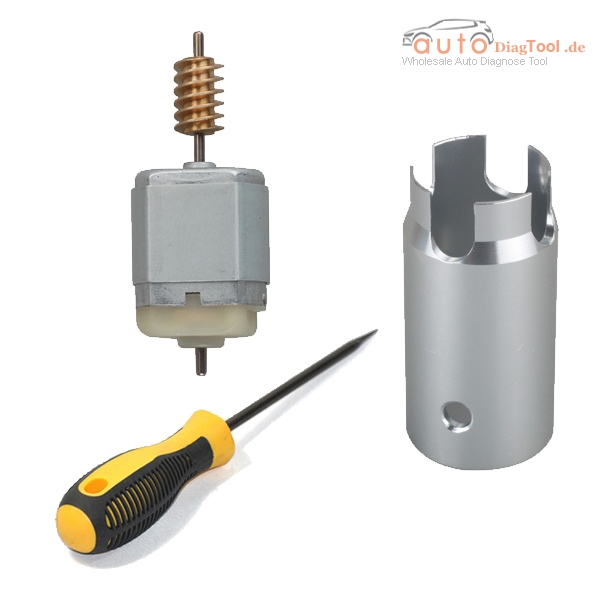
Replace a new motor, what need to buy?
—OEM MB ESL motor+ MB ESL dowel pin+ MB EIS removal tool
This full kit of MB ESL motor is available at:
If it shows that ESL is damaged, then replace ESL.
This new ESL/ ELV emulator is recommended for your replacement:
How to replace ESL with VVDI MB Tool?
Step1.
To replace ESL, you need renew EIS at first, then re-write EIS and personalize ESL, in this way ESL is synchronized. To renew EIS, both key password and erase password are required.
Note: if you do not renew ESL first, but only personalize ESL, the ESL won’t be synchronized.
Get key password. You can increase key to get it.
Use VVDI MB NEC Key Adaptor to work with VVDI MB Tool to get key password.
Get erase password. In general, we can get the password directly with VVDI MB tool online calculation from server.
After input the two passwords choose “Infrared” as EIS communication way, then click “save EIS data”, Click “Renew EIS”.
Step2.
Now the EIS is full new, click “load EIS data”, click “Infrared” as communication way to enter new EIS data.
Click “OBD” as communication way to enter VIN.
VVDI-enter-new-EIS-data-3
Step3. Click “Personalize W204 ESL”
Step4.
After above steps, all EIS and ESL status checkboxes will be tick except the “Activated” checkbox. Insert the original car key hen EIS and ESL is activated. Now you use VVDI MB Tool to renew ESL successfully.
Note:
It’s hard to buy Mercedes W204/207 EIS and they are expensive.
If you have W204/ 207 all key lost, you can use W212 EIS for replacement.