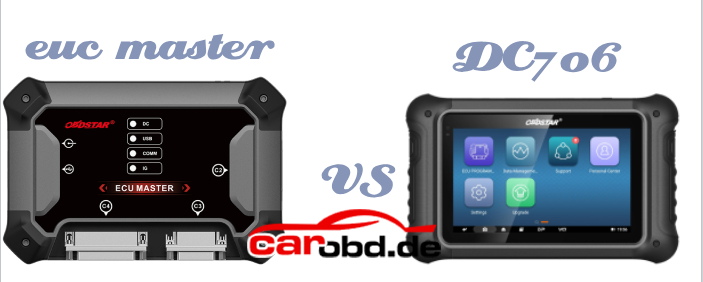
what’s the difference between the 2026 new OBDSTAR ECU Master and the DC706 ECU TCU Programming tool ?
Here is the details
1. Operation:
- OBDSTAR DC706: Standlond operation
- ECU Master : PC-based, requires PC operation, Supports Windows 10 and above operating system.
2. Configuration:
- DC706: 3 configurations-ECM, BCM, TCM
- ECU Master: 4 configurations-
-A: Car ECM/BCM/TCM+ EV
-B: Motorcyle ECM
-C: HD ECM/BCM/TCM (diesel trucks/tractors)
-D: Airbag/BMS/SAS Reset
Key Differences:
- Accessories:
=DC706 requires optional accessories such as P003+, MP001 and CAN FD.
=ECU Master has all of these built in. ECU Master does not require P003+ or MP001 adapters.
- Motorcyle Support
Motorcyle ECM is offered as a seperate configuration (Config B) because OBDSTAR plans to expand and develop more competitive motorcyle coveragae in future time.
- Diesel/ HD Vehicle Support
ECU Master supports ECM, BCM, and TCM for diesel trucks/tractors.
- Competitors
Auto VEI (13000+) -strong in BCM but very expensive
The Genius (8000 – wide ECM/TCM support
ECU Master is more competitively priced.
DC706 does not support ECM, BCM or TCM for trucks or tractors.
- Airbag Reset
DC706 can not add the Airbag Reset( OBDSTAR P50) function.
ECU Master supports Airbag Reset as an optional function (Config D).
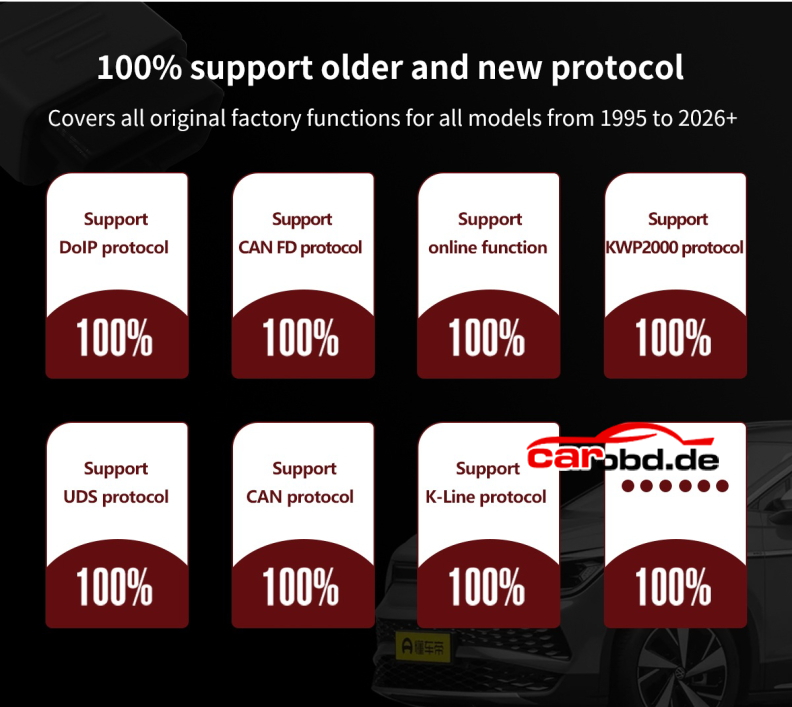
- CAN FD Protocol
ECU Master has built-in CAN FD protocol-no extra adapter needed for certain aribag resets.
DC706 requires a seperate CAN FD adapter.
- Marine ECM Support
DC706 supports some marine ECMs.
>ECU Master does not support Marine ECMs.
For more informations,please contact
Jenny
Whatsapp: +86 19947637411
Email: Sales@Carobd.de