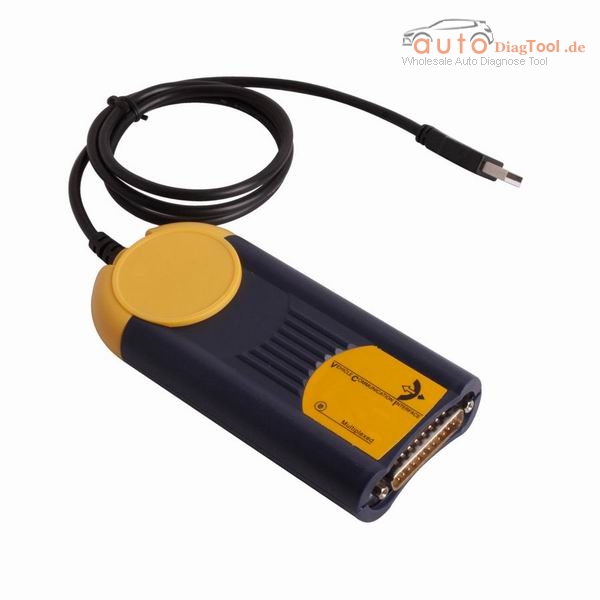
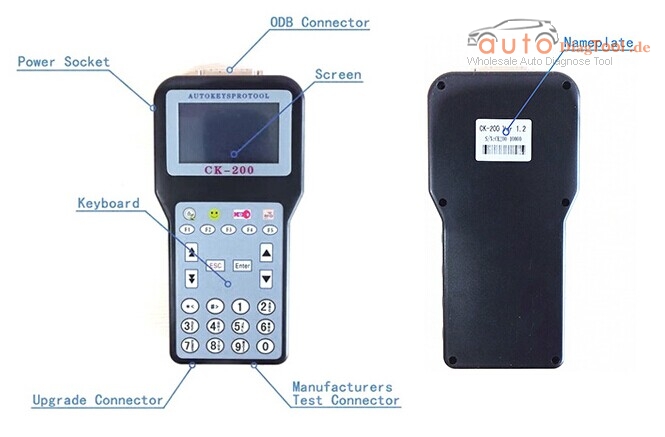
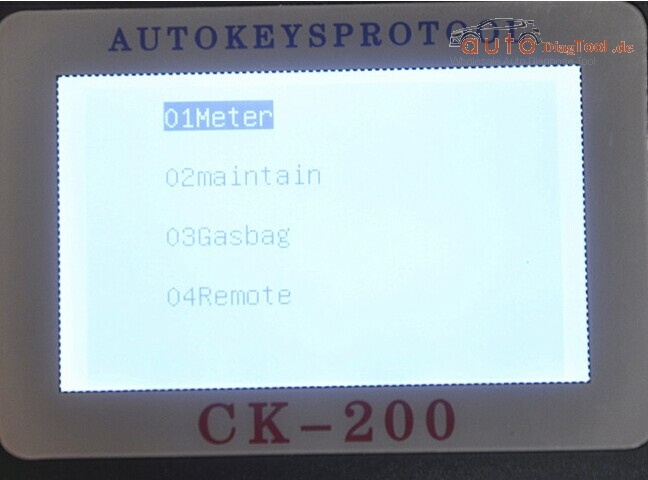
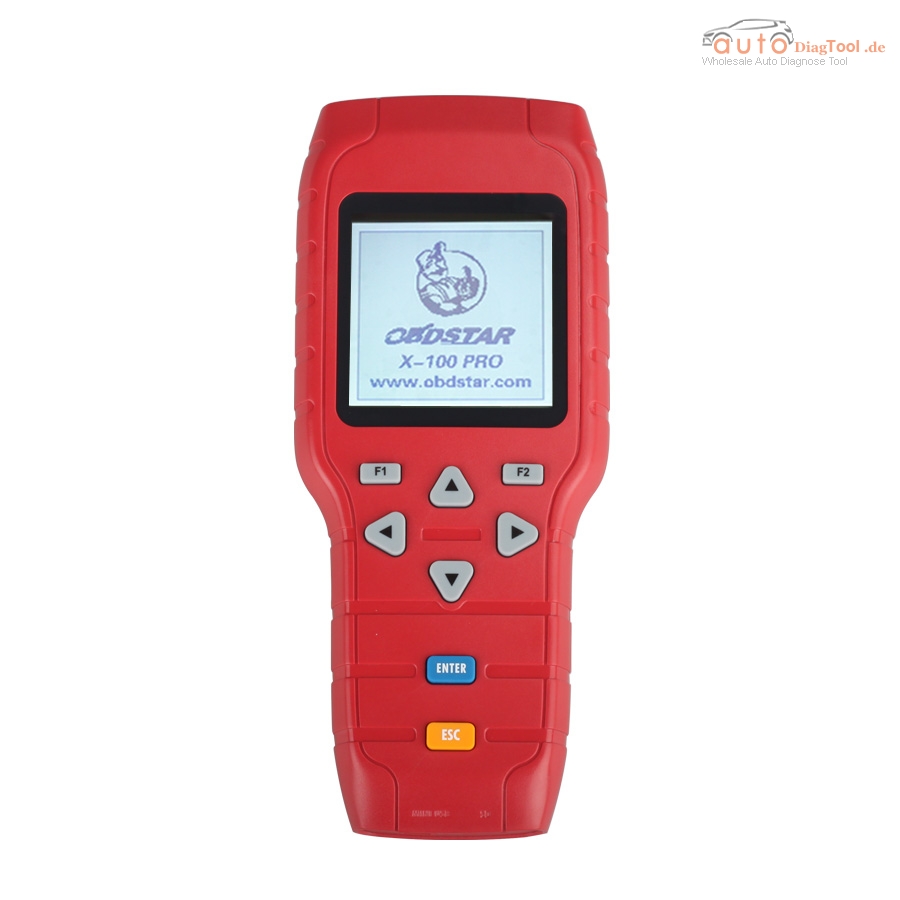
OBDSTAR X-100 PRO Auto Key Programmer (C+D) Type for IMMO+Odometer+OBD EEPROM Function
X-100 PRO Auto Key Programmer is a kind of handheld device for programming keys in immobilizer units on
Update online.
Customer Share:
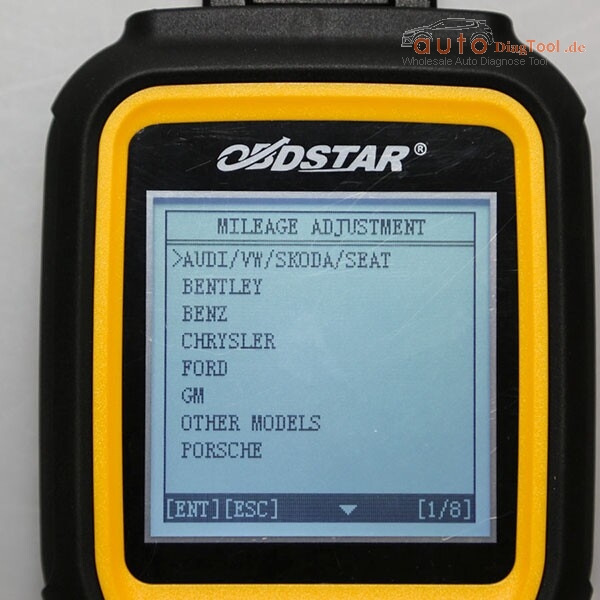
The Function of Mileage:
Mazda 6-2015 via obd -ok
Mazda 3-204-2015 obd-ok
Octavia 2012-nec24c64-ok
2010 Cadillac escalade odo via obd – ok
fiat qubo/fiorino obd ok
audi a4l 2012 by obd ok
KIA Sportage 2014 + with D70F3536 (no external EEPROM) ok
KIA Optima 2014 + with D70F3536 (no external EEPROM) ok
KIA Sorento 2014+ with D70F3523 (no external EEPROM) ok
Hyundai I20 2015+ with D70F35xx (no external EEPROM) ok
Hyundai Genesis 2015+ with D70F3523 (no external EEPROM) ok
hyundai accent (korea) 24c16 obd not ok but choose AZERA D70F3423 and read km write ok and did same with RIO but choose kia ceed D70F3423
even when i open dash they had 24c16 and D70F3423 hope that saves time for you as did to me.
2012 jetta nec+24c64 black/white display-20 sec ok
Ford Ecosport 2014 1 min by obd ok, It’s like new fiesta same cluster Ecosport
Citroen Nemo 2008 – OK
Fiat Fiorino 2010 – OK
Fiat Fiorino 2012 – OK
VW T5 2011 – OK
Chevrolet Cruze 2010 – OK
Chevrolet Cruze 2011 – OK
Dodge Durango 2007 (as Chrysler RAM 2006-2008) – OK
Hyundai Accent 2011 – OK
Hyundai Accent 2012 – OK
Opel Insignia 2010 – OK
Peugeot Bipper 2012 – OK
Mazda cx-9 2008 ok
If you still has question,you can contact us for free.