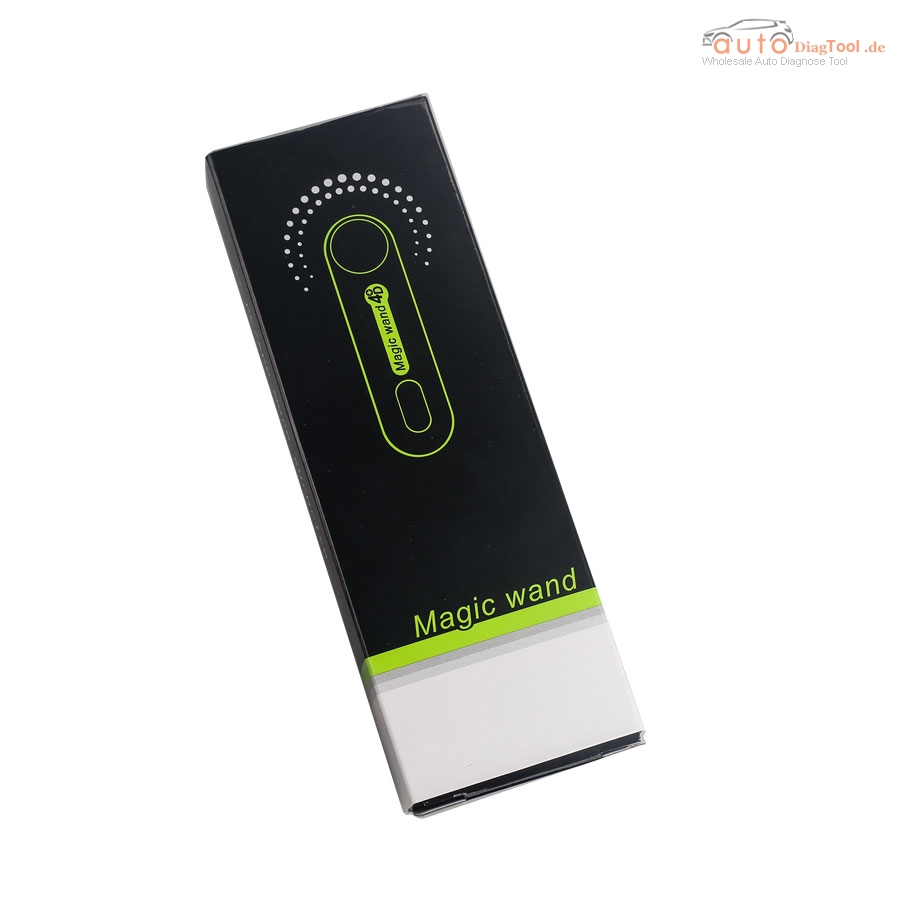
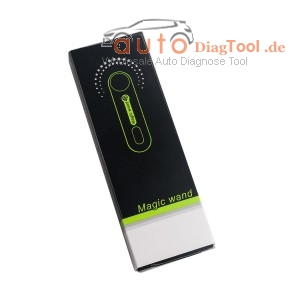
The Lookout of Magic Wand 4C 4D Transponder Chip Generator

NOTE:
“Read” button:
This button is used to read chip. After you put the chip into the slot, press “Read” button and get the reading result. If it fails to read, the red indicator will keep flashing. While after reading successfully it will display chip ID and the green indicator will keep flashing. At this time it is ready to copy, take out the chip and replace with the special chip for Magic WAND, press “Write” button and finish copying, then it will display chip ID and meanwhile the green indicator will keep flashing, if it fails to copy the red indicator will keep flashing.
“Write” button
This button is used to generate and copy chips.
Generate Chip: Put the chip into the slot , press the chip ID you want to generate, press “Write” button to get the results, the green indicator will keep flashing and display chip ID. In contrast, if the red indicator flashes it means reading is finished, maybe you put an incorrect chip or the chip is incompatible with the device.
Copy: you need to read out the chip ID before to copy, after it read out successfully you will get the chip ID, just press “Write” to finish copying. While if the red indicator flashes it means the chip is incompatible with the device.
2.How to use Magic Wand transponder:
Put the original 4D70 blank chip into the chip slot,
Press the No. buttons 8 and 3,
Press “Write” button,
The green indicator will flash and means copy success fully,
Put the chip back into the key shell,
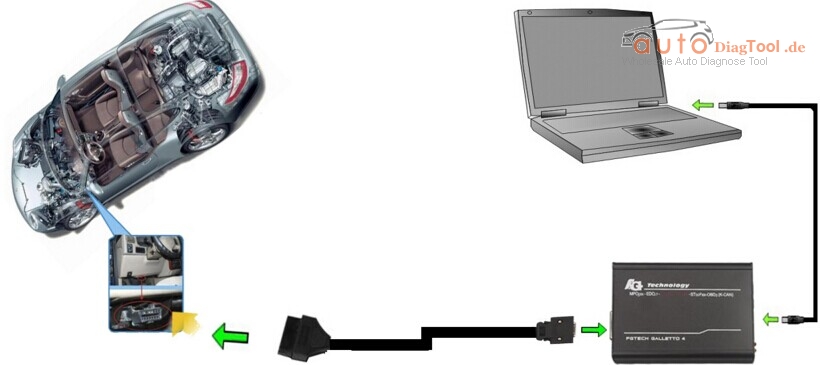
Take it to the car to add key work together with key programmer,
NOTE:
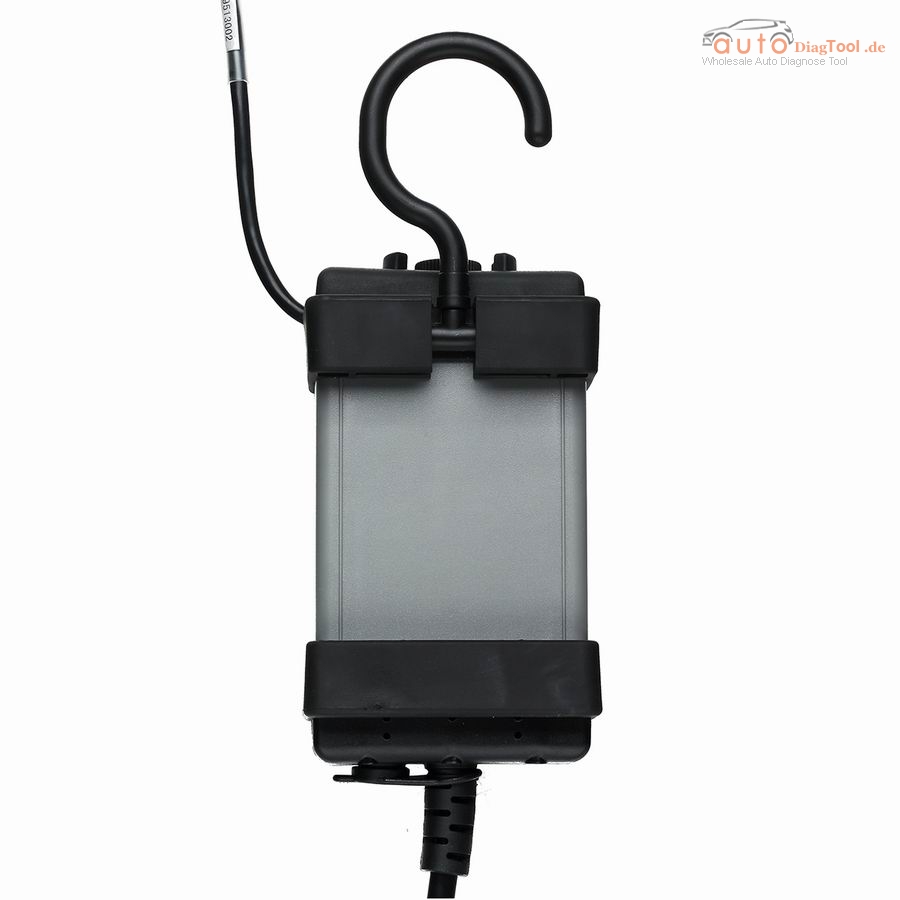
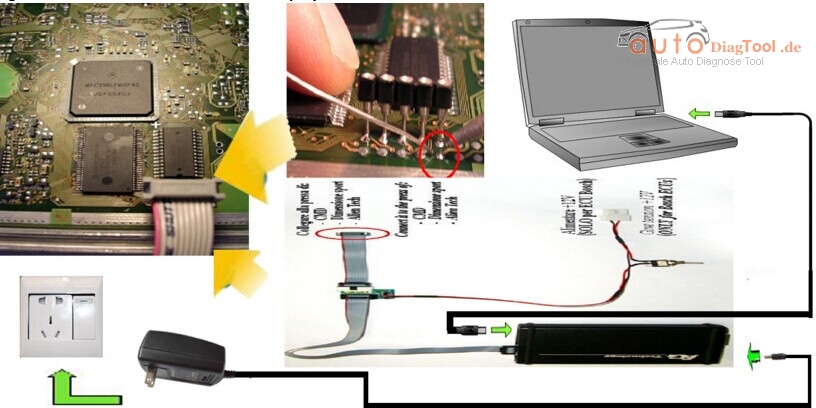
when you add the key, you have to put the Magic Wand close to the ignition coil and the key go through the hole of Magic Wand, then follow the key programmer prompt to complete.
3.CHIP lists supported:
Special chips that can be generated using Magic Wand:
D68:Daihatsu.
82G: Subaru G (Big capacity).
61: Mitsubishi.
62: Subaru.
65: Suzuki.
67: Toyota/Lexus.
68: Toyota/Lexus.
B9: chip Toyota Crown.
69: Yamaha Motorcycle.
6A: Kawasaki Kawasaki.
6B: Suzuki Motorcycle
Chip ID that can be copied by Magic Wand:
4C: Toyota.
66: Suzuki.
67: Toyota Lexus.
68: Toyota Lexus.
B9: Toyota Crown.
69 chip: Yamaha Motorcycle.
6A: Kawasaki Kawasaki.
6B: Suzuki Motorcycle.
D68: Daihatsu
The smart card chip ID that can be copied: Toyota 71 chip
The chip ID that can be copied online: most 4D (40bit), the 64 chip is not supported temporarily.
Special chip ID that can be generated using Magic Wand transponder:
4C: Toyota.
61: Mitsubishi.
62: Subaru.
63: Ford/Mazda.
65: Suzuki.
66: Suzuki.
67: Toyota/Lexus.
68: Toyota/Lexus.
B9: Toyota Crown.
69: Yamaha Motorcycle.
6A: Kawasaki Kawasaki.
6B: Suzuki Motorcycle.
D68: Daihatsu
4D copy chip with big capacity (special chip for Magic Wand)
Chip ID which can be generated and copied:
4C Toyota.
66: Suzuki.
67: Toyota/ Lexus.
68: Toyota/ Lexus.
B9: Toyota Crown.
69: Yamaha motorcycle.
6A: Kawasaki motorcycle.
6B: Suzuki Motorcycle.
4D68: Daihatsu
The smart card chip ID: Toyota 71 chip
The chip ID that can be copied online: cover all 4D (40bit)
Chip will be covered:
83 Ford/Mazda online and 72G Toyota G.
The special chip ID can be generated:
72G Toyota G. 82G Subaru G. 64 Chrysler/Jeep. D68: Daihatsu. 4C: Toyota. 61: Mitsubishi. 62 Subaru. 65: Suzuki. 66: Suzuki. 67 Toyota Lexus. 68: Toyota Lexus. B9: Toyota Crown. 69: Yamaha motorcycle. 6A: Kawasaki motorcycle. 6B: Suzuki motorcycle.
4.Function:
Function 1: Change original 4D transponder into special transponder (61.62.65.66.67.68…..)
Function 2: Copy transponder (61.62.63.65.66.67.68)
4D Magic Wand is an advanced device for locksmith.
It can work independently, also work with hand-held phone & computer.
Update constantly , operate with special material.
It can solve lots of problem for locksmiths.
Both beginner and experienced locksmith need Magic Wand